There are a number of good reasons to have a paragliding simulator at home, for example to adjust the harness – Ralf Böhme has come up with a simple design for this. As my second DIY project, I’ve devised a new version of the mounting bracket for my 360° action camera.
Paragliding simulator
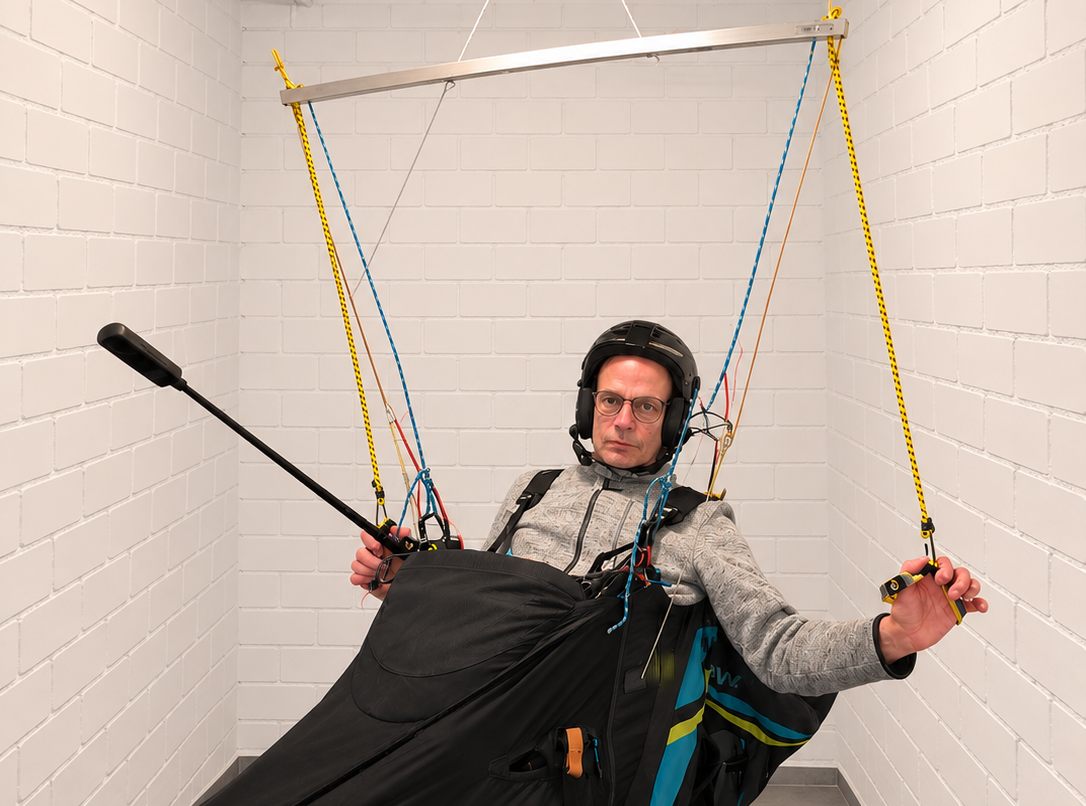
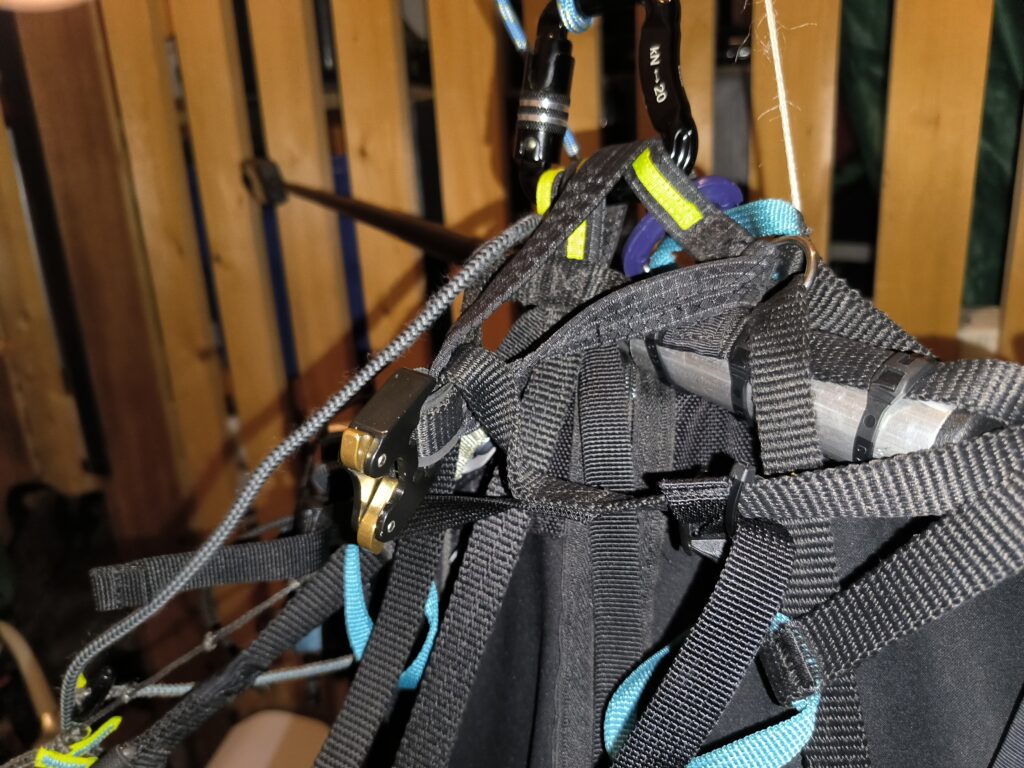
I built the paragliding simulator based on Ralf’s idea, with a few minor modifications. I used a rectangular aluminium tube instead of a wooden beam, as I’m more comfortable working with metal. The materials I used were:
- Rectangular aluminium tube, side length 25 mm, 1.05 m long.
- 5 mm cord, approx. 6 m.
- Rubber cord, 2.5 mm, approx. 2 m (for accelerator).
- Rubber expander with hook, approx. 60 cm (for brake levers).
- Brake levers.
- Brumel hook.
- 8 kN carabiner.
- M10 heavy-duty anchor
- M6 eye bolt
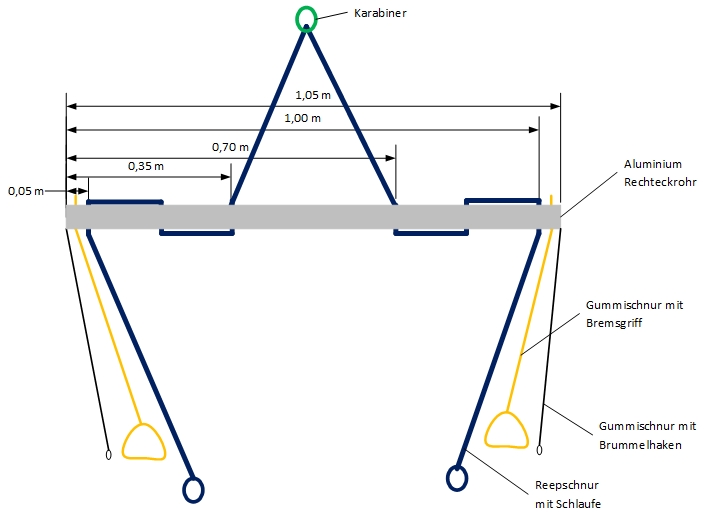
The diameters of the drill holes through the rectangular tube must be at least the same as those of the cords. The position of the drill holes and further information are shown in Figure 1. The brake levers can be hooked into the hooks on the rubber expander. I cut off the hooks, threaded them through the drill holes in the rectangular tube, bent them and secured them with a cable tie.
Loops for the harness’s carabiners must be tied onto the paracord. I opted for a simple loop knot. The distance between the loop knot and the brake handles should correspond to the actual distance on a paraglider. The length of the elastic cord for the Brummel hook must be chosen so that the accelerator is pre-tensioned. The heavy-duty anchor, with its eye bolt and the carabiner attached to it, is used to suspend the simulator from the centre.
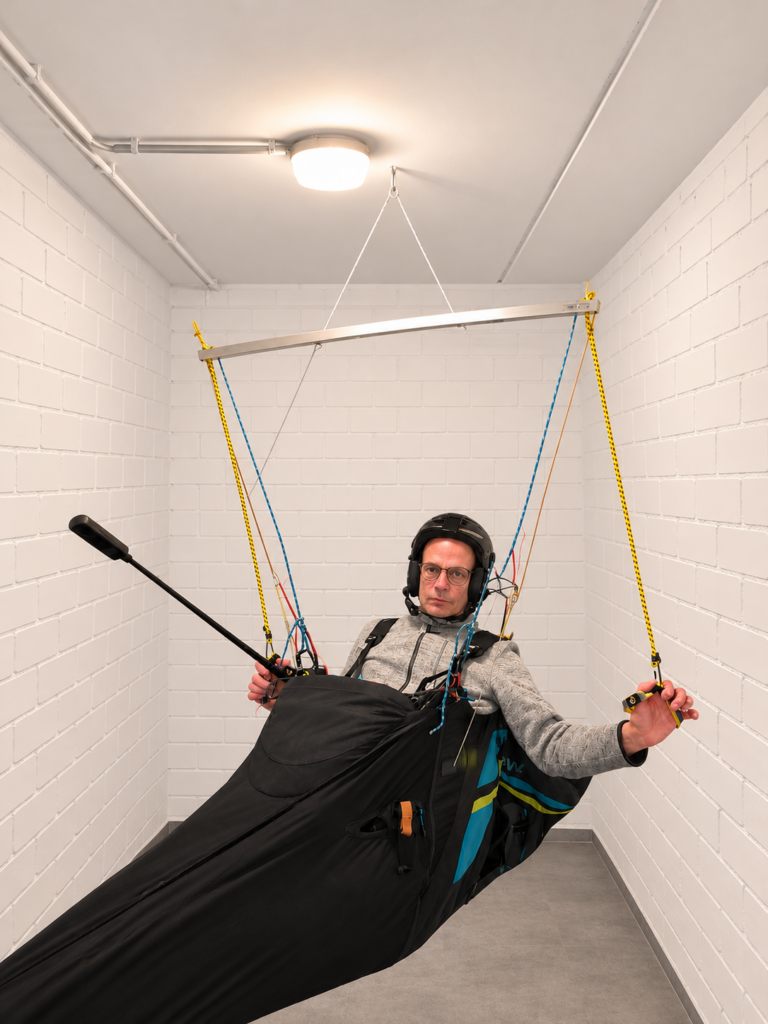
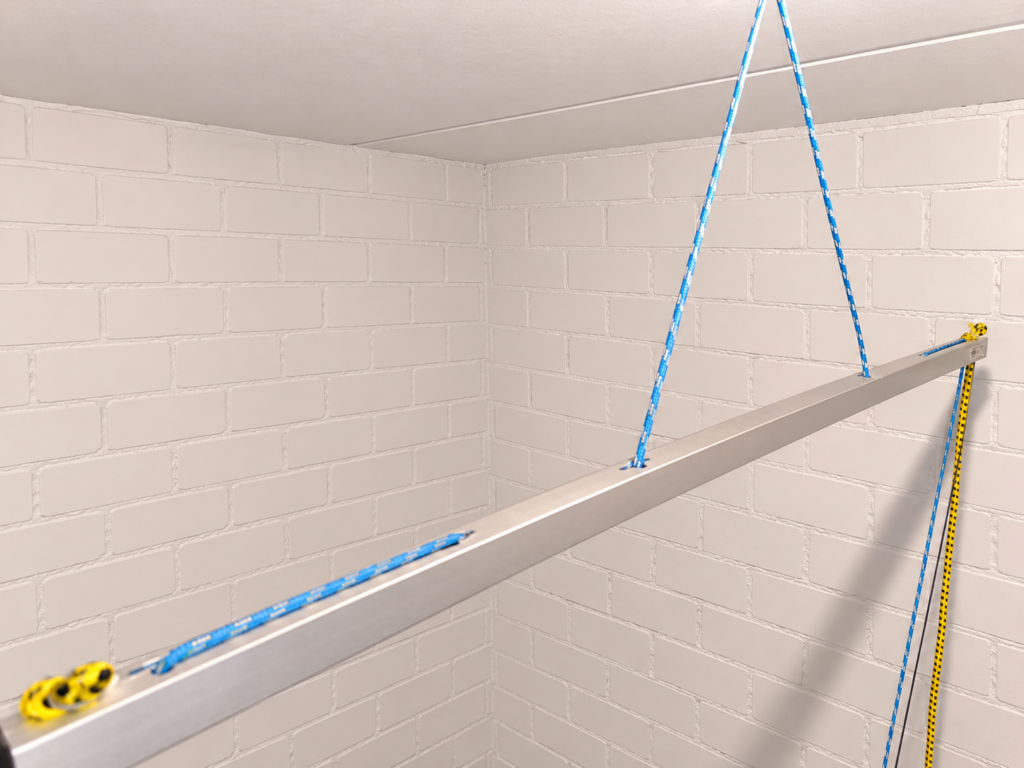
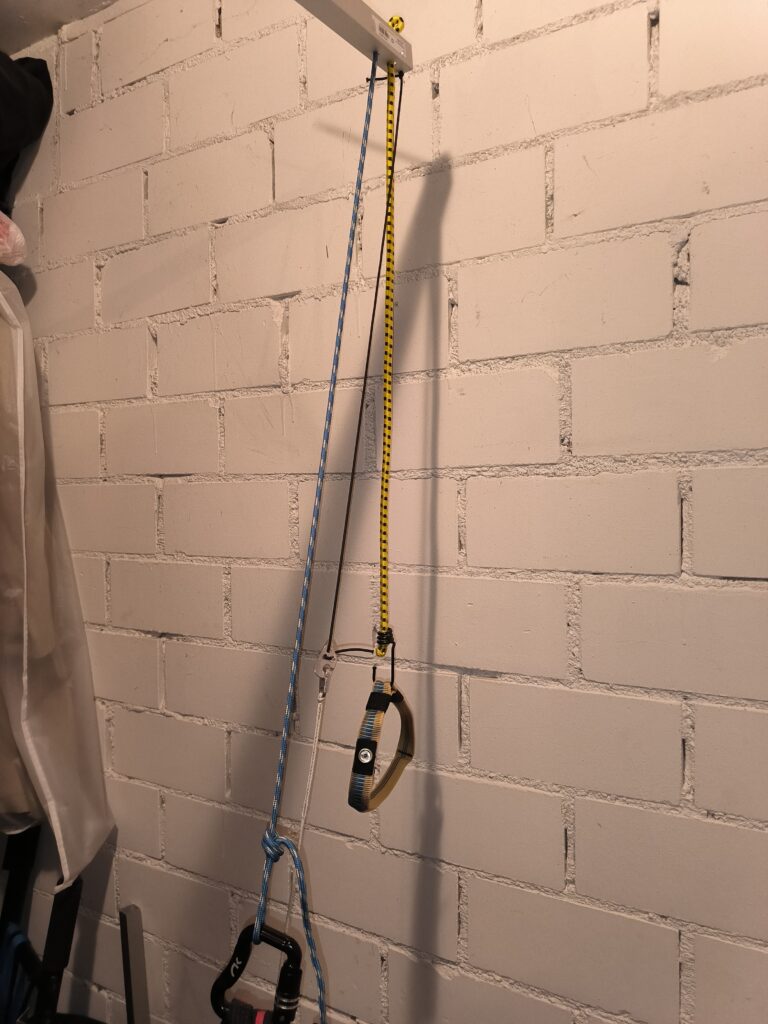
The material and dimensions of the simulator can be adjusted to suit your personal preferences and weight. The simulator provides a realistic flying experience, which is perfectly adequate for private use, but does not offer the full range of features found in commercial solutions.
The simulator poses a certain risk. Neither I nor Ralf can offer any guarantee whatsoever regarding the safety of the design. You are welcome to build the simulator yourself, but the responsibility for ensuring it is safe rests solely with you.
360° action camera mount
I’ve already featured two ways of mounting the 360° action camera on a selfie stick on this blog. In principle, mounting the camera on the selfie stick – which protrudes 45° forwards from the harness – is advantageous, as it allows you to check that the action cam is working properly and minimises the risk of the lines getting caught in it. The all-round view is excellent and you can make full use of the possibilities offered by a 360° action camera. The selfie stick should still be retracted at take-off.
You will need the following materials for the hanging mechanism:
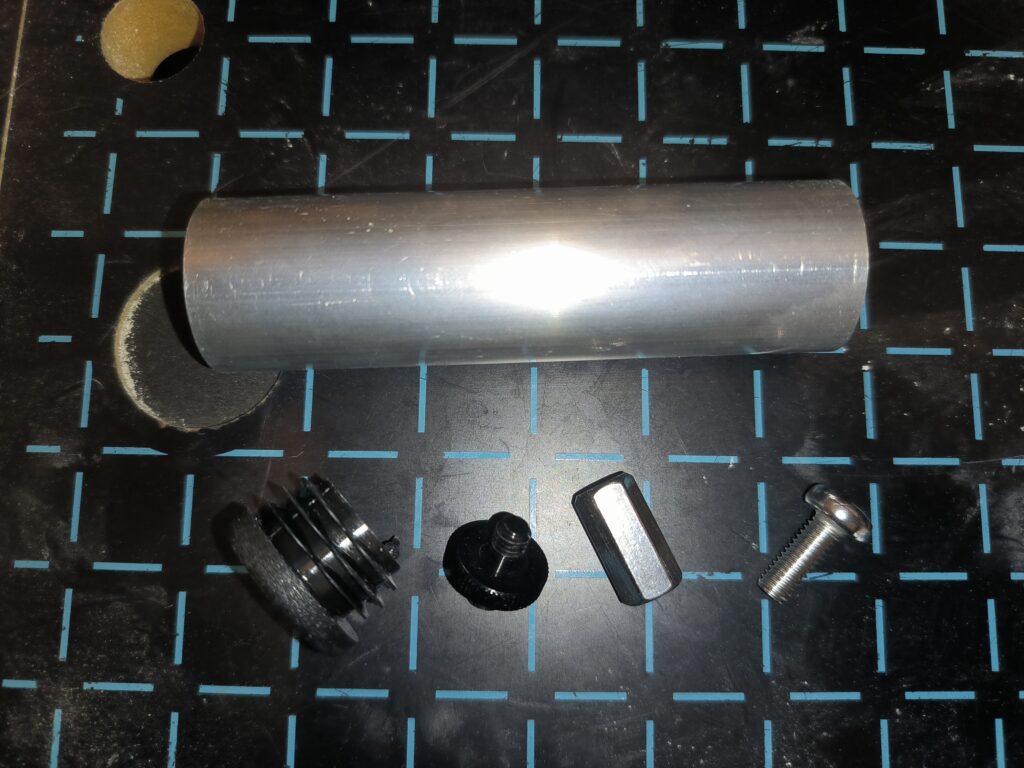
- Aluminium tube, approx. 10 cm long, internal diameter 24 mm (must match the diameter of your selfie stick).
- Slot plug, diameter 24 mm.
- 1/4-inch male to M6 male adapter.
- M6 long nut.
- M6 × 10 screw.
- Kobra cable ties
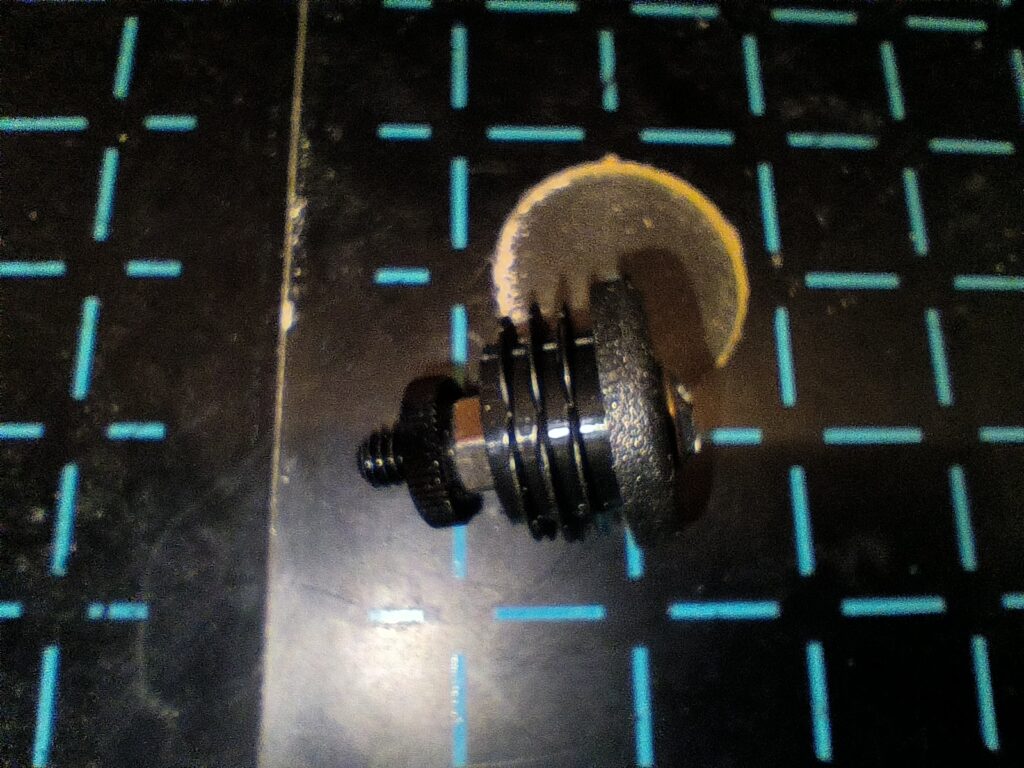
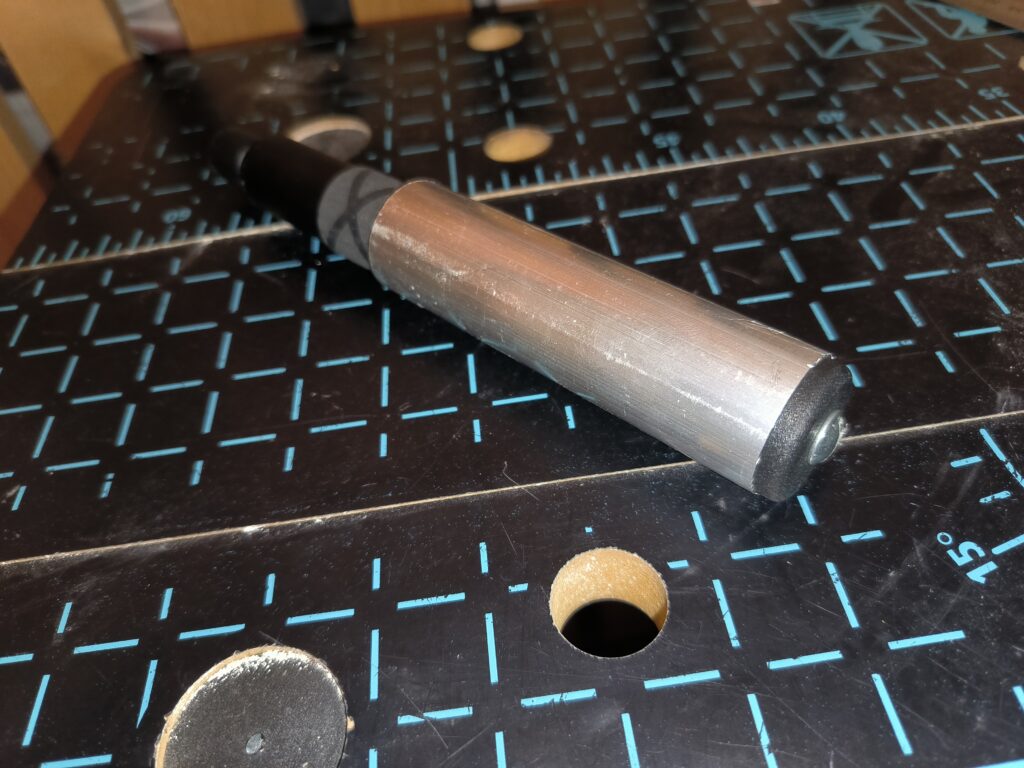
A hole must be drilled in the slotted plug. The screw, the adapter, the long nut and the slotted plug must be screwed together as shown in Photo 6. Slide the slotted plug onto the tube and secure it with cable ties so that the selfie stick protrudes at an angle of approximately 45°. Once the selfie stick has been inserted and turned a few times, it is secured. If the slotted plug slips out whilst inserting the stick, it can be secured with glue.
It can also be secured magnetically, as Marlon demonstrates in this video. Exactly how he did it is beyond my knowledge.
I consider the suspension method described here to be safe; however, it cannot be ruled out that the safety lines might become entangled during take-off or following a load-relief manoeuvre. It is therefore entirely your own responsibility if you wish to replicate and use this suspension system. I cannot offer any guarantee.