
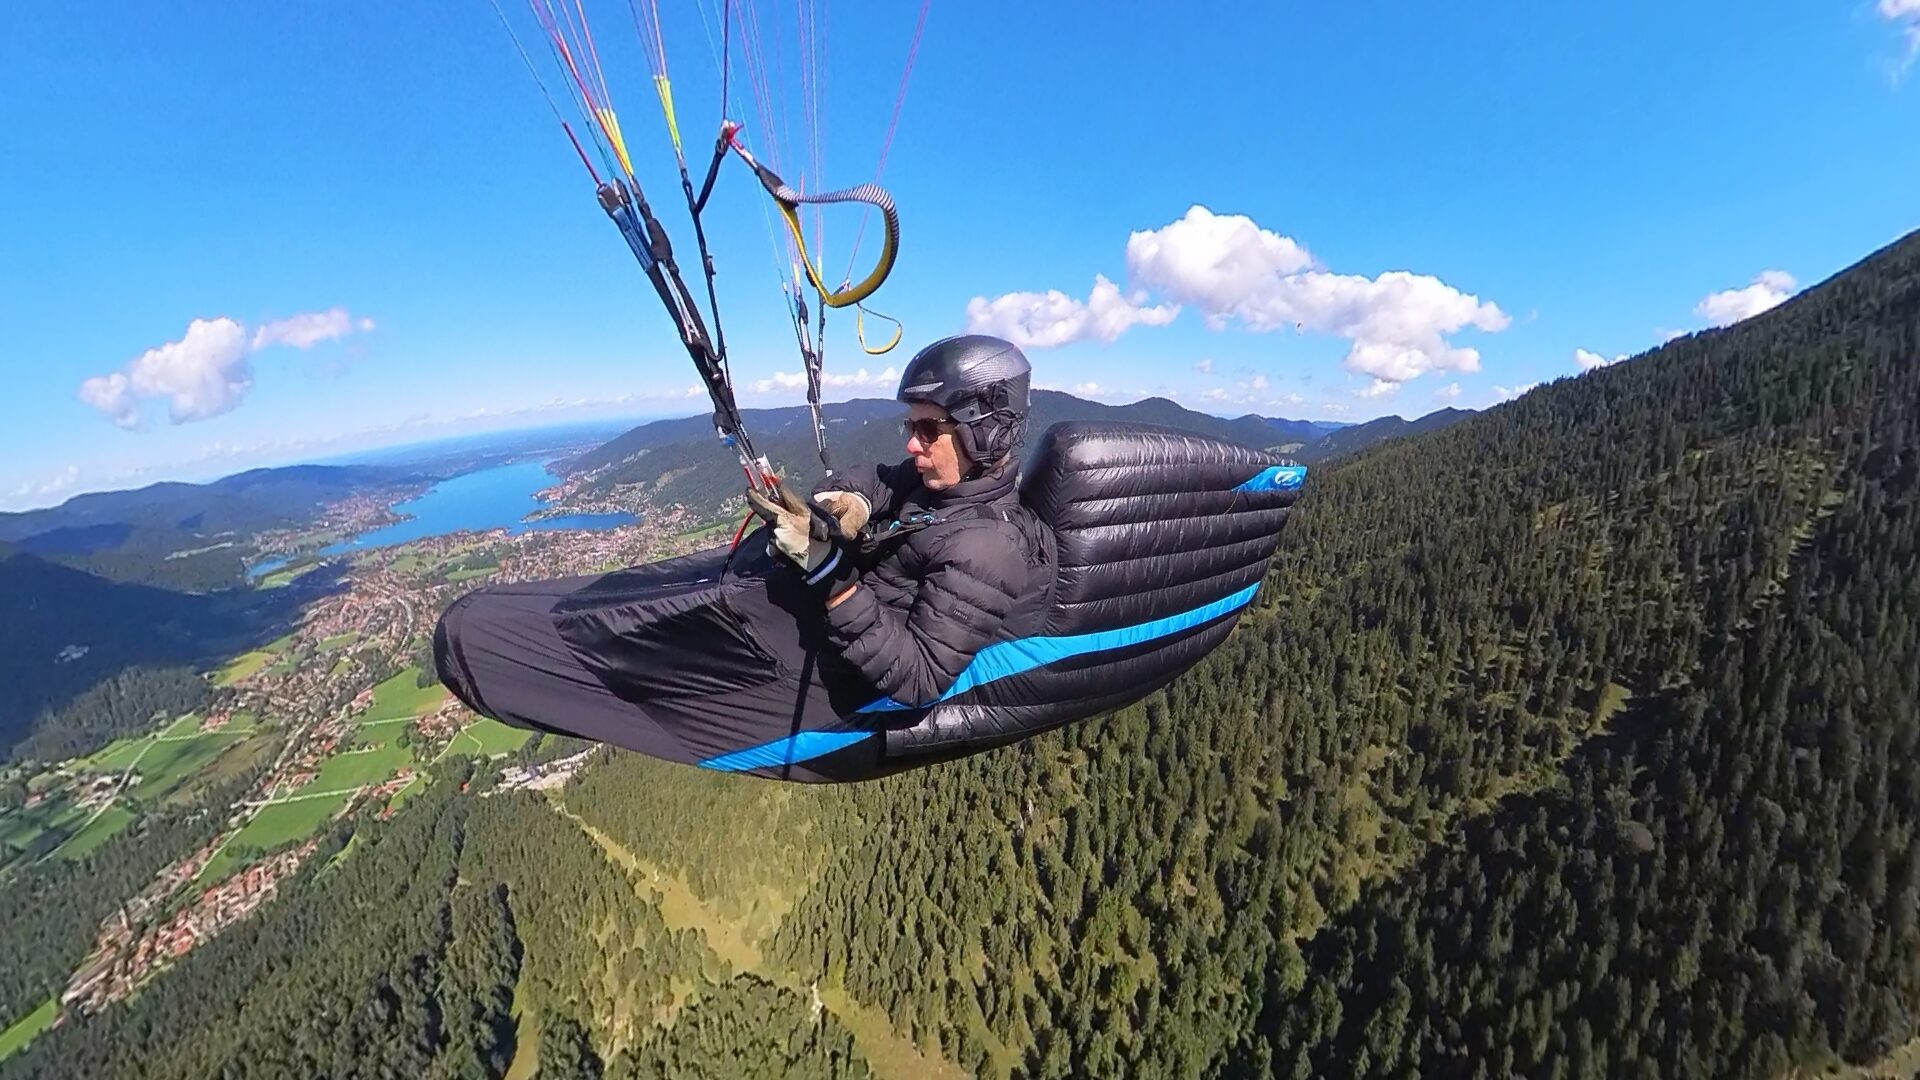
The Ozium 3 is the successor to the Ozium 2, which I personally fly for the occasional hike-and-fly. A lot was borrowed from the F*race 2 when the Ozium was being developed.
As my blog is often viewed on a smartphone and tables are difficult to read in portrait orientation, I have once again opted for continuous text. In the following text, I’ll be comparing the Ozium 3 with the ‘The Sock’ harness from AirDesign, which I tested some time ago, as the two are similar in construction and design.
Product
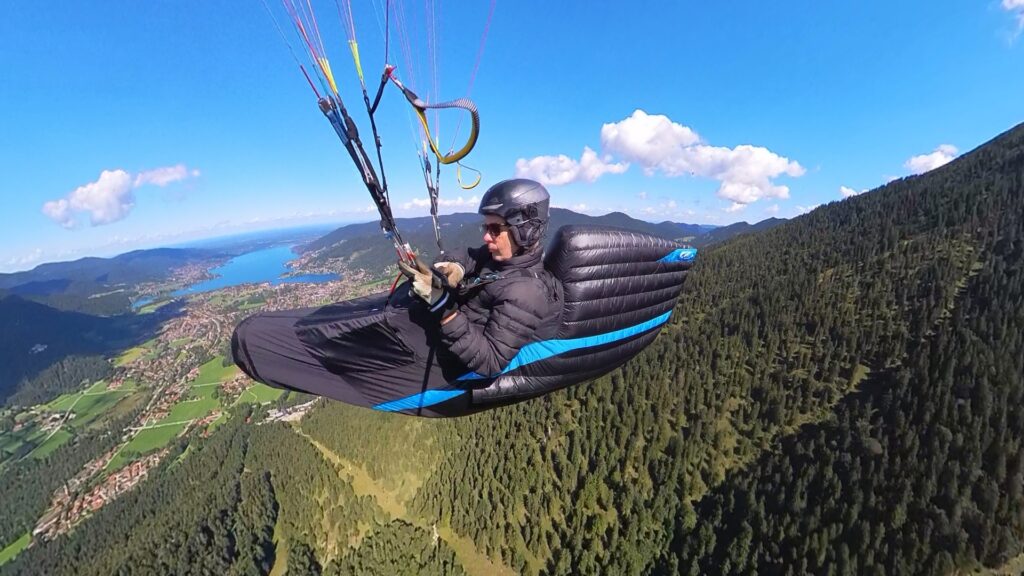
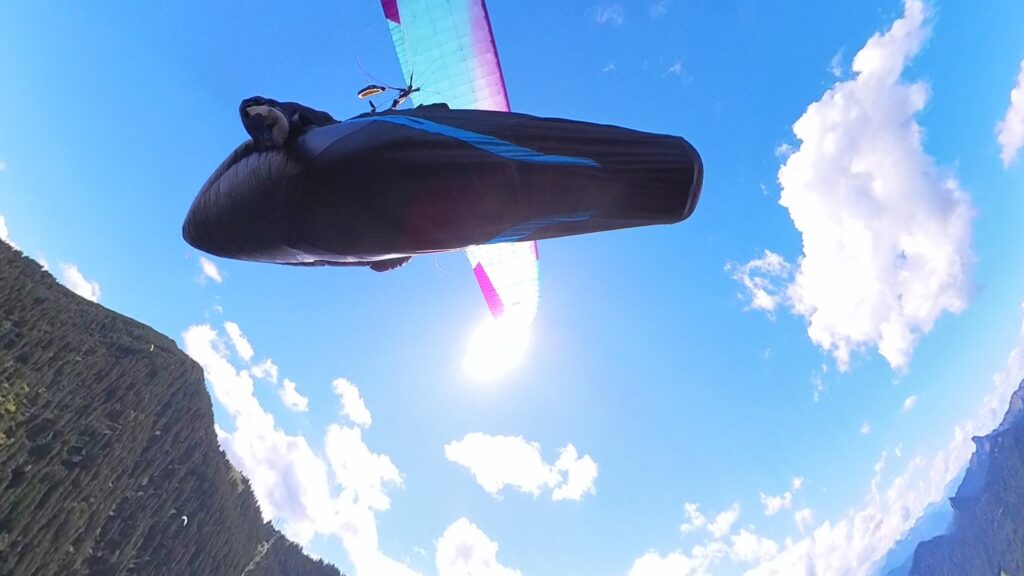
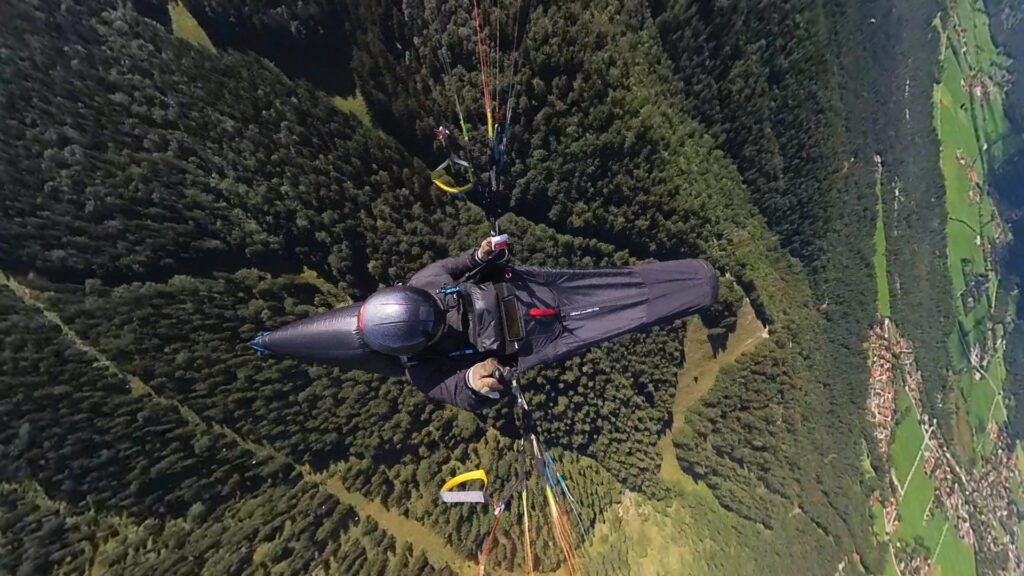
The Ozium 3 from the French manufacturer Ozone was tested. The harness is almost entirely black, broken up only by blue stripe-like design elements on the body and tail section. No design variants are available on the website.
Uses
In keeping with its lightweight construction, the target audience consists of hike-and-fly and bivouac pilots. Nevertheless, Ozone also markets the harness as an all-rounder.
Test location and weather conditions
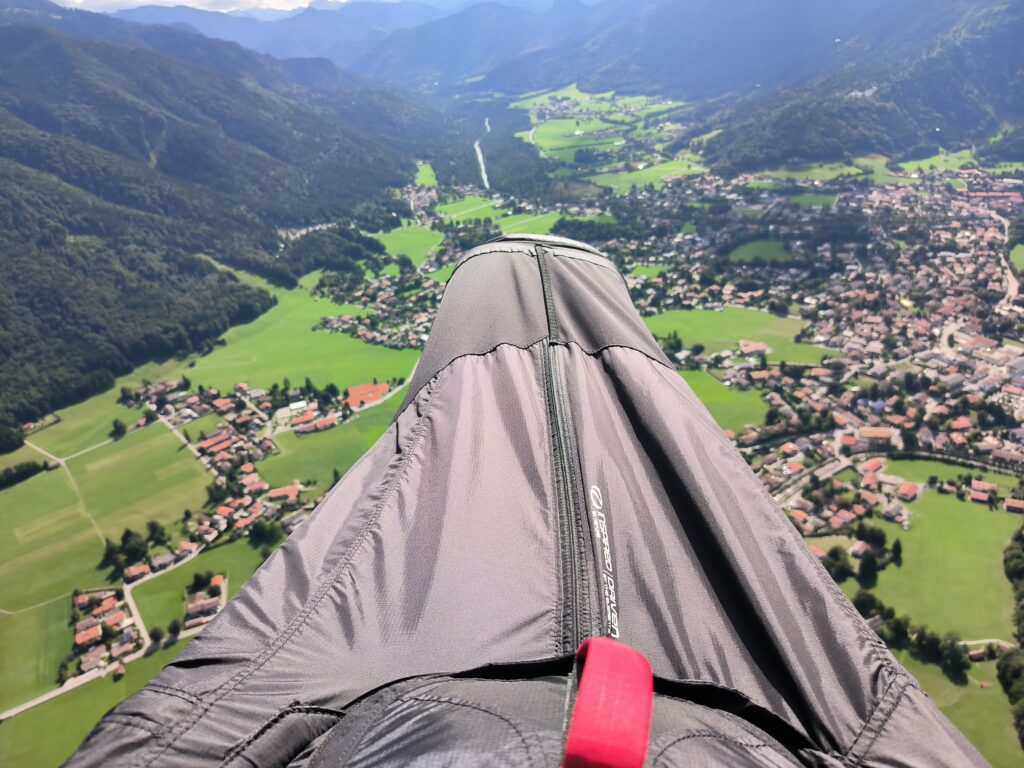
I tested the harness on the Wallberg, a well-known flying hill in the Bavarian Alps, in mostly moderate conditions with two strong thermals and predominantly light to moderate winds from the north-west to the north. I was able to gain experience during two glides and one longer flight.
Test equipment
I flew with the harness and my Iota DLS paraglider, with a take-off weight of approx. 95 kg. Given my height of 1.76 m, a size M harness fits me perfectly.
Certificate
The certificate and test report are available here.
Safety instructions
No safety instructions have been published to date.
Contents of the package
A battery-powered micro-pump and a stuff sack with an inflation function. Unfortunately, an inner container for the life jacket is not included.
Handbook
The user manual is only available for download in English. With the Ozium 2, the instructions were also available in German and other languages. It is possible that these will still be made available. The manual is certainly missing a few minor details, such as how to fasten the buckles at the chest and how to open the electric pump to replace the battery.
The protectors’ certificates can also be found on the same page.
Design
Technical Specifications
The harness is available in four sizes (S, M, L and XL) for pilots between 155 and 205 cm tall, covering a fairly wide range of heights. The weights are 2.95 kg for size M and 3.00 kg for size L, making it heavier than The Sock, which is otherwise similar in design. The weights for sizes S and XL were not available at the time of writing this report, probably because they had not yet been certified. The maximum load capacity for all sizes is 120 kg.
Structure
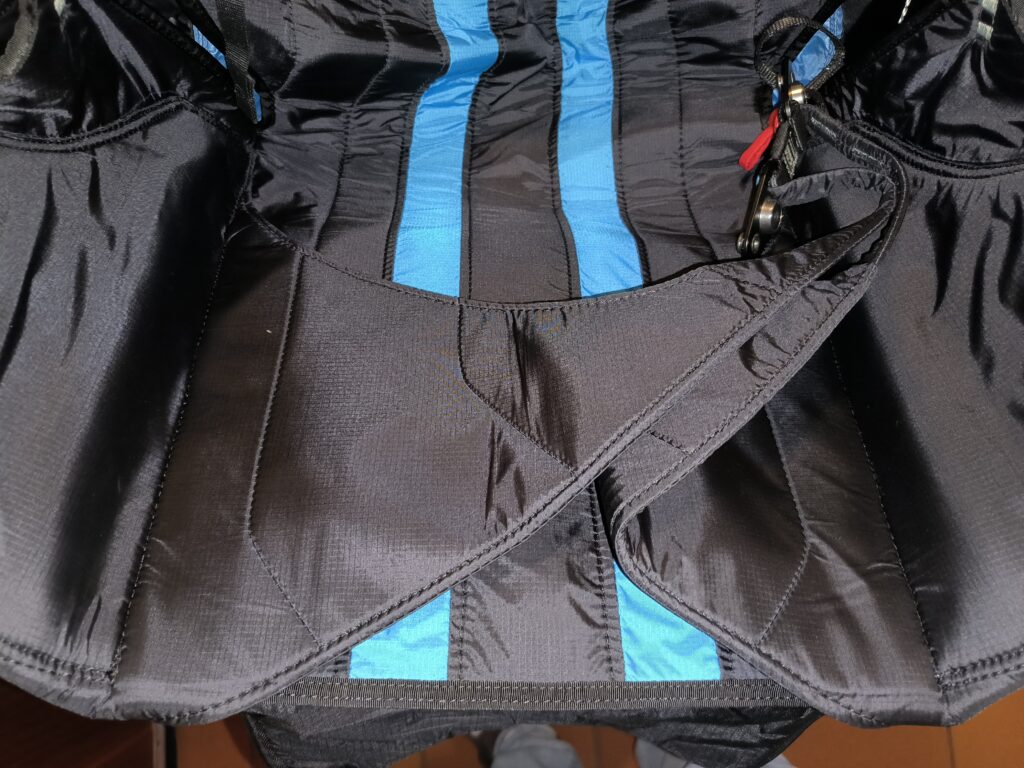
The harness features a removable seat board; the seat is approximately 42 cm long and provides good support for the legs. The seat board is only approximately 21 cm long and covers only the front half of the seat (Photo 10). The leg straps are very wide (Photo 11).
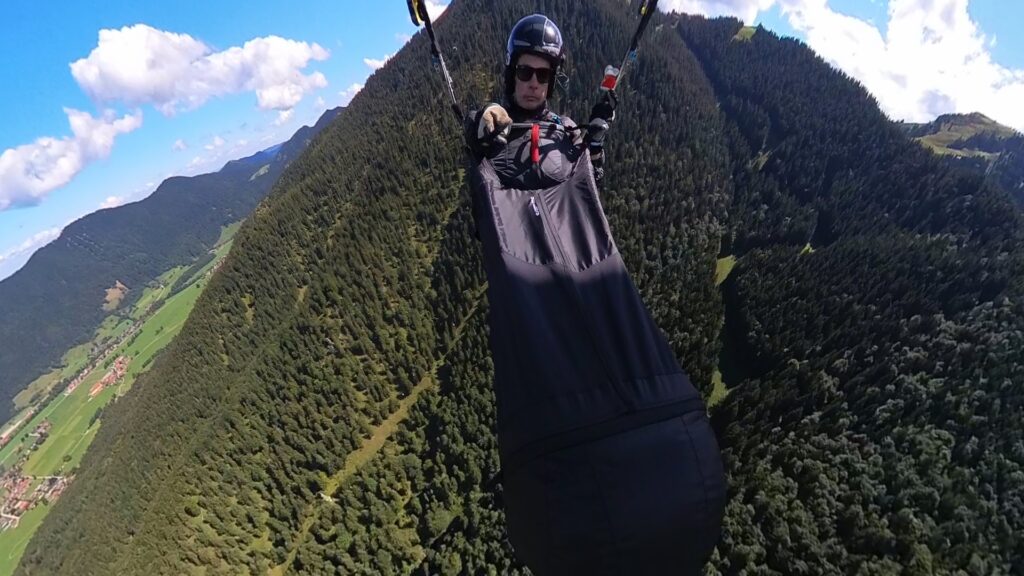
The depth of the carabiner attachment point is approximately 39 cm. Like The Sock, the Ozium also has a large footrest measuring 34 cm, providing ample space even for larger feet. The leg bag is held together at the top by a magnetic strip, which closes immediately once you’ve got in and keeps the leg bag tightly sealed (Photo 7).
The harness is fitted with an ABS system, which has proved to be very effective.
Material
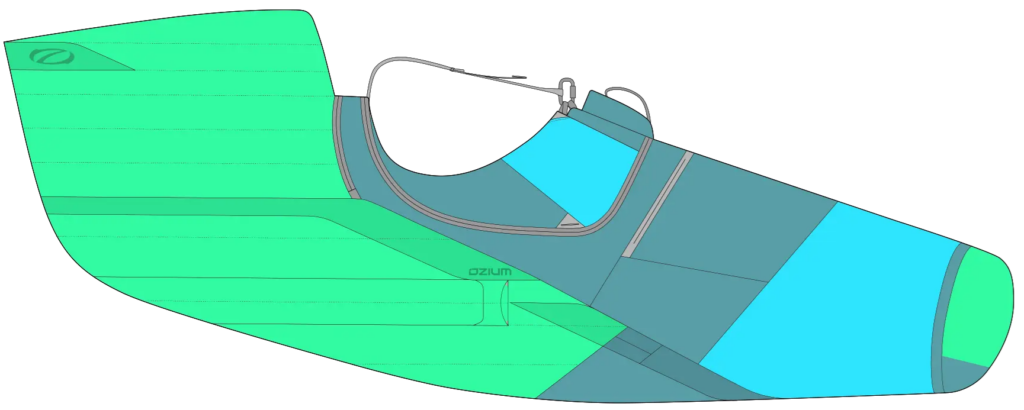
Whilst other manufacturers do specify the material mix, they do not state exactly where each material is used. Ozone does this better and illustrates it graphically. The diagram below shows that 70D ripstop has been used in the dark blue area, Lycra in the light blue area and 20D ripstop in the green area.
Protector
The protector is only available as an inflatable version; a foam protector is not available. The protector extends high up the back, so one can assume that the back is well protected in the event of a fall. On the other hand, this enhances seating comfort, coming very close to that of a moulded seat shell. The protector can be inflated using the pump supplied or, alternatively, using the pack sack, which also serves as a pump sack. For an extended bivouac trip, where every gramme counts, this may be the better option.
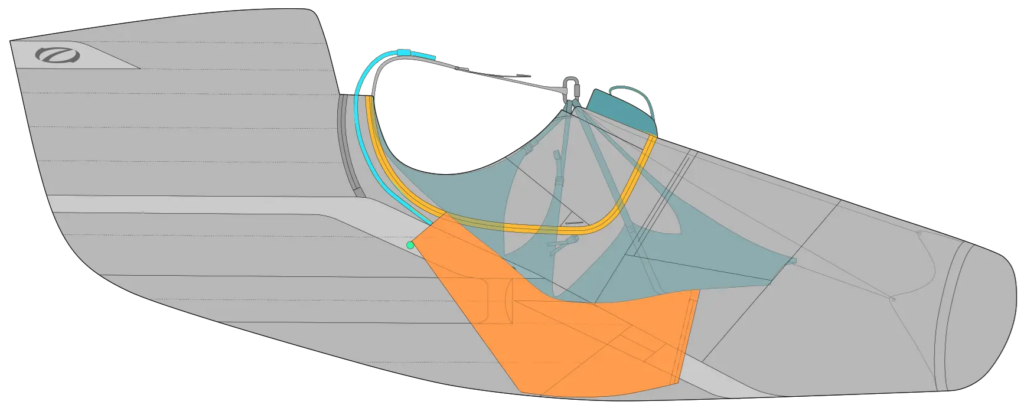
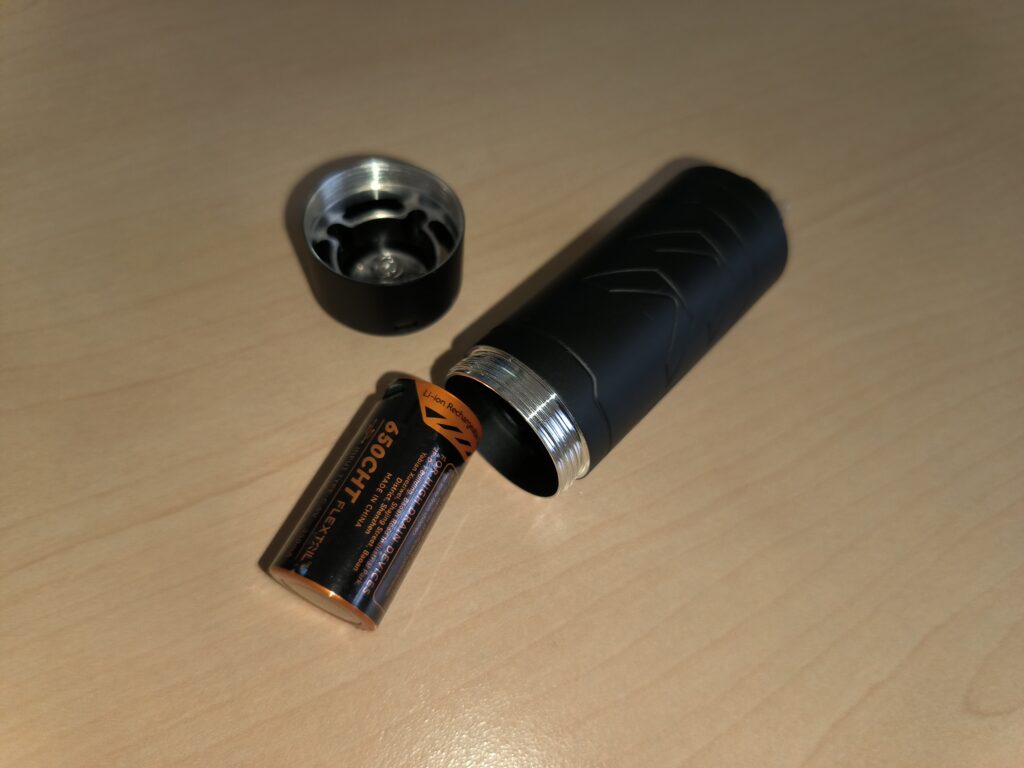
The electric air pump is fitted with a battery of an unusual size (Photo 8). I reckon you can’t get one of those in every supermarket, which is a drawback if you run out of power whilst out and about. I think a rechargeable battery that can be charged via USB-C is the modern solution.
Accelerator
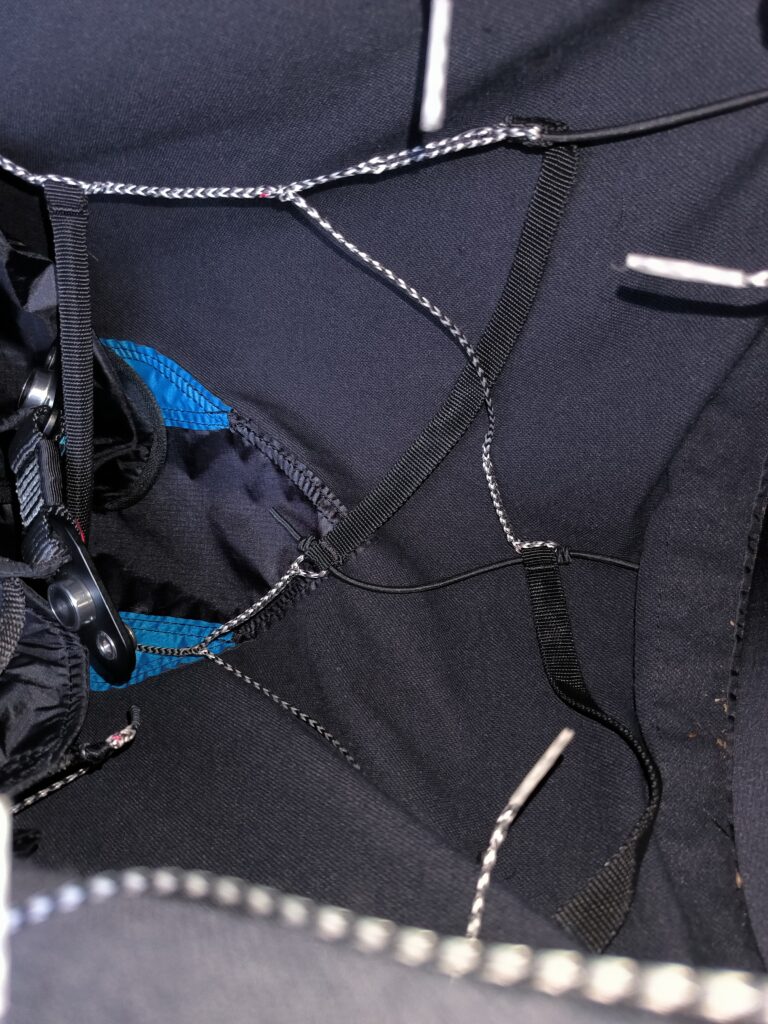
The pulley block has a three-stage design, with only the top stage being slightly reinforced. The width of the lower stages is designed to accommodate just one foot each, and a rope for the bottom stage runs over the second stage (Photo 9). In my view, this isn’t a good solution. If I were to buy the Ozium, I would probably fit a different accelerator with reinforced stages. The pulleys are by Ronstan and have no additional guide.
Storage space
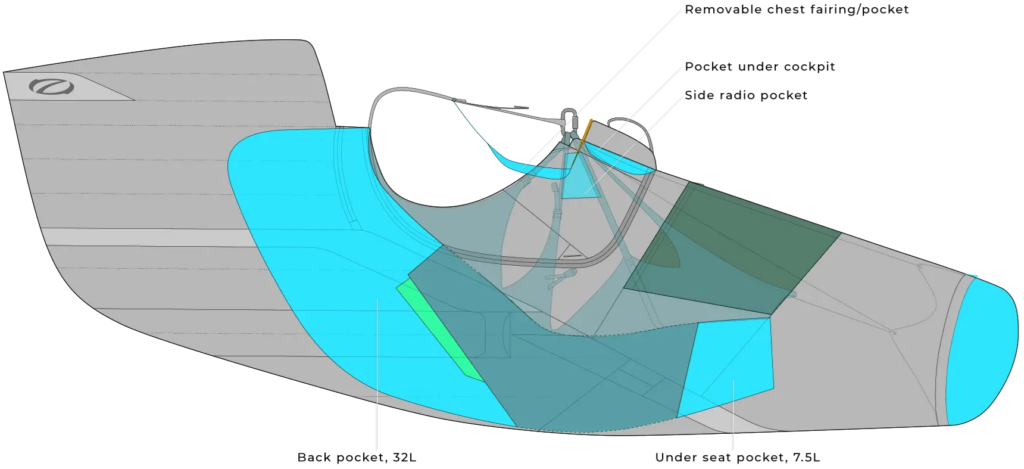
The Ozium offers plenty of storage space. The cockpit is omitted to make way for the emergency compartment, but the side pockets are very deep (38 cm) as a result. Gloves almost get lost in the depth. It might prove difficult to retrieve a specific item from the side pocket whilst in flight. The website states that the total storage capacity is 65 litres, which should be sufficient even for bivouac adventures.
Bailout package
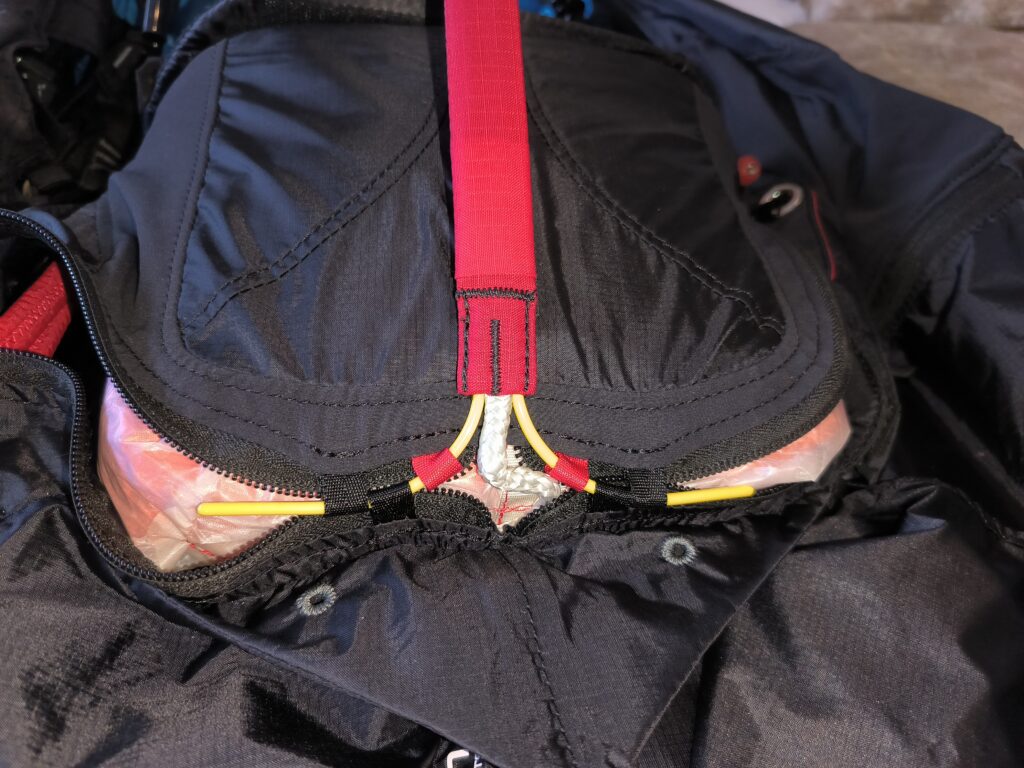
Fitting the reserve parachute is straightforward and clearly explained in the instructions (Photo 5). No tools are required for the installation. The storage compartment is wider than it is long. Consequently, care must be taken to ensure that the reserve is packed to the correct dimensions. The stowage space is not particularly large, so compact reserve parachutes are required. There is 5 litres of stowage space available for harness sizes S and M, and 6 litres for L and XL. The connecting line runs past the pilot on the right-hand side and is attached to the harness at the back. This ensures a standing landing with the reserve parachute.
Cockpit
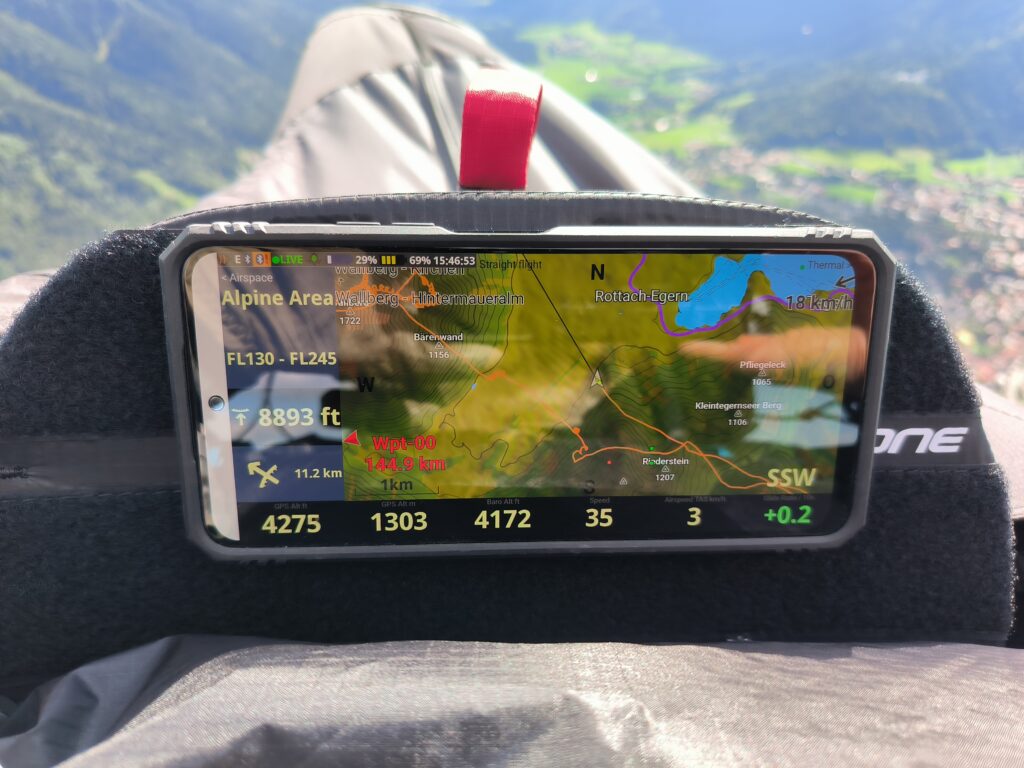
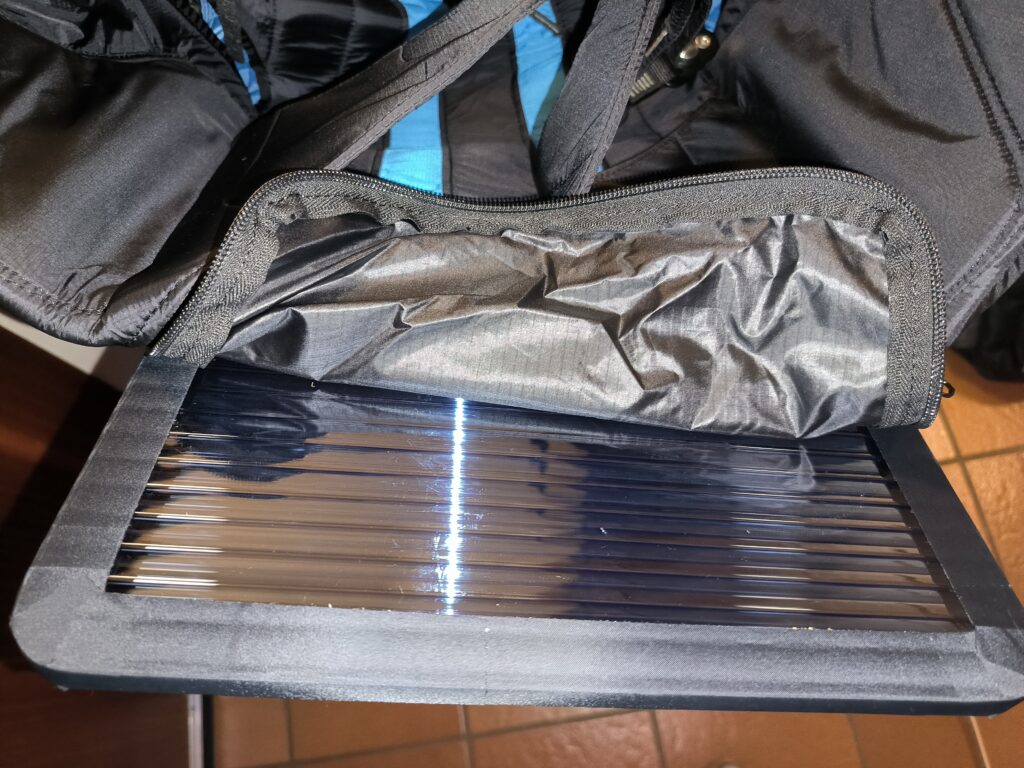
Measuring 29 × 12 cm², the instrument panel is generously sized for a hike-and-fly harness (Photo 6). The orientation of the instrument panel ensures optimum visibility of the instruments.
Mounting options
The water tube is stored in the back compartment. There is plenty of space for the water tube to pass through. There is Velcro on the left shoulder strap for attaching the Vario. Small pockets for radio equipment or similar items are fitted directly above the carabiners.
Quality
As far as I can tell, the build quality seems good. I couldn’t spot any flaws in the stitching. The accelerator grommet on the body is made of rubber. Naturally, as with any lightweight harness, the material is more delicate and must be handled with care.
Settings
Leg bag and accelerator
The length of the leg loops and the angle of the footrest can be easily adjusted in stages using knots in the ropes. The knots are spaced 2.5 cm apart. I didn’t need to change any of the settings myself; the harness fit like a glove straight away.
The accelerator is also lengthened or shortened by means of knots in the accelerator line within the leg pocket. It is not possible to adjust it whilst in flight.
Seat and chest strap
Shoulder straps can be adjusted in flight; all other adjustments, such as lumbar support, must be made in the simulator. It is not possible to adjust the distance between the carabiners.
The ABS system can be adjusted using the adjustment straps. To reduce roll response and feedback from the paraglider, the adjustment straps must be shortened; to increase roll response and feedback, the adjustment straps must be loosened.
It is not possible to adjust the settings on the cockpit, but this was not necessary anyway.
Flying
Prepare
Inflating the protector takes a relatively long time due to its large volume. Otherwise, putting it on is quick and easy.
Putting on
To minimise the risk of confusion, the buckles are marked in red and blue. The chest strap hangs quite low, which makes it difficult to check whether they are fastened once the harness has been fully donned. The harness is fitted with an ‘anti-forget’ system.
The carabiners are screwed shut, which on the one hand ensures a secure closure and on the other hand prevents them from opening too quickly (e.g. after a landing in water or strong winds).
Take-off
Take-off is straightforward, and thanks to the wide leg straps, it’s completely pain-free in the crotch area. Getting into the harness is also easy, and pulling the leg pocket over the elastic cord is equally straightforward.
Leg bag
The leg sack fastens perfectly thanks to the magnetic clasp; the fabric is taut and there are hardly any creases visible. However, the fit of the leg warmer isn’t quite as neat as that of The Sock. The leg warmer provides good protection against draughts, although a gap sometimes opens up in the lower section where there is no magnetic fastening, allowing a slight draught to get through. A full magnetic fastening would remedy this.
Accelerate
The accelerator was very smooth to operate. This was probably down to the Ronstan pulleys and the lack of guides. However, I found it difficult to reach the bottom two rungs with my feet. I had to keep opening the leg pouch to check where the accelerator’s ropes were.
Flight feeling
With the ABS system set to its default settings, the harness feels quite unstable and responsive. I’d still say it’s a little less twitchy than the Ozium 2, though. As I prefer a smoother flight, I’ve adjusted the ABS system to be as short as possible. And lo and behold: in the sometimes choppy thermals later in the afternoon, the harness felt calm. I wouldn’t have thought that a change of just a few centimetres could have such an effect.
Manoeuvres
Turns involving braking are very easy to fly. Because the seat board only covers the front half of the seat, it offers virtually no support when turning, relying solely on weight shifting. I am not sure why the decision was made to fit only a short seat board. It is missing precisely where it is needed most – namely, under the buttocks. Otherwise, no issues were noted during various manoeuvres.
Settings
Apart from the shoulder straps, it is virtually impossible to adjust the settings whilst in the air. Almost all adjustments must be made in advance on the simulator.
Miscellaneous
The footplate makes creaking noises, and the tube from the protector sometimes produces a slight whistling sound. Neither of these really gets in the way whilst flying. What does get in the way, however, is that when I turn my head to the right, I’ve often bumped into the tube. The rescue handle is always visible, which gives you a sense of security in the air.
Landing
It is easy to sit up and get out.
Packing
Once the protector has been opened, the air escapes with a little help. The harness can be folded up very compactly.
Experiences
On the English forum, various pilots talk about their experiences with the harness. Opinions on this vary widely.
Conclusion
Positive
- A highly effective ABS system.
- Plenty of storage space.
- Rescue container at the front, connection line attachment at the back.
- An accelerator that is easy to operate.
Negative
- An accelerator that’s difficult to reach with your foot.
- A rather ineffective seat board.
Overall, I’m very pleased with the Ozium 3. If you look after it properly, you’re sure to get many years’ enjoyment out of this harness. The combination of materials strikes me as a good balance between durability and weight. There are good alternatives to the speed bar fitted as standard, should you also have issues with speed bars of this type, such as the Bullet Speed Bar.
Would you like to continue reading harness reviews here? Whilst I don’t incur high costs, I’d be grateful for a small donation from you as a token of your appreciation. You can find out how to donate here. Thank you very much.

Thanks for your review!
Small aside: Check out the pump again, as this is a rechargeable battery. It even seems to have the USB-C port, on the top left of your photo.
Hey Marcel,
thanks for your hint, now i found the USB-C port.
Oliver
Have u ever tried a Lightness4 ?
If u compare the niviuk arrow and ozium only in flight comfort, what would you say?
I love my lightnes, but like the front rescue, complete back protection and packing size of Ozium3.
I thought flying the ozium3 is a little bit more higher on than integrated in the harness.
Maybe the new Arrow2 is beating them all…
Hey Sepp,
no i never flew the Lightness.
I guess you mean the Arrow P? It is hard to compare, because i flew it in different condition, but over all i prefer the Ozium 3.
From my point of view the Arrow 2 is another class of harness, because i guess it will have a hardshell seat and it will be more heavier. I’m looking forward to test the Arrow 2.
Oliver