The paraglider must be checked after 2 years or a certain number of flying hours. Michaela Michi Brandstätter, owner of “Die Checkerei”, explained to me the steps that need to be taken, the things that need special attention and tips and tricks on how to treat your paraglider with care.
Michi can look back on 10 years of work at the Paraclinic. For about two and a half years she has had her own check operation, the Checkerei. She offers everyone the opportunity to be present at the check and provide detailed information about the check. I seized the opportunity and used all her experience to ask additional questions outside of the check. The following order of explanation does not necessarily correspond to the order of the check.
Identification of the paraglider
The first step of every check is to record the paraglider data such as type, serial number and year of manufacture.
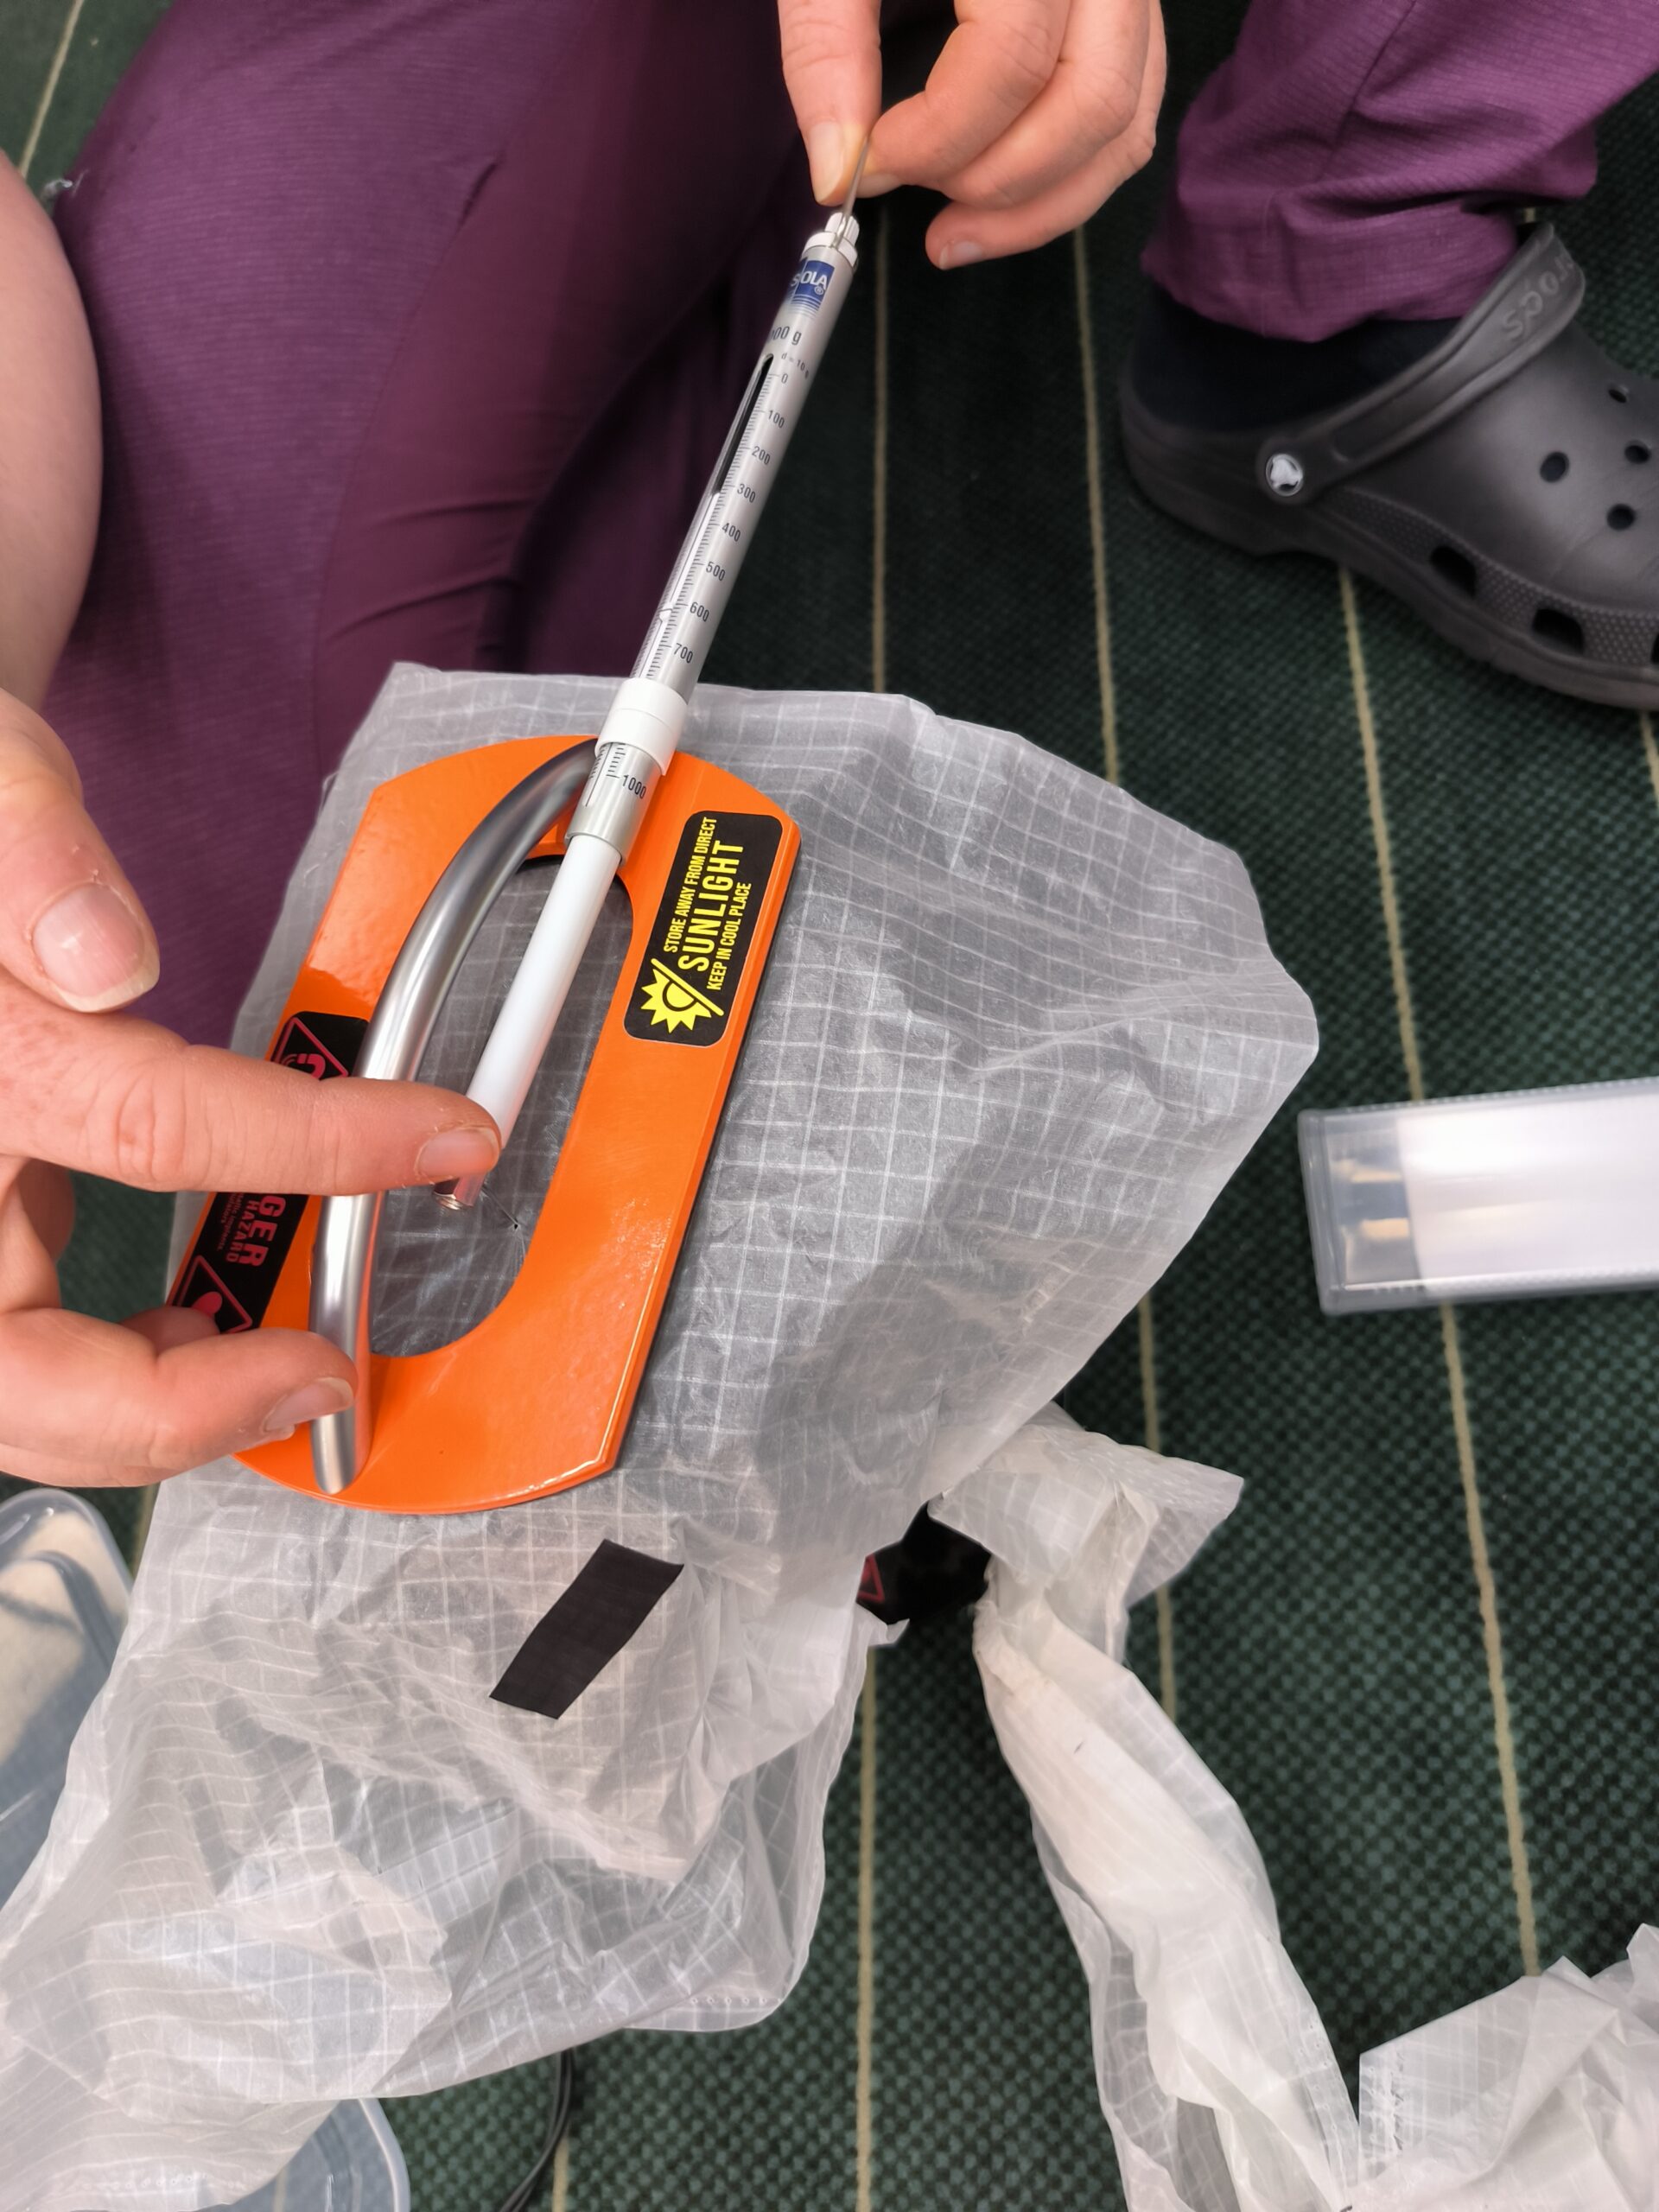
Checking the tear resistance of the cloth
Porosity measurements are normally taken at five points on the leading edge according to most manufacturers’ specifications. If the glider is in very good condition, Michi only measures once in the centre. If there are concerns about the condition of the glider, measurements are taken at several points.
The measurement is always carried out to the end. This allows a comparison to be made at the next check. A comparison with the last check is not always carried out, but only in special cases, e.g. if there is a problem with the coating. According to the specifications of some manufacturers, the measurement does not have to be carried out to the end, but can be cancelled when a certain value is reached.
As a rule, only the upper sail is measured. If there are concerns about the condition of the lower sail, this is also measured.
The wing wears most in the centre. Experience has shown that the centre of the wing has the worse fabric values, while the values towards the wing tips are generally better. This is due to the higher load in the centre of the wing and the higher friction with the ground.
Most manufacturers provide check instructions for download, some manufacturers must be requested.
As the porosity measurement delivers perfect values and the overall impression of the glider is also excellent, Michi does not carry out the tear test with the Bettsometer. In the photo, she demonstrates how the tear test is normally carried out using scraps of fabric.
Visual inspection of the wing
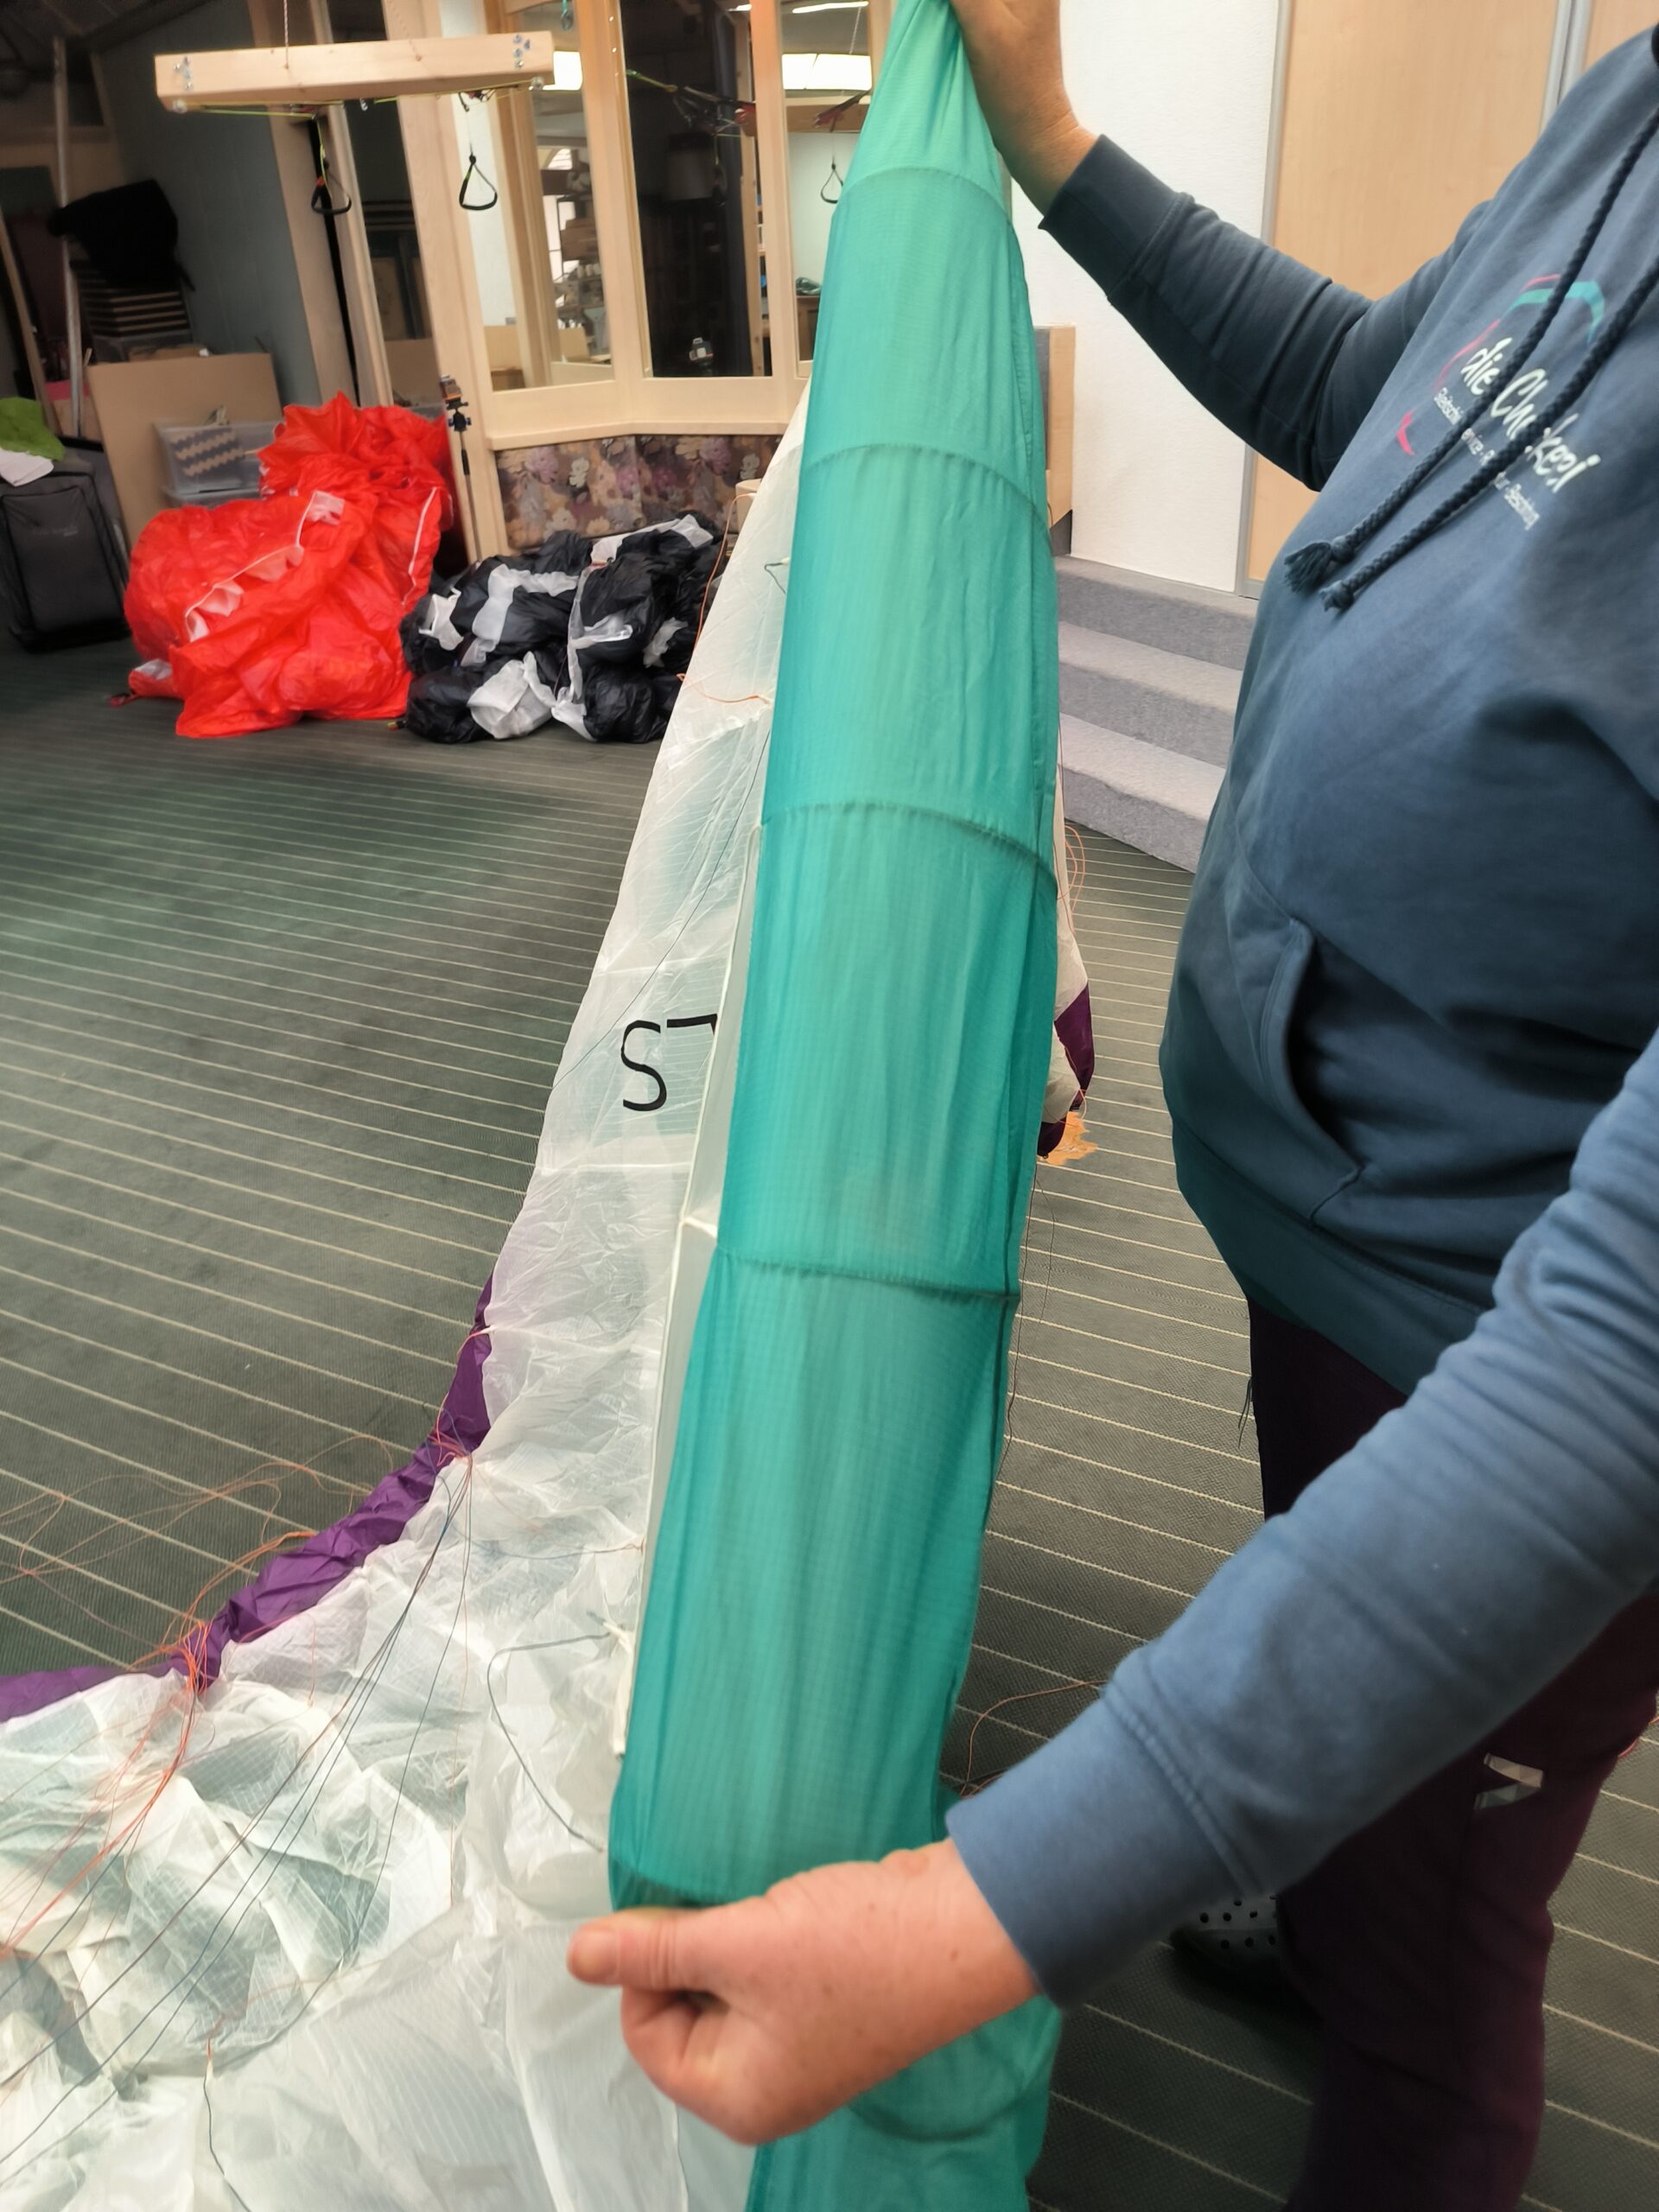
The leading edge is checked, as shown in the picture, by tensioning the edge and looking at it piece by piece. It often happens that the glider falls on its nose. Subsequent sanding on the ground leads to damage to the leading edge.
Michi makes the following two observations that can cause damage to the glider:
After landing, pilots make a rosette of the glider, put it over their shoulder and walk to the dismantling site. The glider is often dragged along the ground.
The paraglider is spread out on a gravelled or asphalted surface and pulled over this surface to pack it. This puts extreme strain on the material.
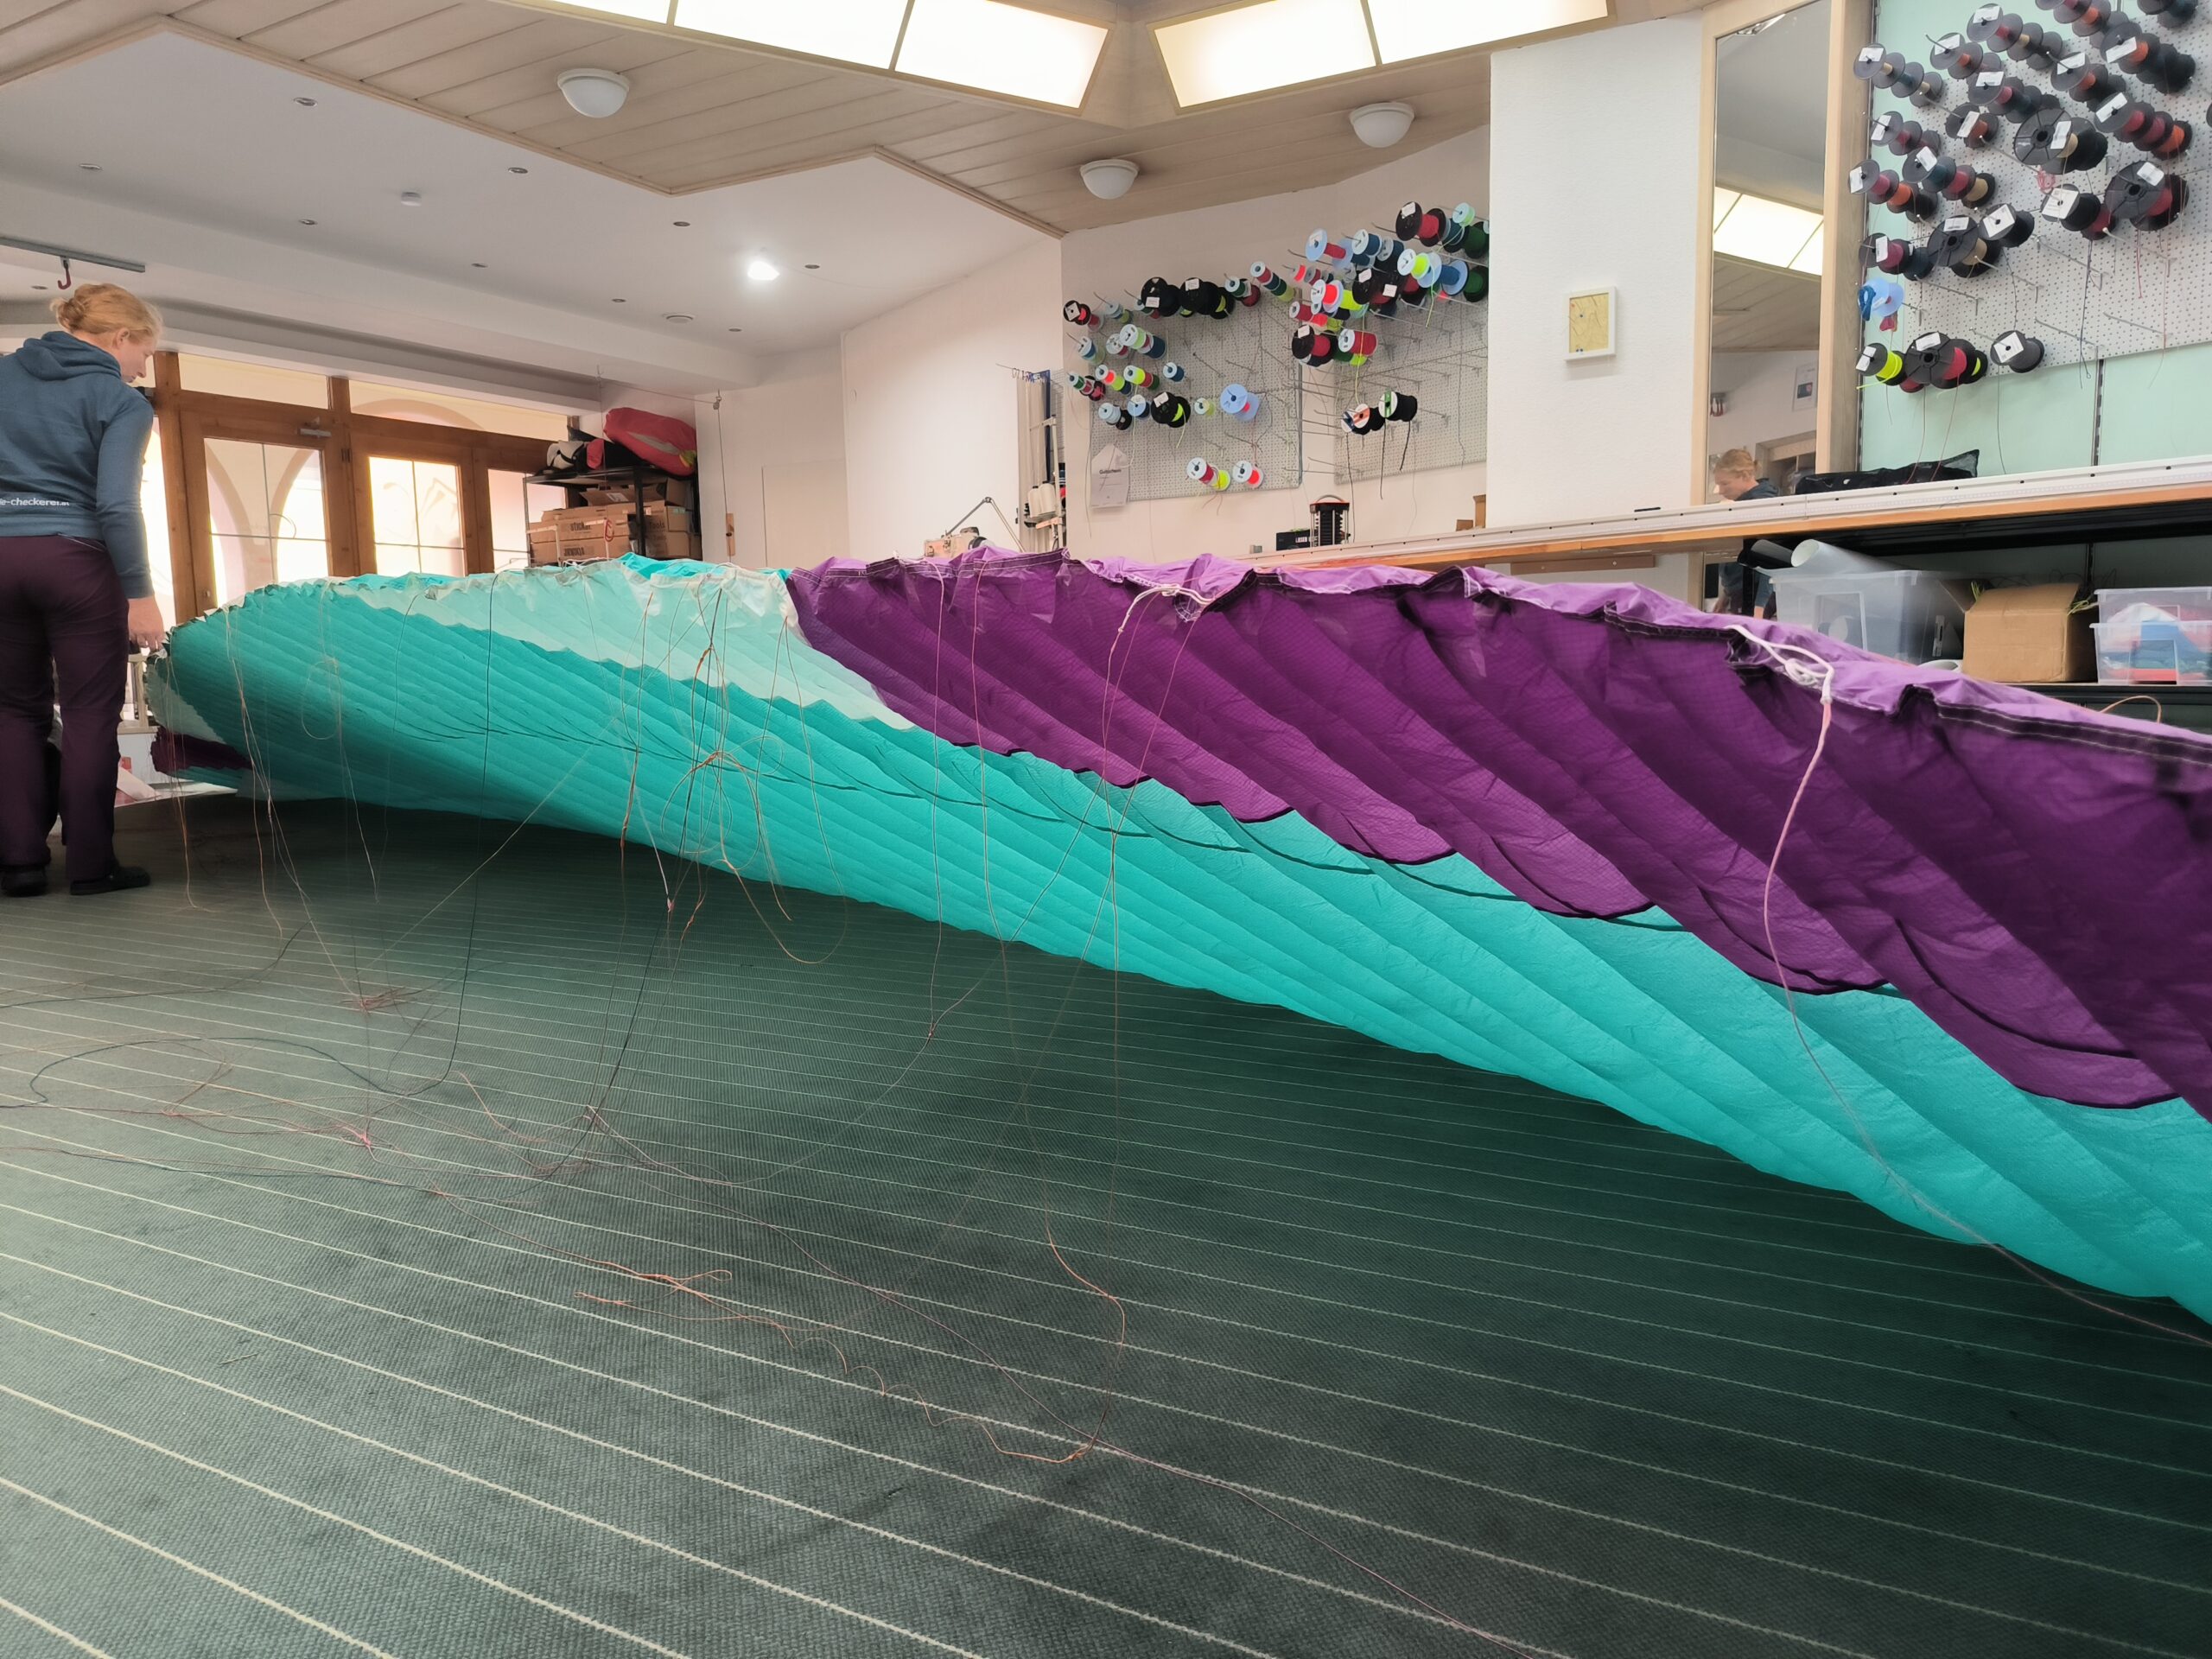
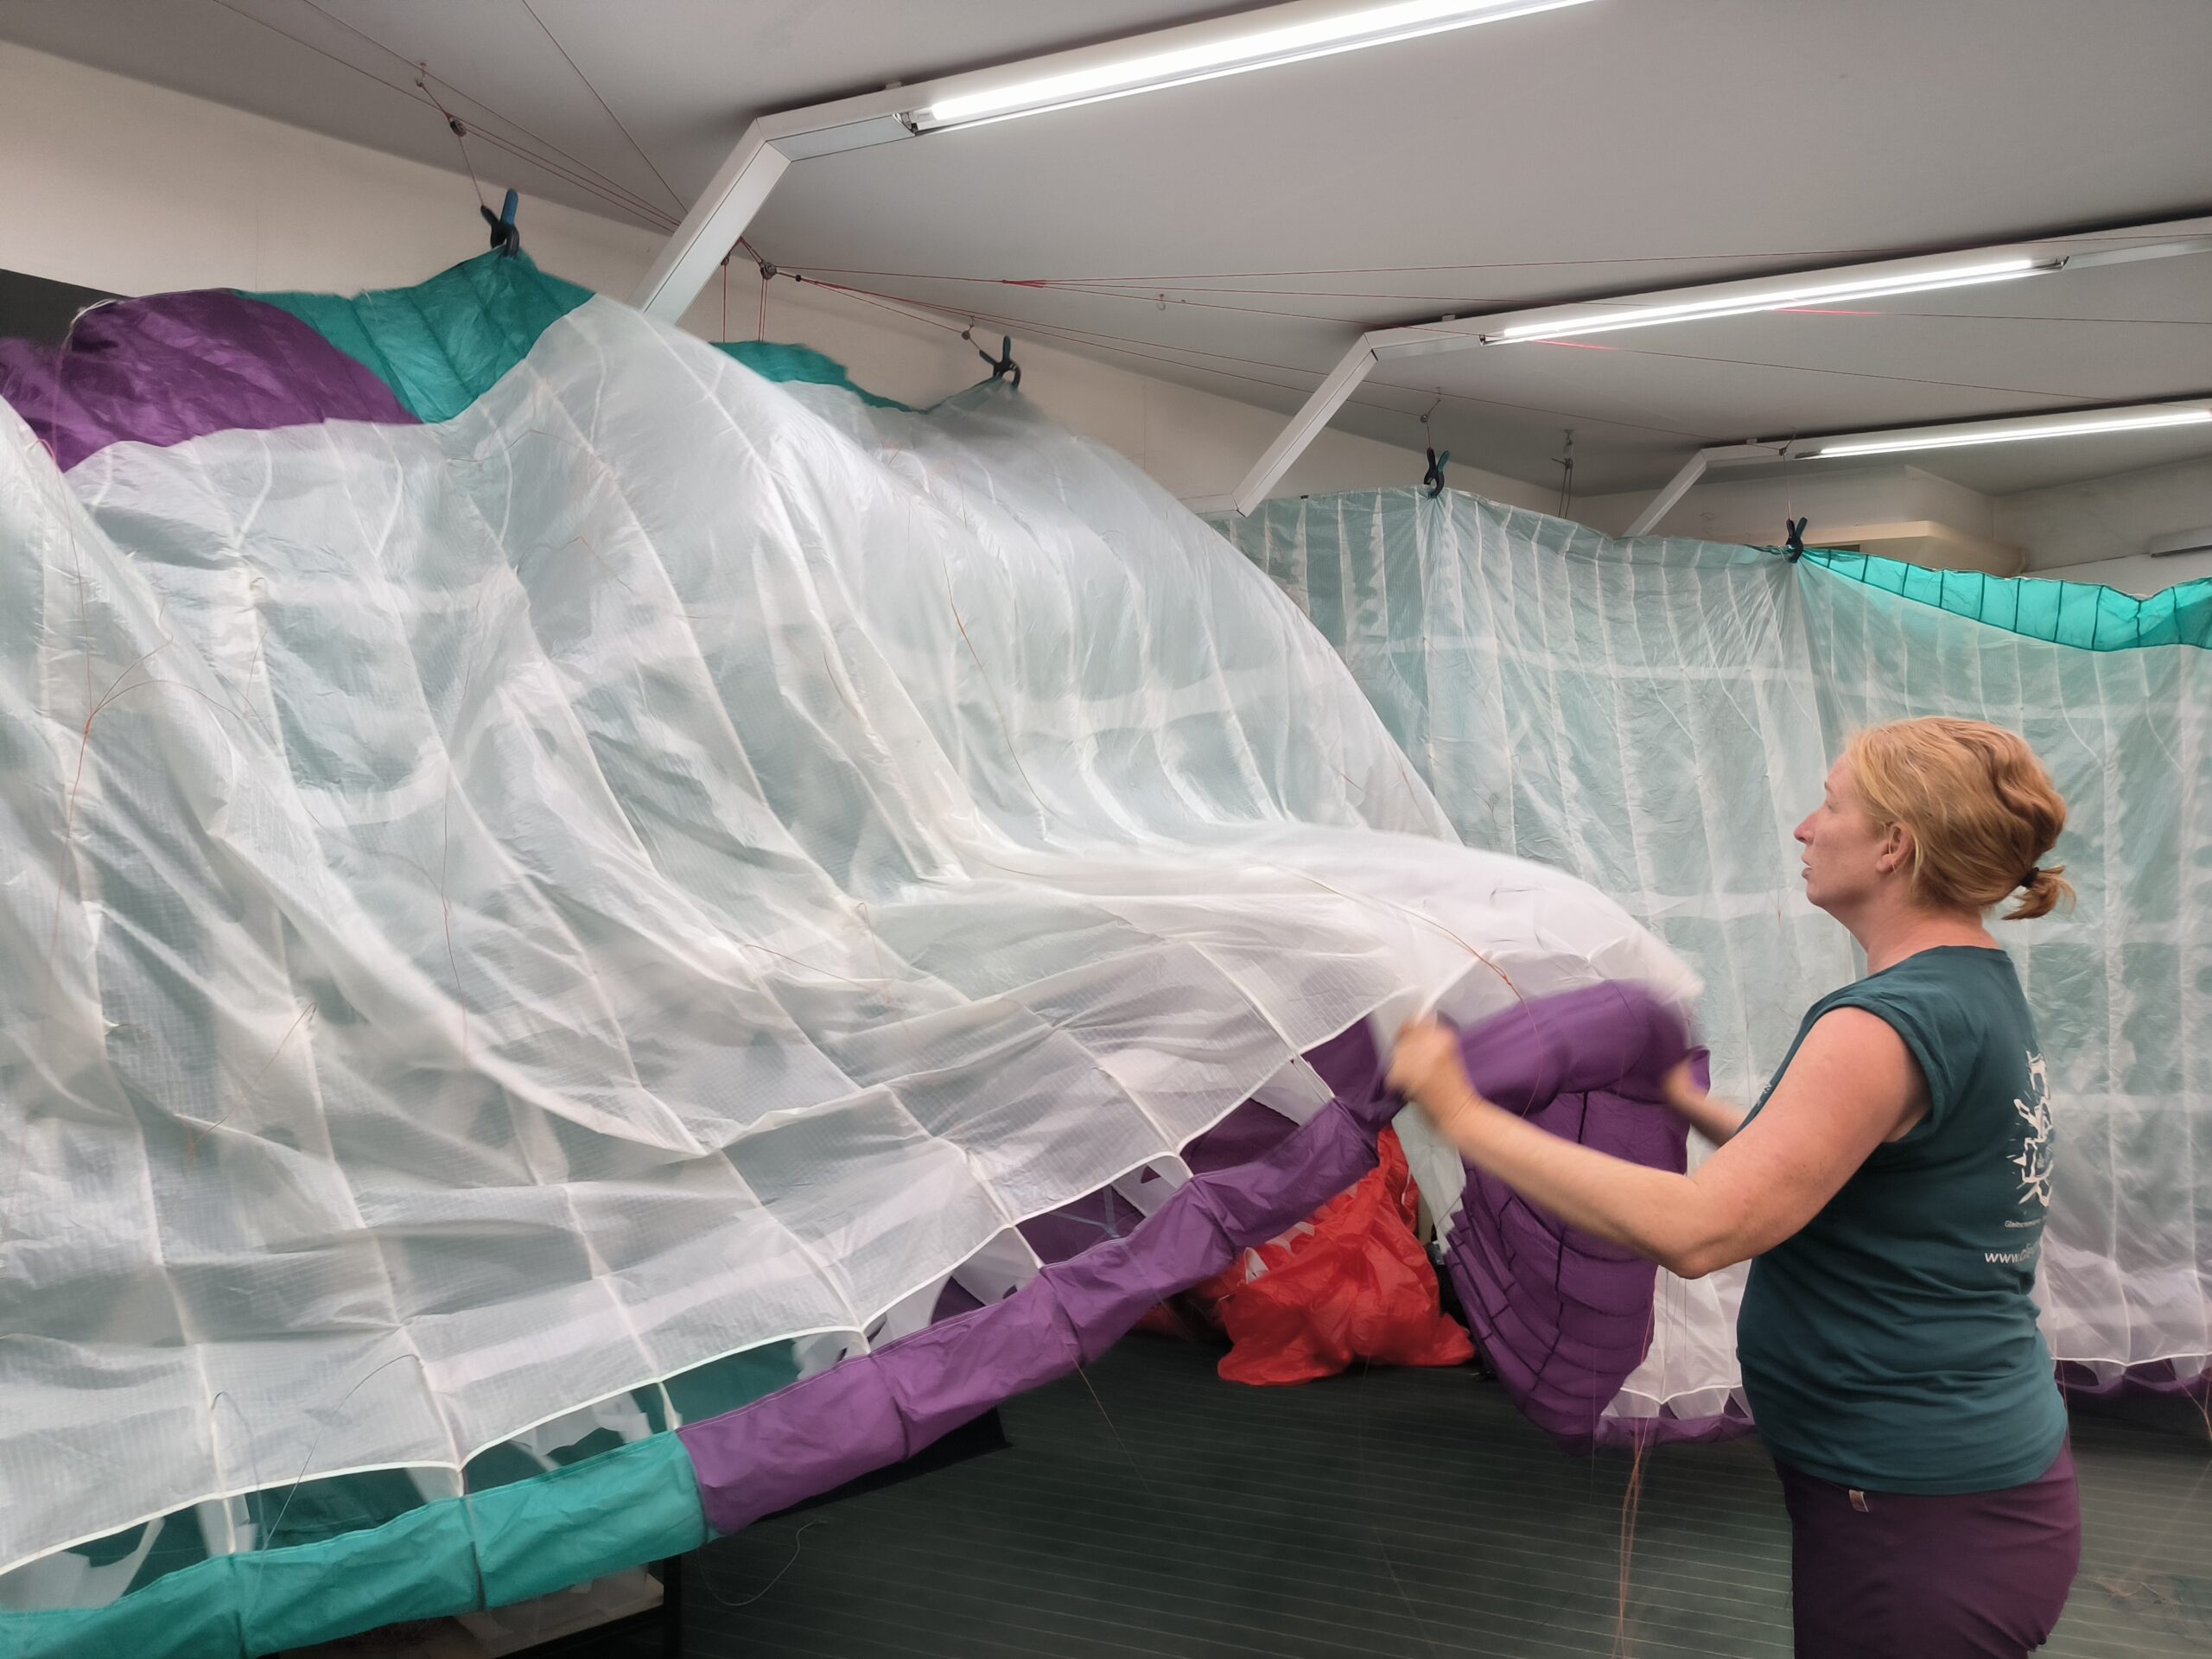
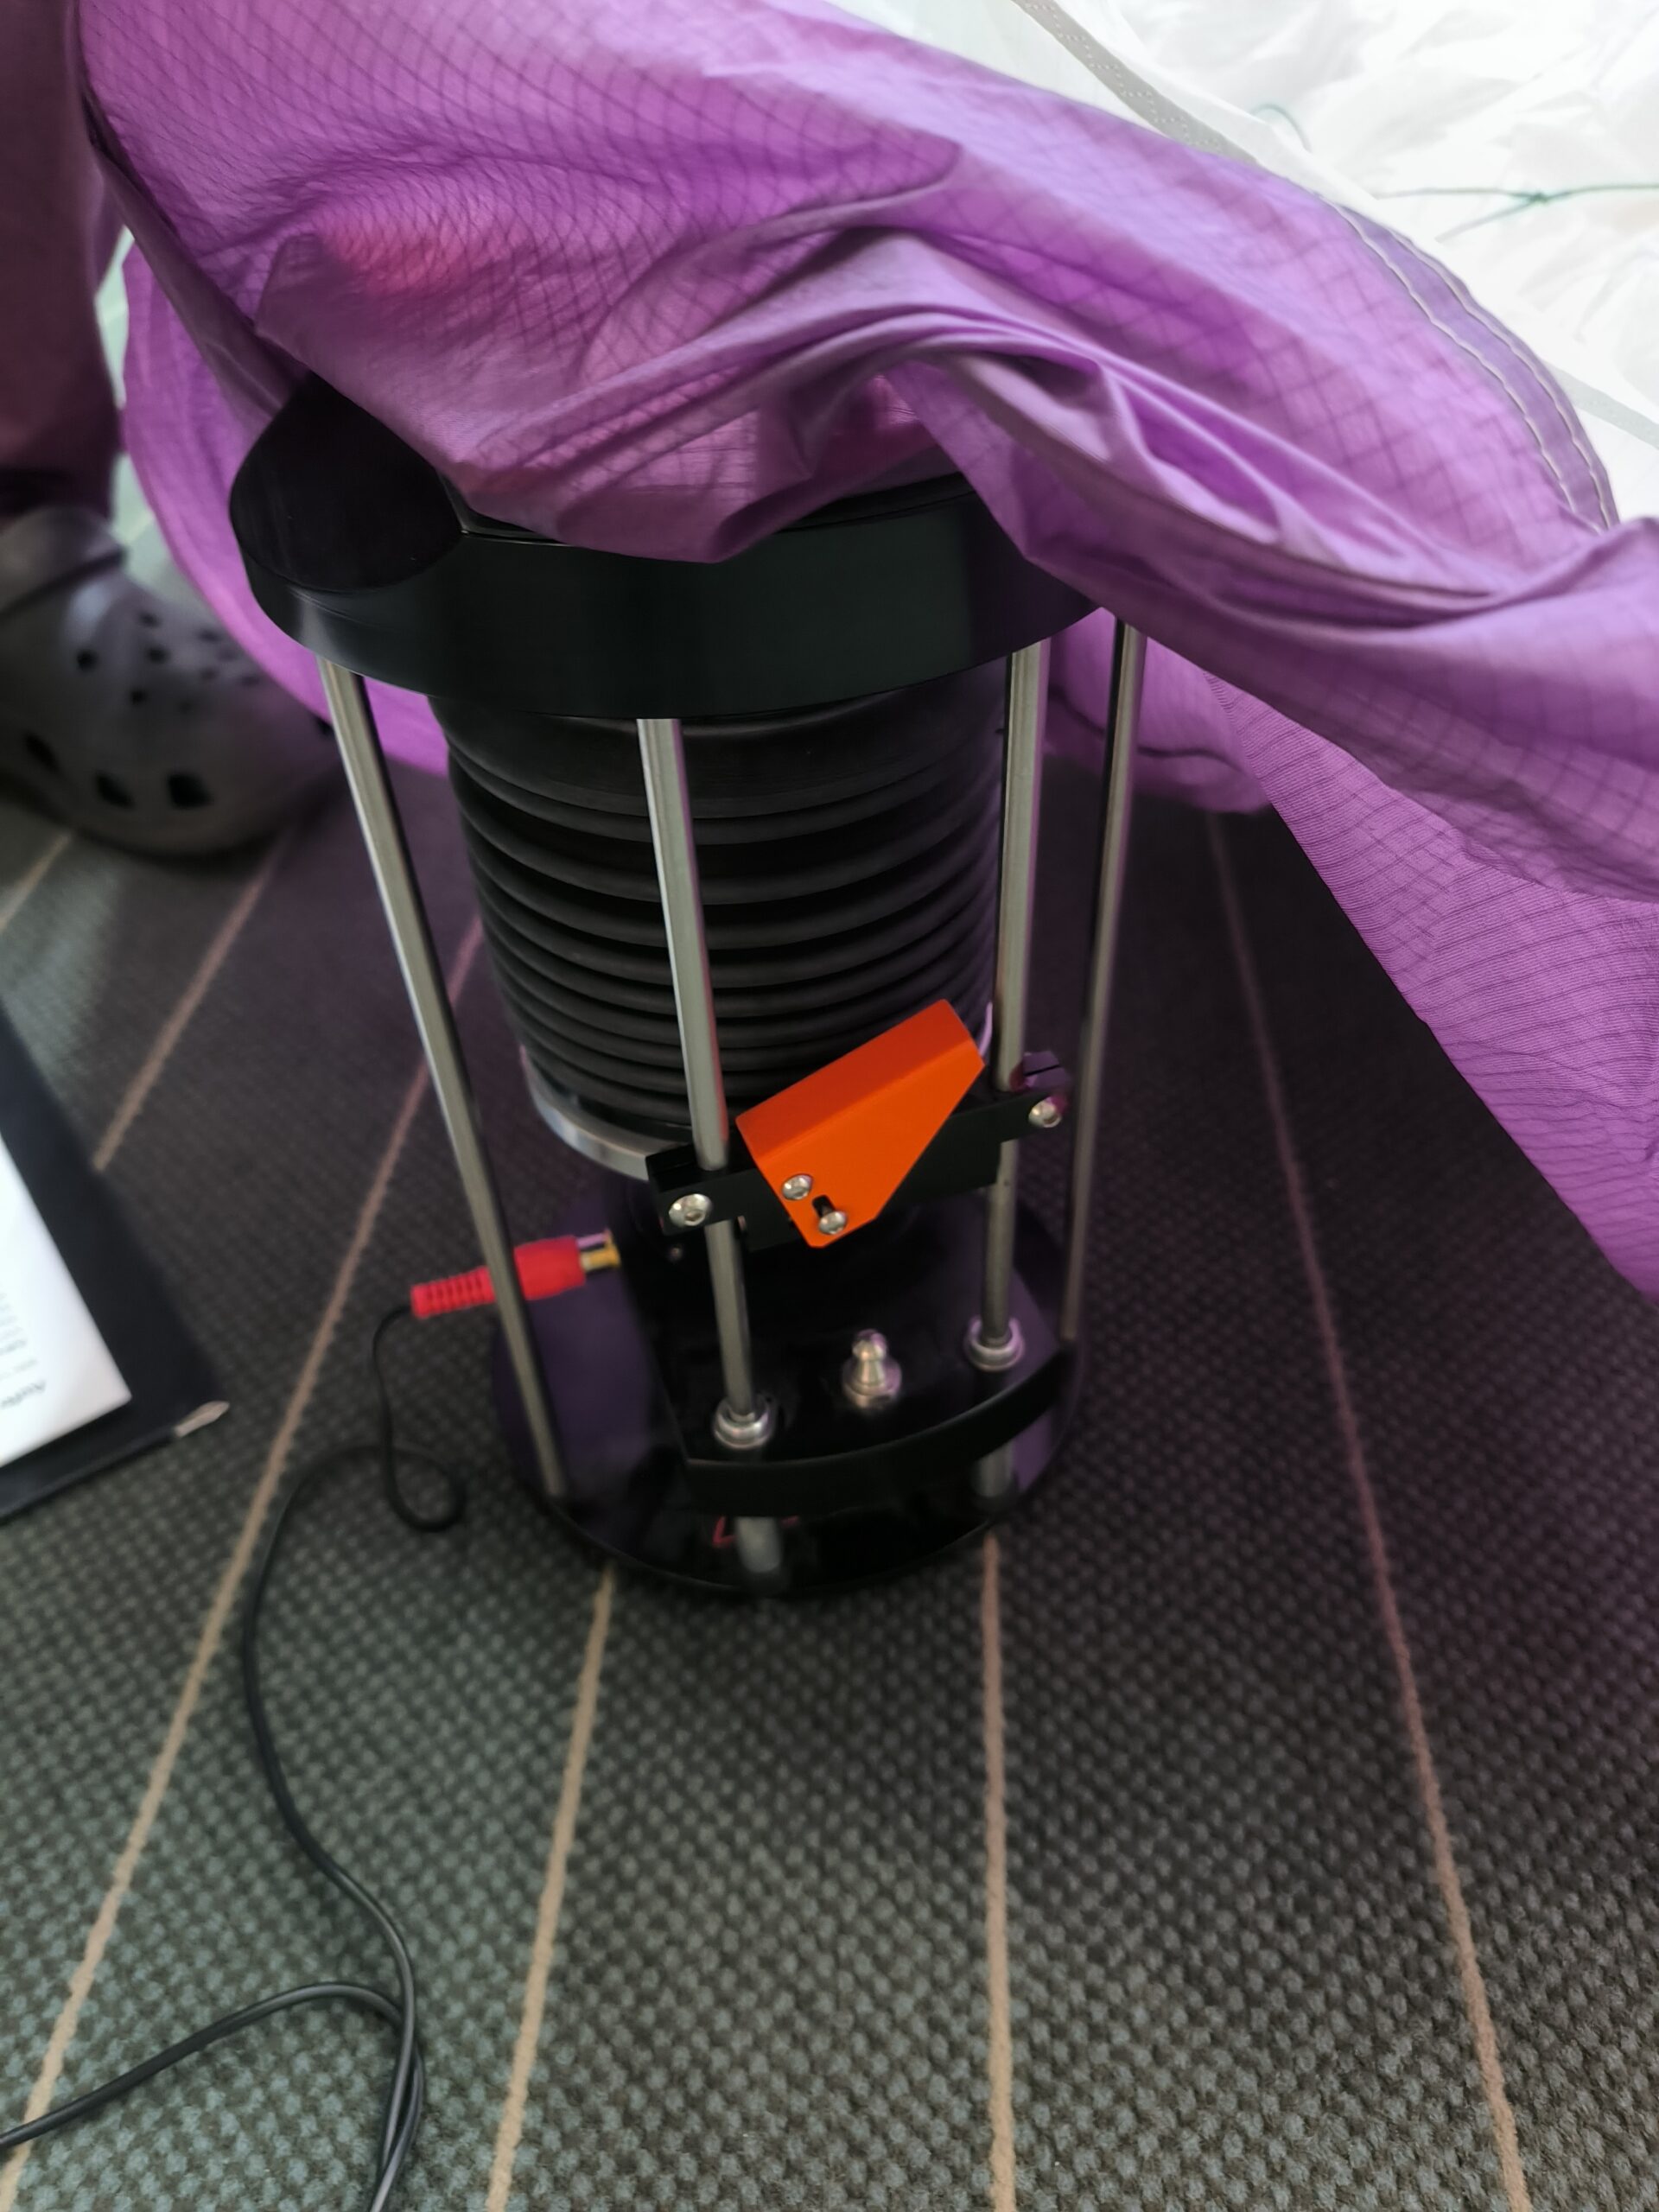
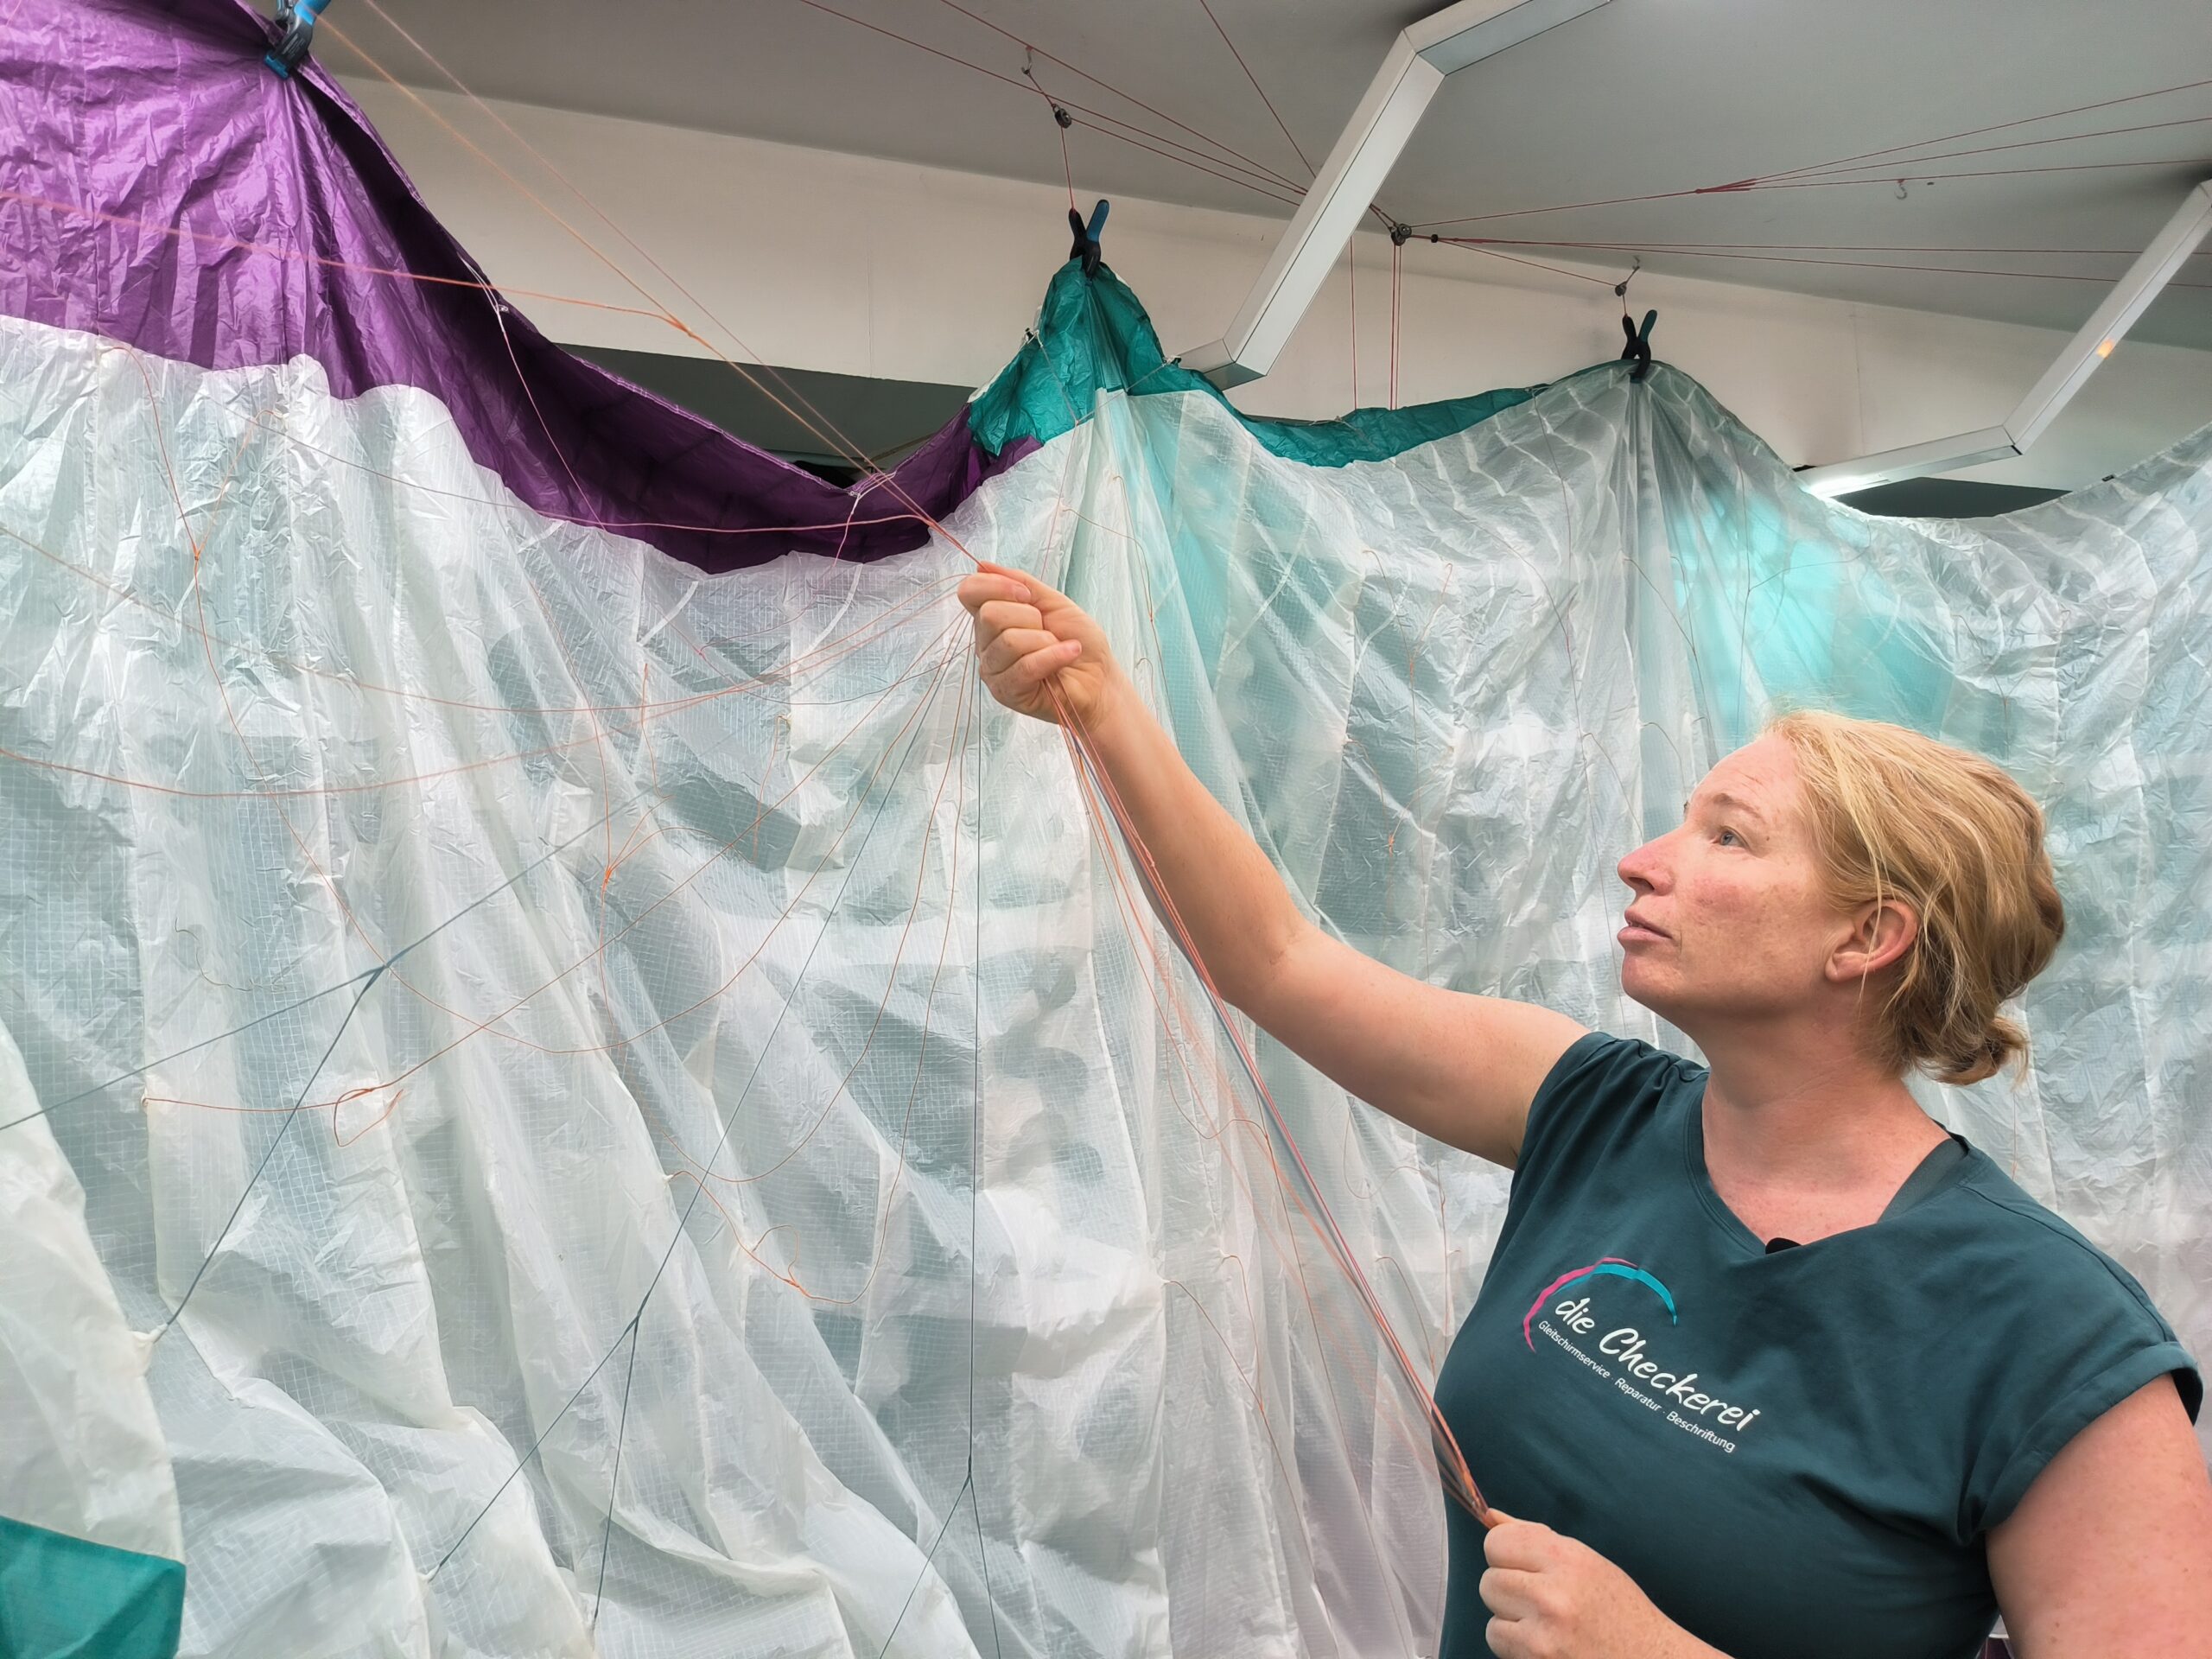
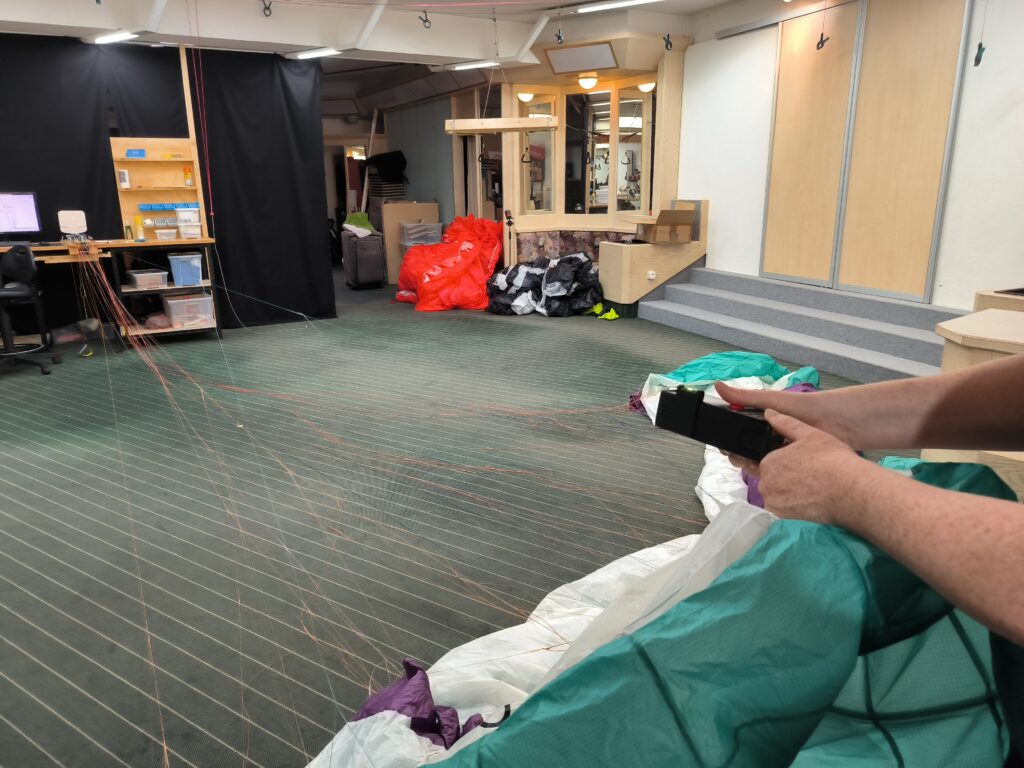
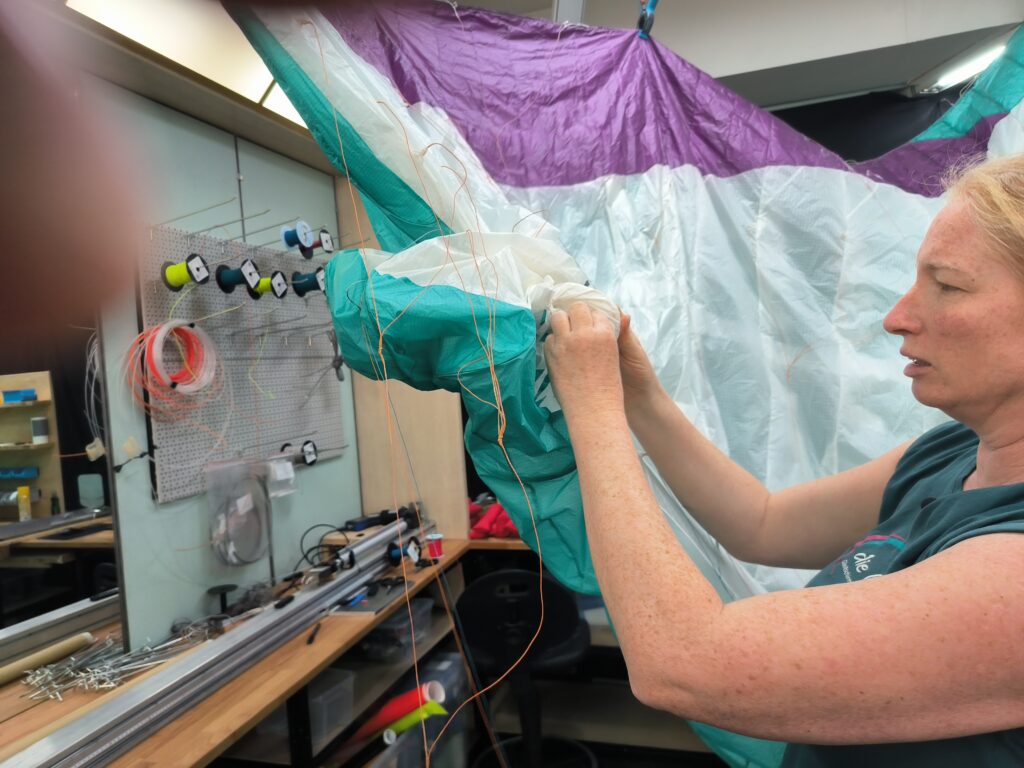
Very long packing bags are used to close the leading edge down to the centre cell. The canopy is then inflated through the centre cell using a blower. Not all manufacturers specify this method, but it makes it easy to determine whether the inner profile ribs and tension bands are damaged. This would be clearly noticeable as a dent.
This method has advantages over simply hanging the glider, as it would hardly be possible to check the glider due to the large number of profile ribs and tension bands. Damage to the upper or lower sail can be easily recognised by escaping air.
Possible causes of internal damage are
- After landing, the wing falls onto the leading edge. The high pressure that this creates can cause the profile ribs and tension bands to tear.
- After a water landing, the gliders are often pulled out of the water at the leading edge. The clearly better method is to pull the glider out at the trailing edge so that the water can escape at the leading edge and the stress on the fabric is minimised.
In response to my question as to whether certain colours are subject to a faster ageing process, Michi cannot confirm from experience that a certain colour ages faster or not.
Although the paraglider can be stored in the inner packing bag, it should be stored in such a way that the paraglider can dry out. Heat or cold (e.g. because it is stored in a car) also reduce the lifespan of the fabric.
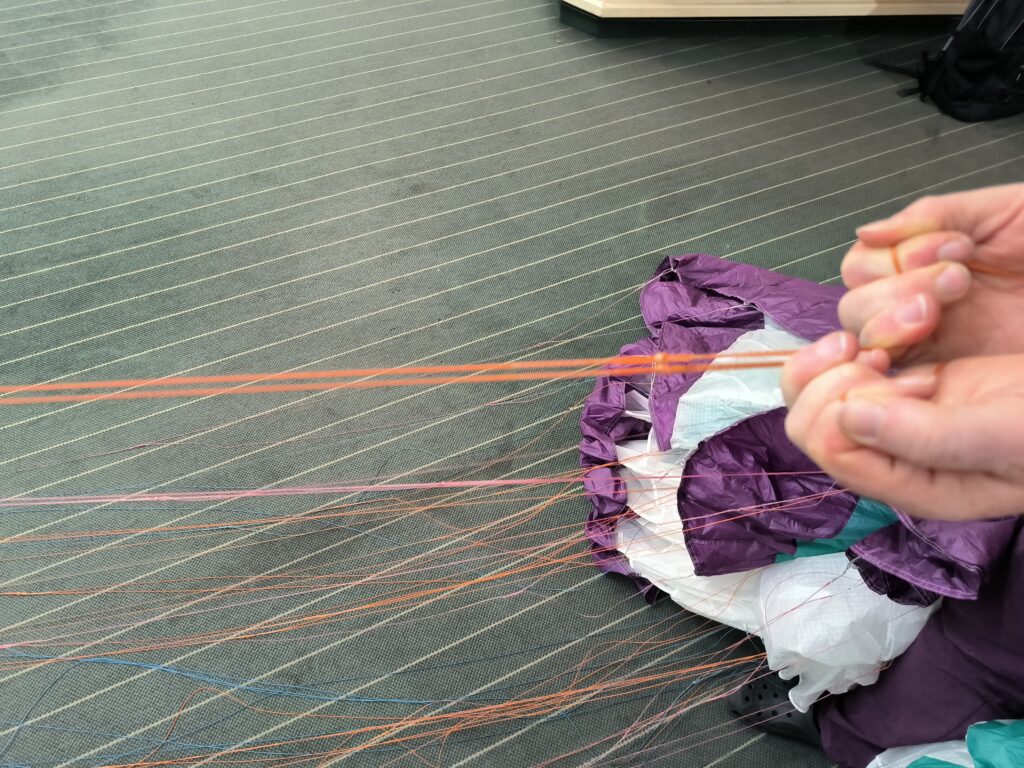
Visual and tactile inspection of the lines
Visual and tactile check of the lines to see if one is defective or roughened. Michi found a damaged A-line, which she replaced. A line load test was then carried out with this line. See below for details.
Visual inspection and checking of all components
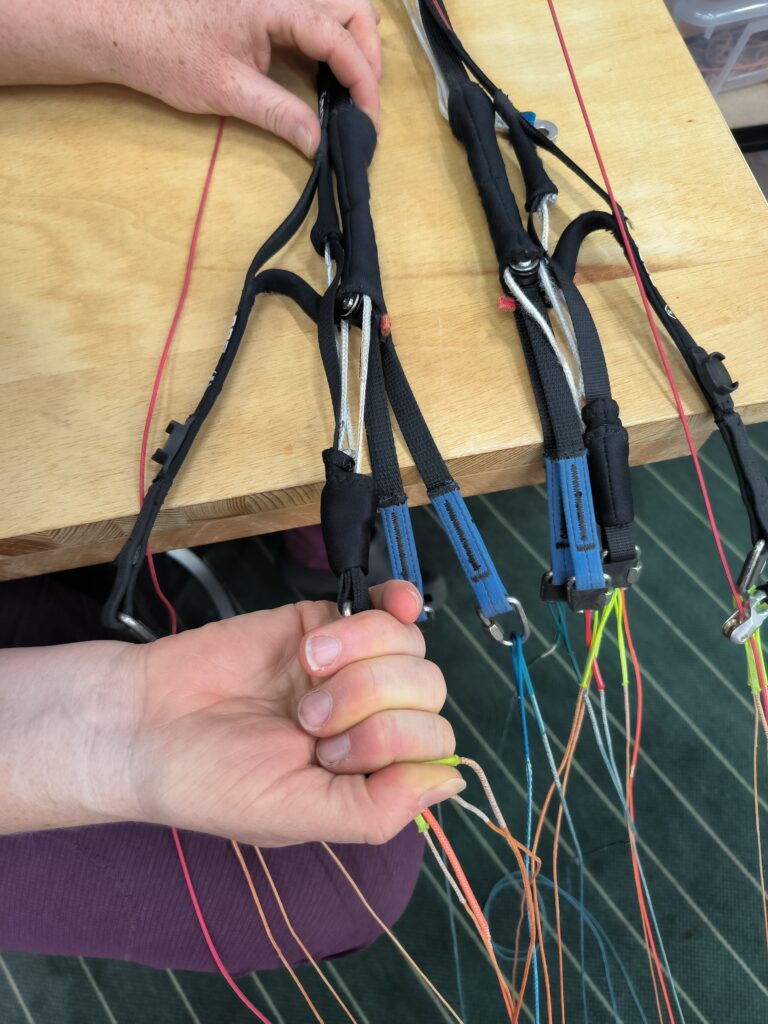
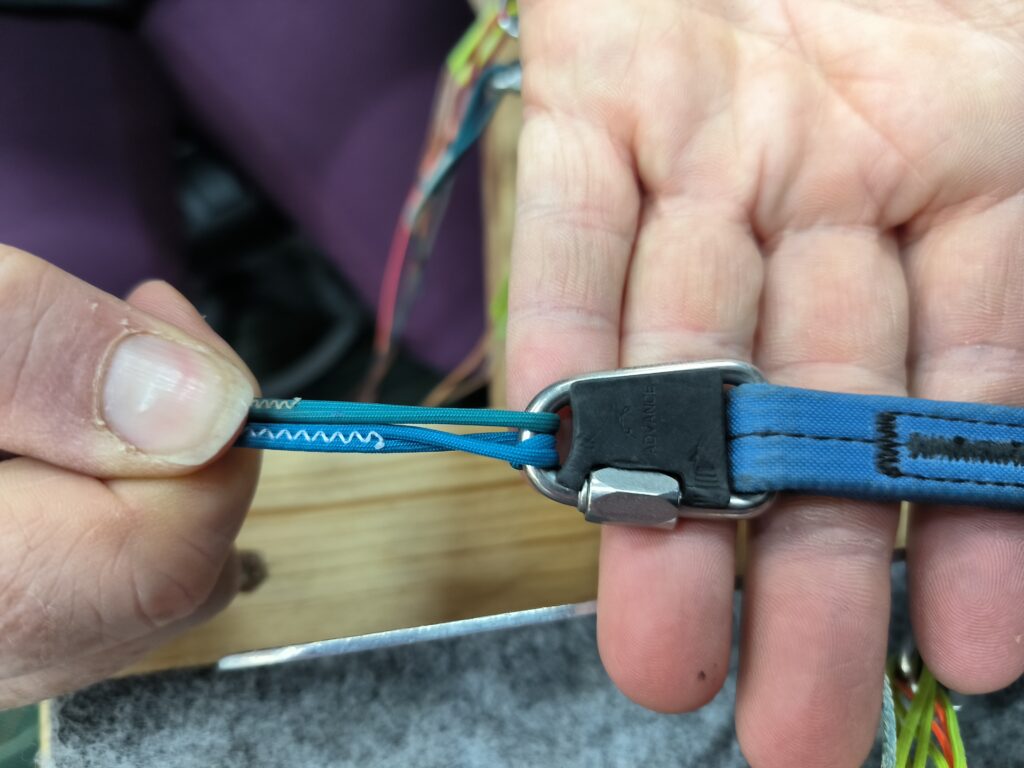
Visual inspection of the risers to ensure that all lines are correctly attached to the delta maillons. Michi often receives gliders for inspection where the lines are not correctly attached. This often happens after a tree landing, with subsequent opening of the delta maillons and incorrect attachment of the lines.
As can be seen in the second photo, the webbing sags slightly (between the pulley and the hand). This is caused by the shrinkage of the Dyneema line for the B-line suspension, but is not a safety problem.
Michi considers pulleys for the brake lines to be the better solution, as the so-called fiddle rings can chafe the brake lines due to barely visible damage.
Michi’s tips:
- Take photos in advance to show which loops have been made. These will help with the subsequent correct attachment, including the correct number and type of loops.
- It is helpful for the checker to know the type of incident (e.g. tree landing) so that they can focus on the possible damage.
Possible damage to the risers:
- These are often damaged by rubbing either the risers or the lines during backward ground handling when they are crossed over or during a twist.
- Further possible damage can occur to the B-level runner on the Dyneema lines or to the rollers of the brake line guide.
Line load test

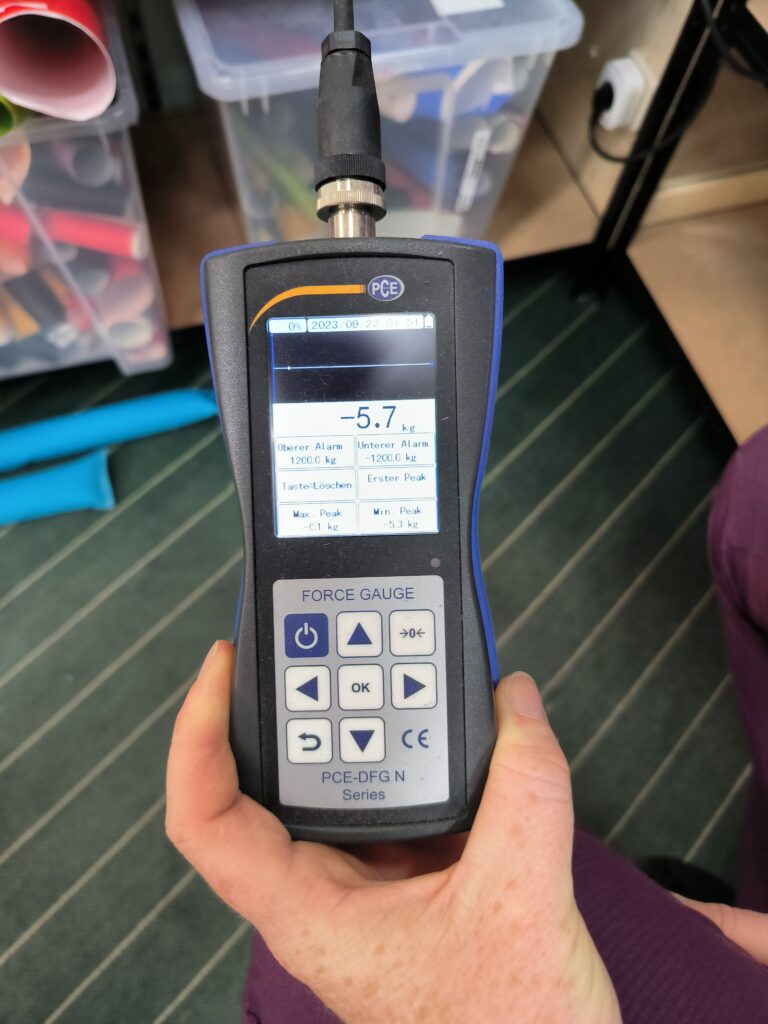
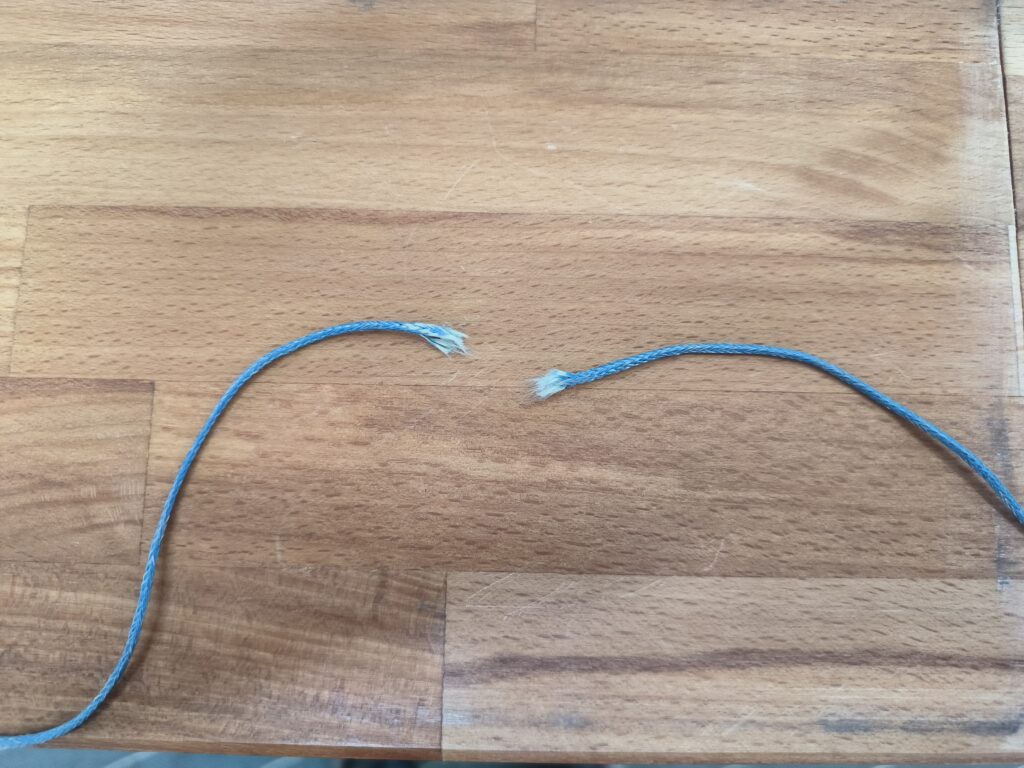
As the overall condition of the glider is apparently perfect, Michi would not carry out a line load test. During the visual inspection, however, she noticed damage to an A-line and used this to carry out the line load test. The line actually breaks at the previously detected point at 108 kg.
As the lines are made of aramid, which is known to be very stable in length, she produces the new line in exactly the same length. You can check the trim yourself after a few hours of flying using the method described below, but it can be assumed that the length of the line will remain stable.
Michi only carries out the line load test if the glider is a little older or if she has a reasonable assumption that there could be a problem with the lines. She believes it is wrong to carry out a general line load test and replace the lines according to the manufacturer’s instructions, as this can lead to problems with the trim after a while.
The manufacturer’s specifications are very different. Phi or Nova, for example, specify that no line load test needs to be carried out for good cloth values of over 200 seconds JDC.
Michi believes that emergency repair kits, which are offered commercially, are useful. However, these only work with unsheathed lines. Basically, the main lines at the launch site can also be repaired by non-professionals in order to save the flying day or holiday. You should also always have a repair kit with you, especially at rocky launch sites.
Line measurement and trim

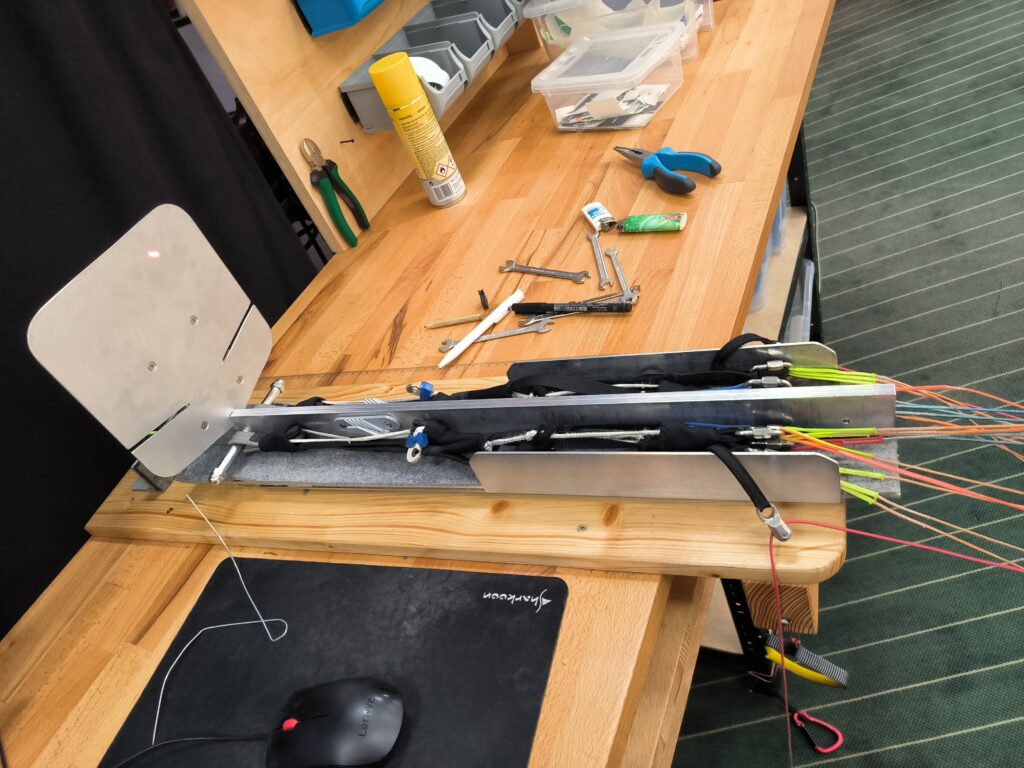
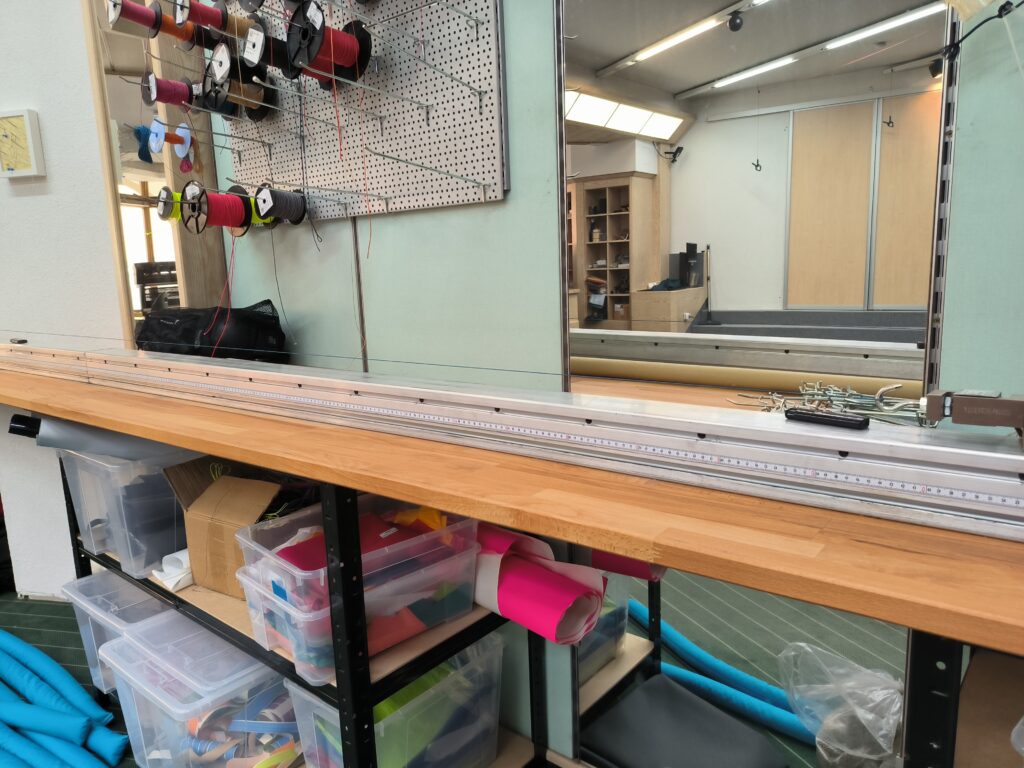
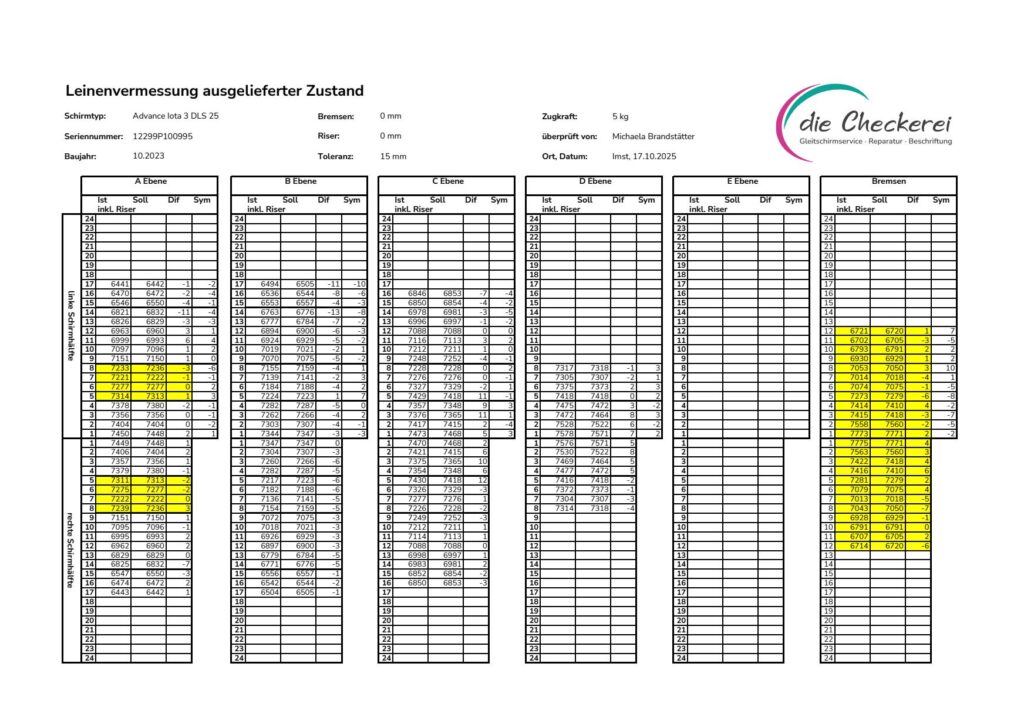
The line measurement is carried out with a laser measuring device, very similar to what I have already described in the article on line measurement with we-measure. The measured values are transferred to an Excel file via Bluetooth. It is important to also measure the risers, as these can also change in length, depending on the type of construction.
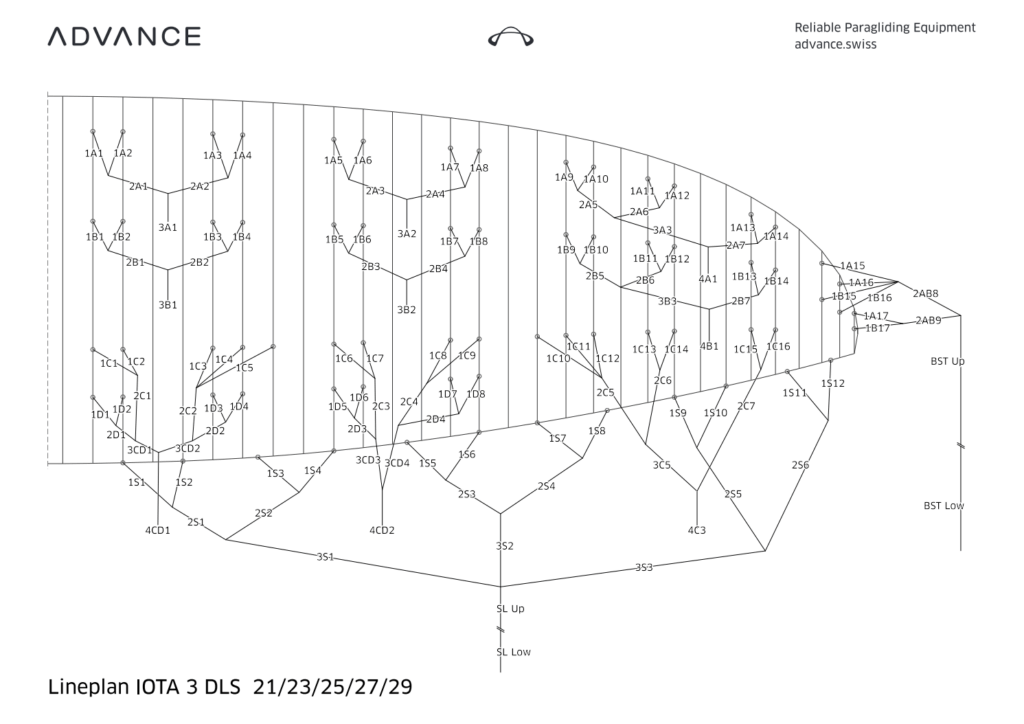
The line plan of the Iota DLS. The line numbers of the gallery lines (1A1, 1A2 etc.) correspond to the line number in the Excel file.
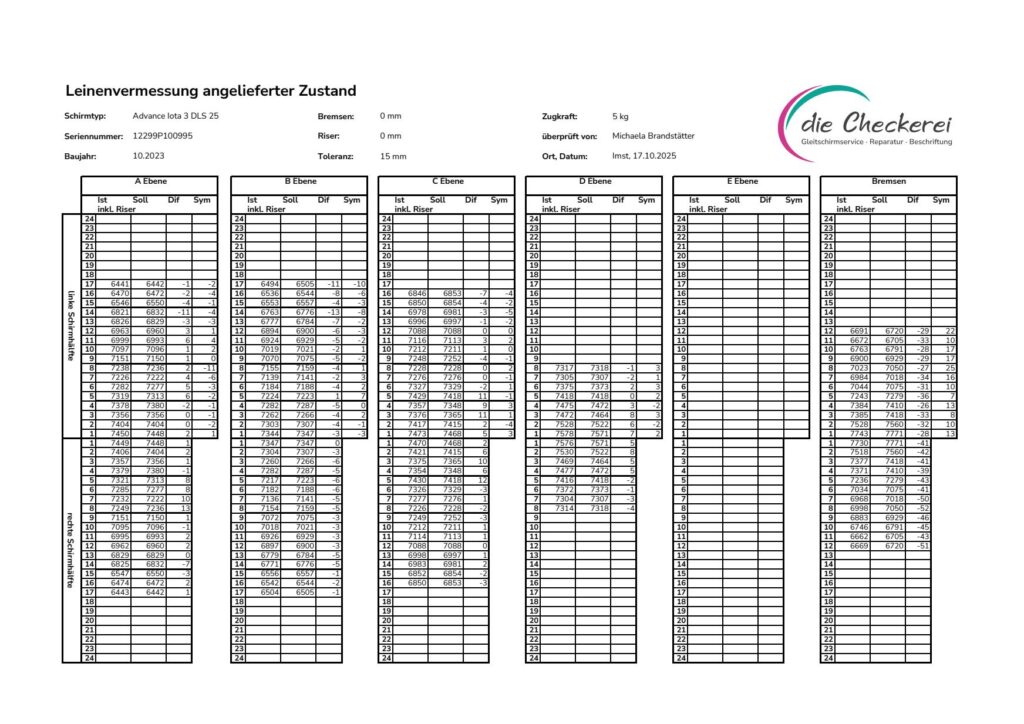
This is where Michi’s line measurement differs from many other check companies, which only provide a protocol after the trim. The protocol before and after the measurement makes it possible to compare the trim.
It may be necessary to set an offset for the measurement, as some manufacturers provide the line length data including the risers and some manufacturers provide it excluding the risers.
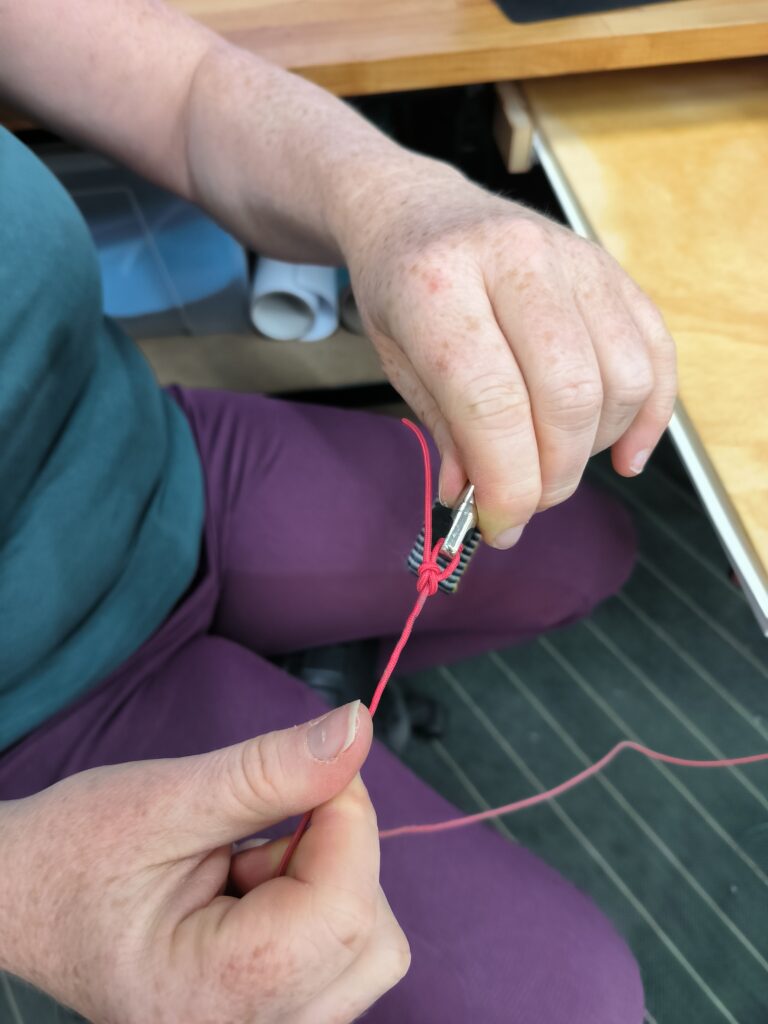
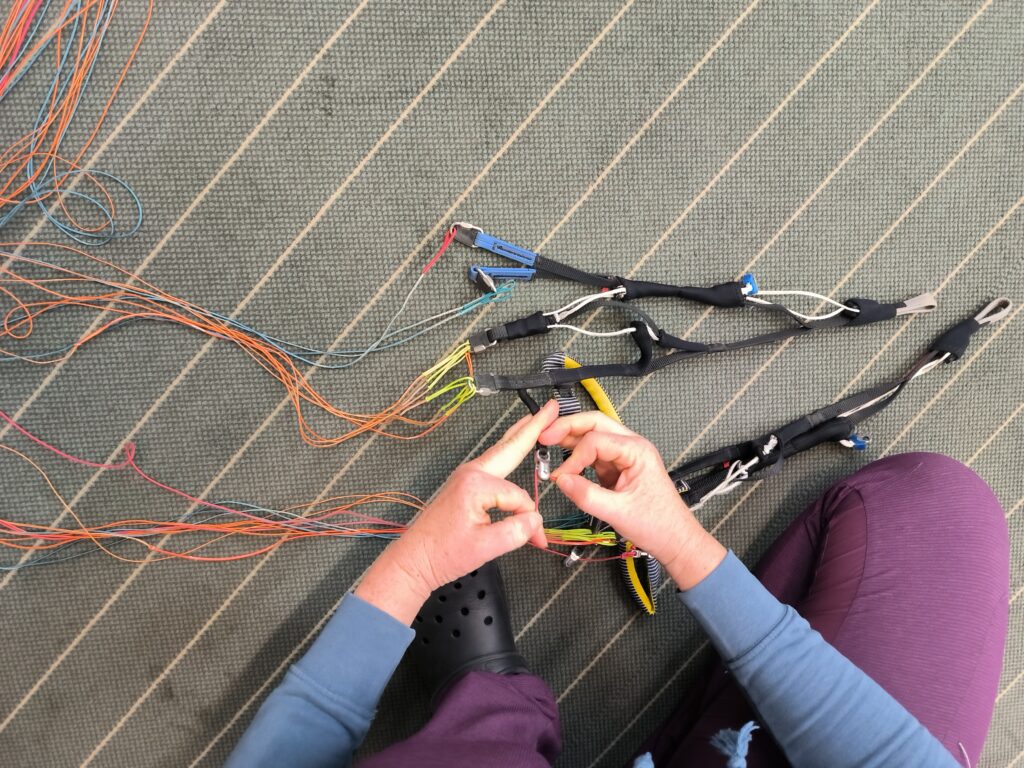
As can be seen from the measurement and which is typical for the brake lines, they have shortened and are also asymmetrical. The brake lines are made of Dyneema and are subject to little load in flight, a combination that causes the brake lines to shrink. Michi recommends the bowline on the handles, as these are always easy to open manually but do not open on their own. Dyneema is used for the brake lines, as these are fed through the pulleys and must therefore be resistant to kinking.
Michi carries out a simple symmetry check by inserting the brake handles into the bracket and pulling them evenly straight. The knots of the brake lines should be next to each other when symmetrical (see second photo above). The symmetry check also works with all other brake lines of the same level and line number.

Although Michi is already satisfied with the line measurement, she sees potential for optimisation in the 3A2 main line. Basically, she tries to take into account the future change in length of the lines when trimming. The rear lines tend to shrink as they are less stressed in flight. This is in contrast to the lines in the A-lines, which tend to lengthen due to higher loads.
As the line 3A2 on the right-hand side is about 1 cm too long and further elongation is to be expected due to the higher load of the A-line, it is shortened by 1 cm with a double loop on the line lock (see photo above right).
Line 3A2, left-hand side, should be shortened by 5 mm. This can be achieved by placing this line over line 3A1. It is these empirical values, which loop shortens the line by how much, which Michi points out in particular, that make an experienced checker.
Michi does not repeat the measurement after trimming, as she has the relevant experience and knows which loop shortens the lines by the desired amount. If the measurement is repeated, greater lengths would also be measured due to the repeated load of 5 kg.
As the line locks were opened for trimming, she always carries out a final check to ensure that the lines have been correctly hooked into the delta maillons.
Remove coarse dirt
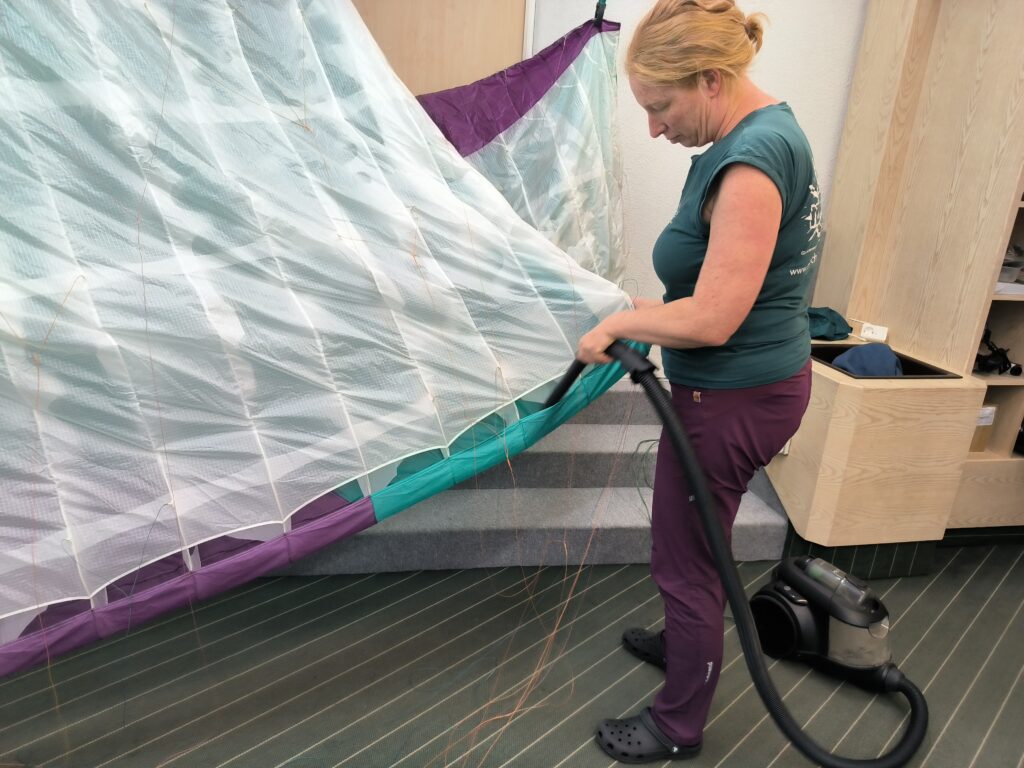
Opening the rear ends, which many manufacturers provide in order to remove dirt, is useless in practice as the dirt gets caught in various cells and not just in the outer cell. The best way to remove the dirt is to hang the paraglider upside down and vacuum out the dirt.
Michi’s tips:
- Turn the leading edge outwards to remove any dirt that is stuck.
- Only remove dirt from cow dung with clean water; cleaning agents should not be used. If necessary, accept discolouration of the fabric.
- Coarser dirt should be removed promptly, especially after flying in special flying areas such as Algodonales.
Check stamp
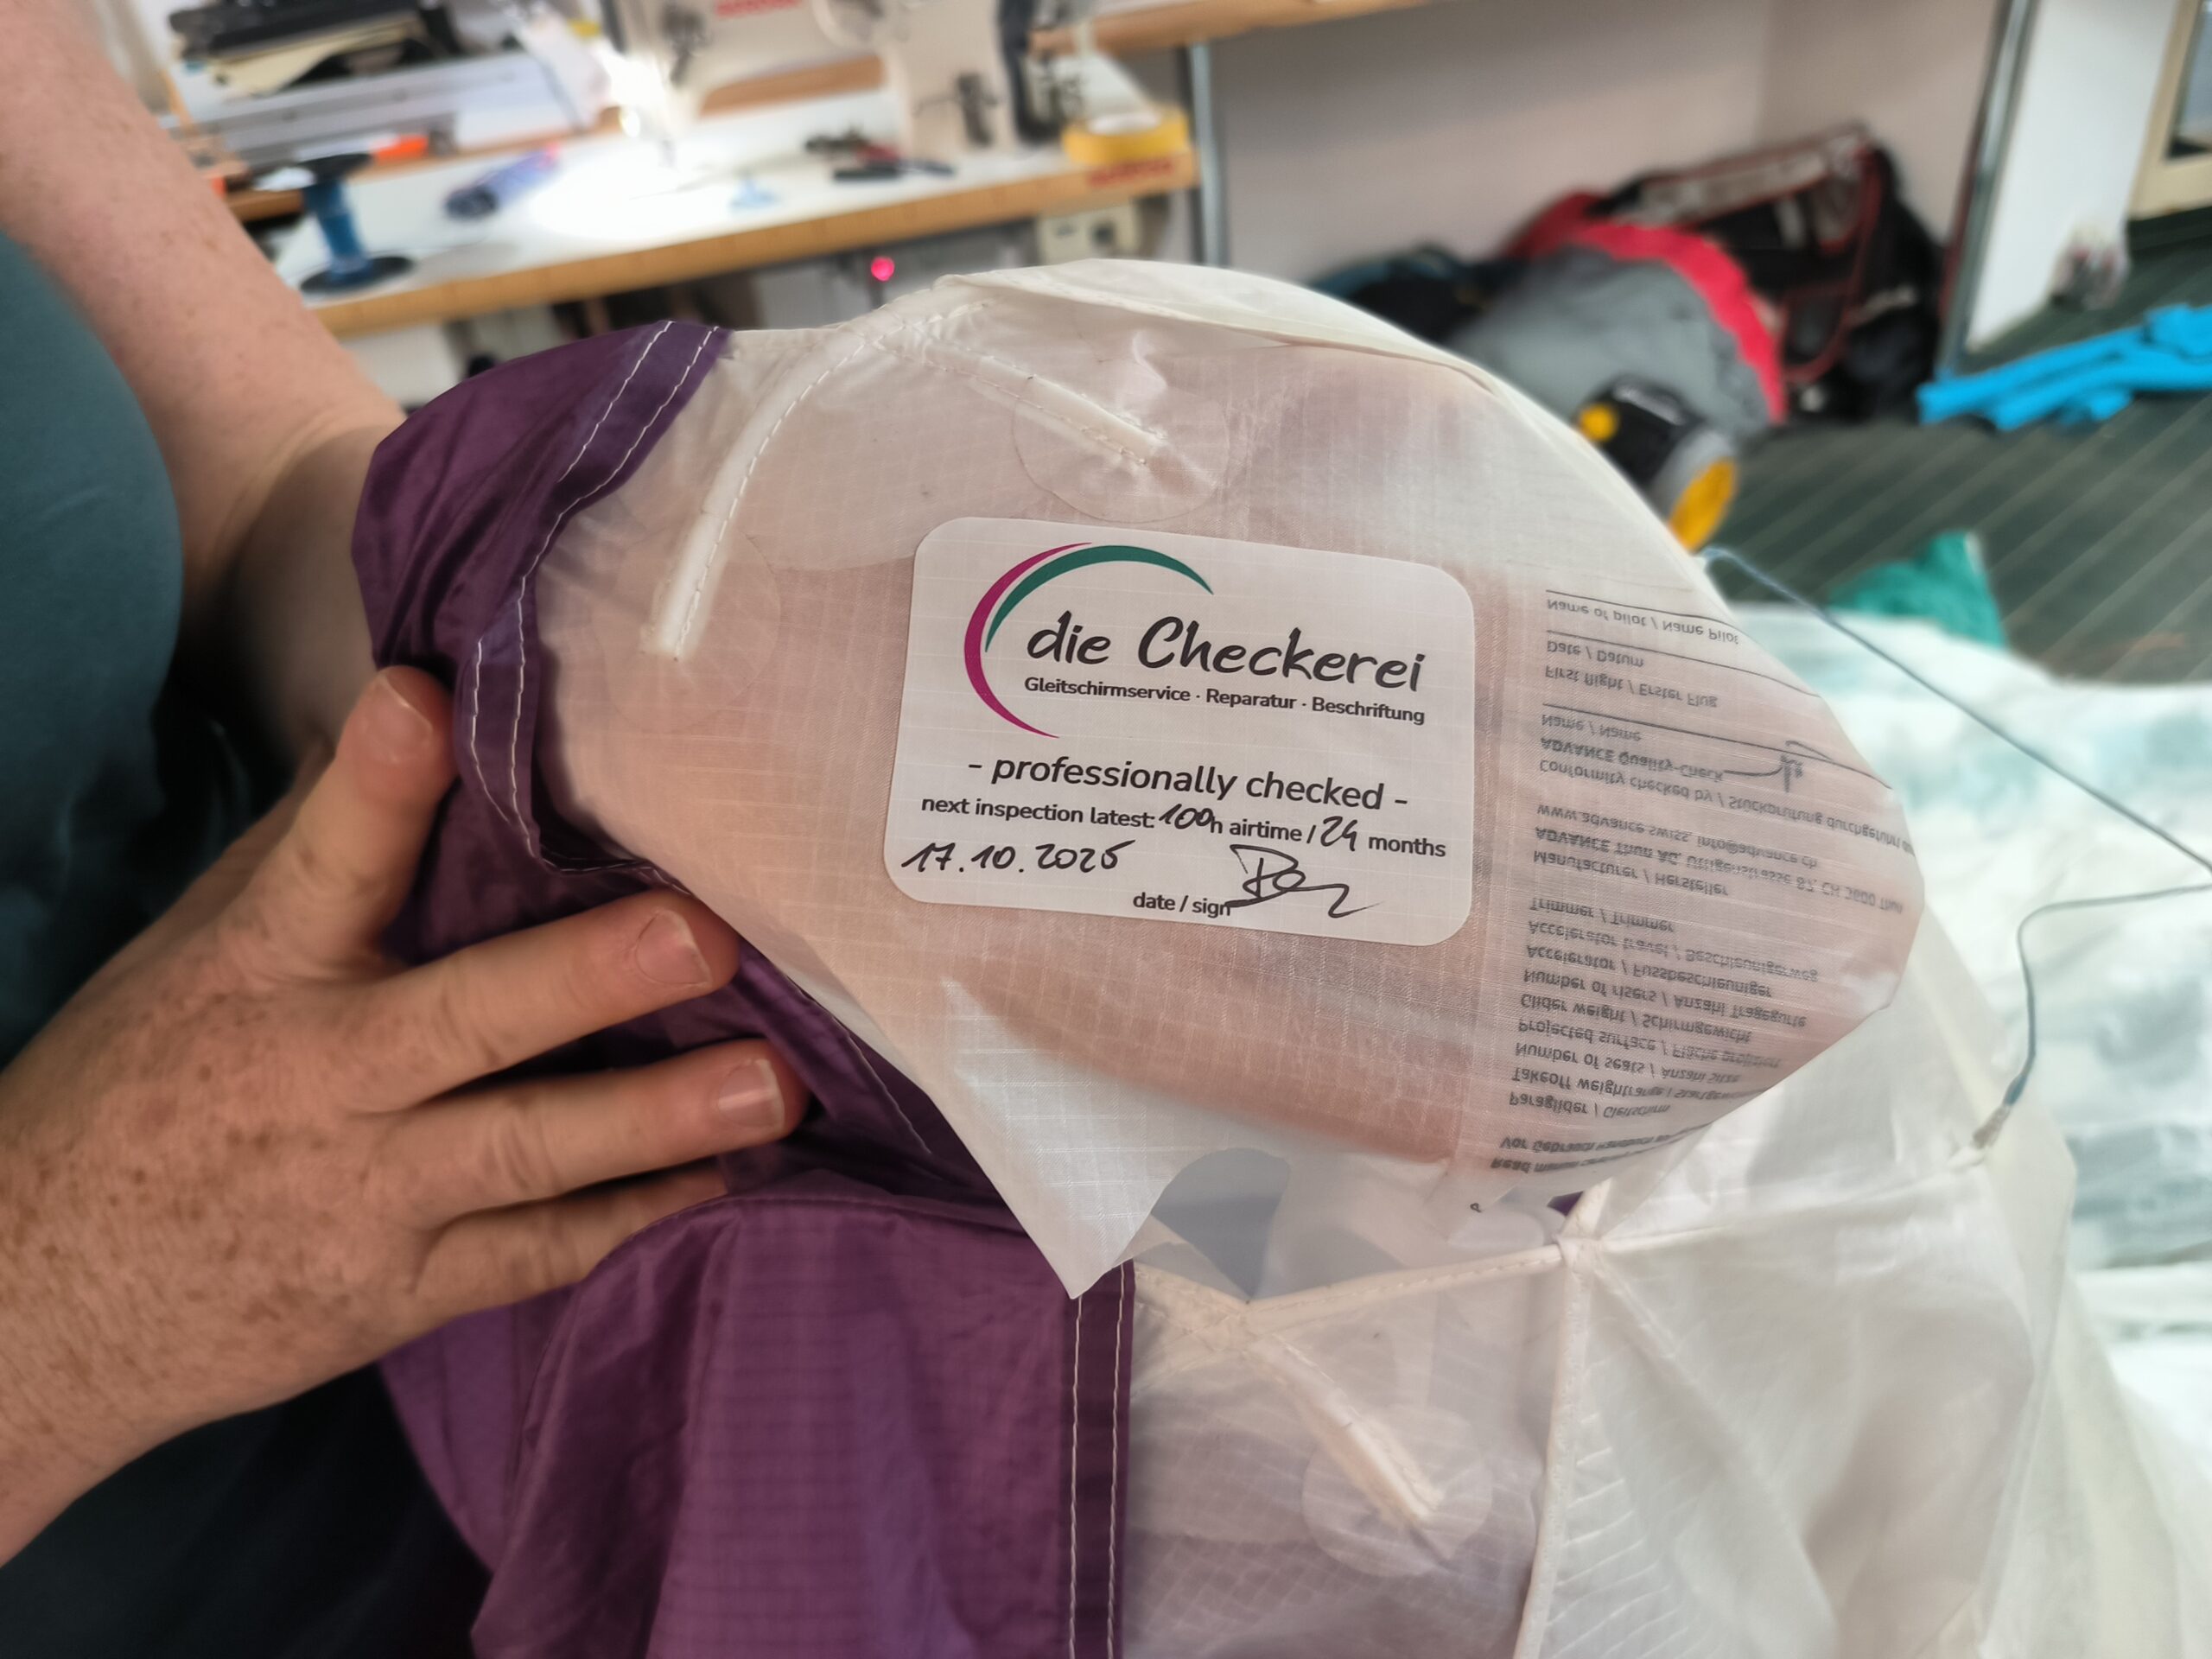
At the end of a successful check you get a sticker in your glider :-).
Conclusion
I can recommend everyone to leave their glider in Michi’s experienced hands for a check:
- Lines are only subjected to a line load test if there are reasonable grounds for suspicion.
- Rice strength testing with the Bettsometer is only carried out if there are reasonable grounds for suspicion. This naturally protects the fabric.
- A detailed report of the line measurement as delivered and after trimming is included.
- Finally, Michi’s wealth of experience gives you the certainty that a good check has been carried out.
I can also highly recommend Michi’s offer to be present at the test to find out more about the background to the check. I learnt a lot of new things and will pay more attention to the condition of my wing and check it regularly myself.