Most pilots are typical local mountain pilots, fly tandem privately or commercially or only do hike and fly. A simple vario without too many technical accessories, such as the Nano Vario, is sufficient for this.
The Nano Vario was kindly made available to me by the manufacturer for testing. It is advertised as the world’s smallest vario. The Nano Vario was developed by the trio Daniel, Manuel and Paul, who complement each other perfectly thanks to their training and have channelled their experience as acro pilots into the development of the Vario.
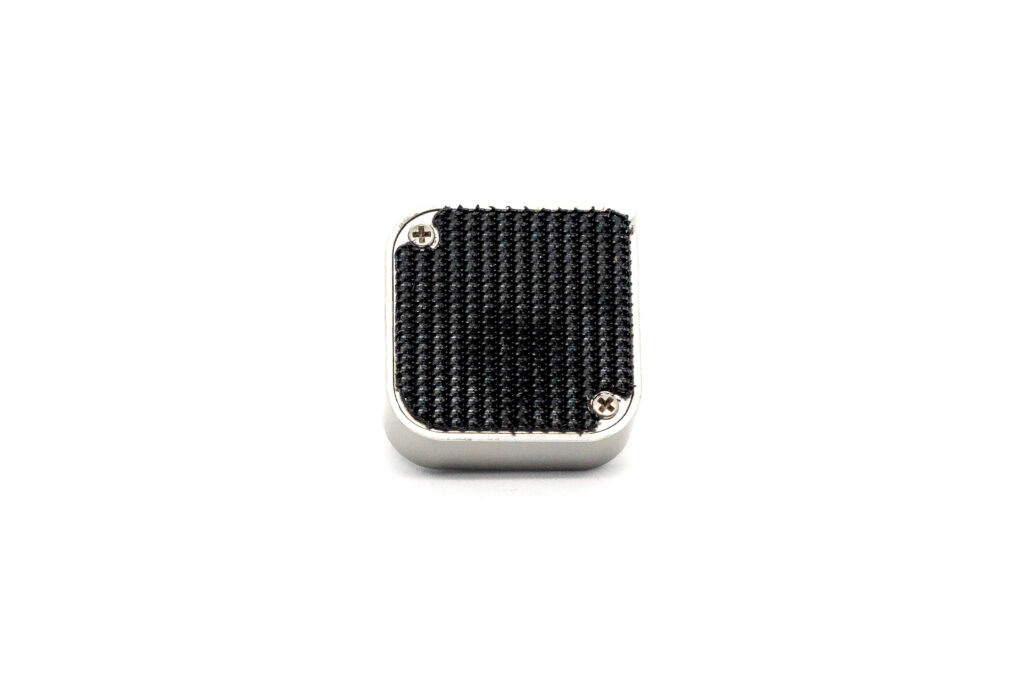
Source of all photos: nanovario.
Structure and technology
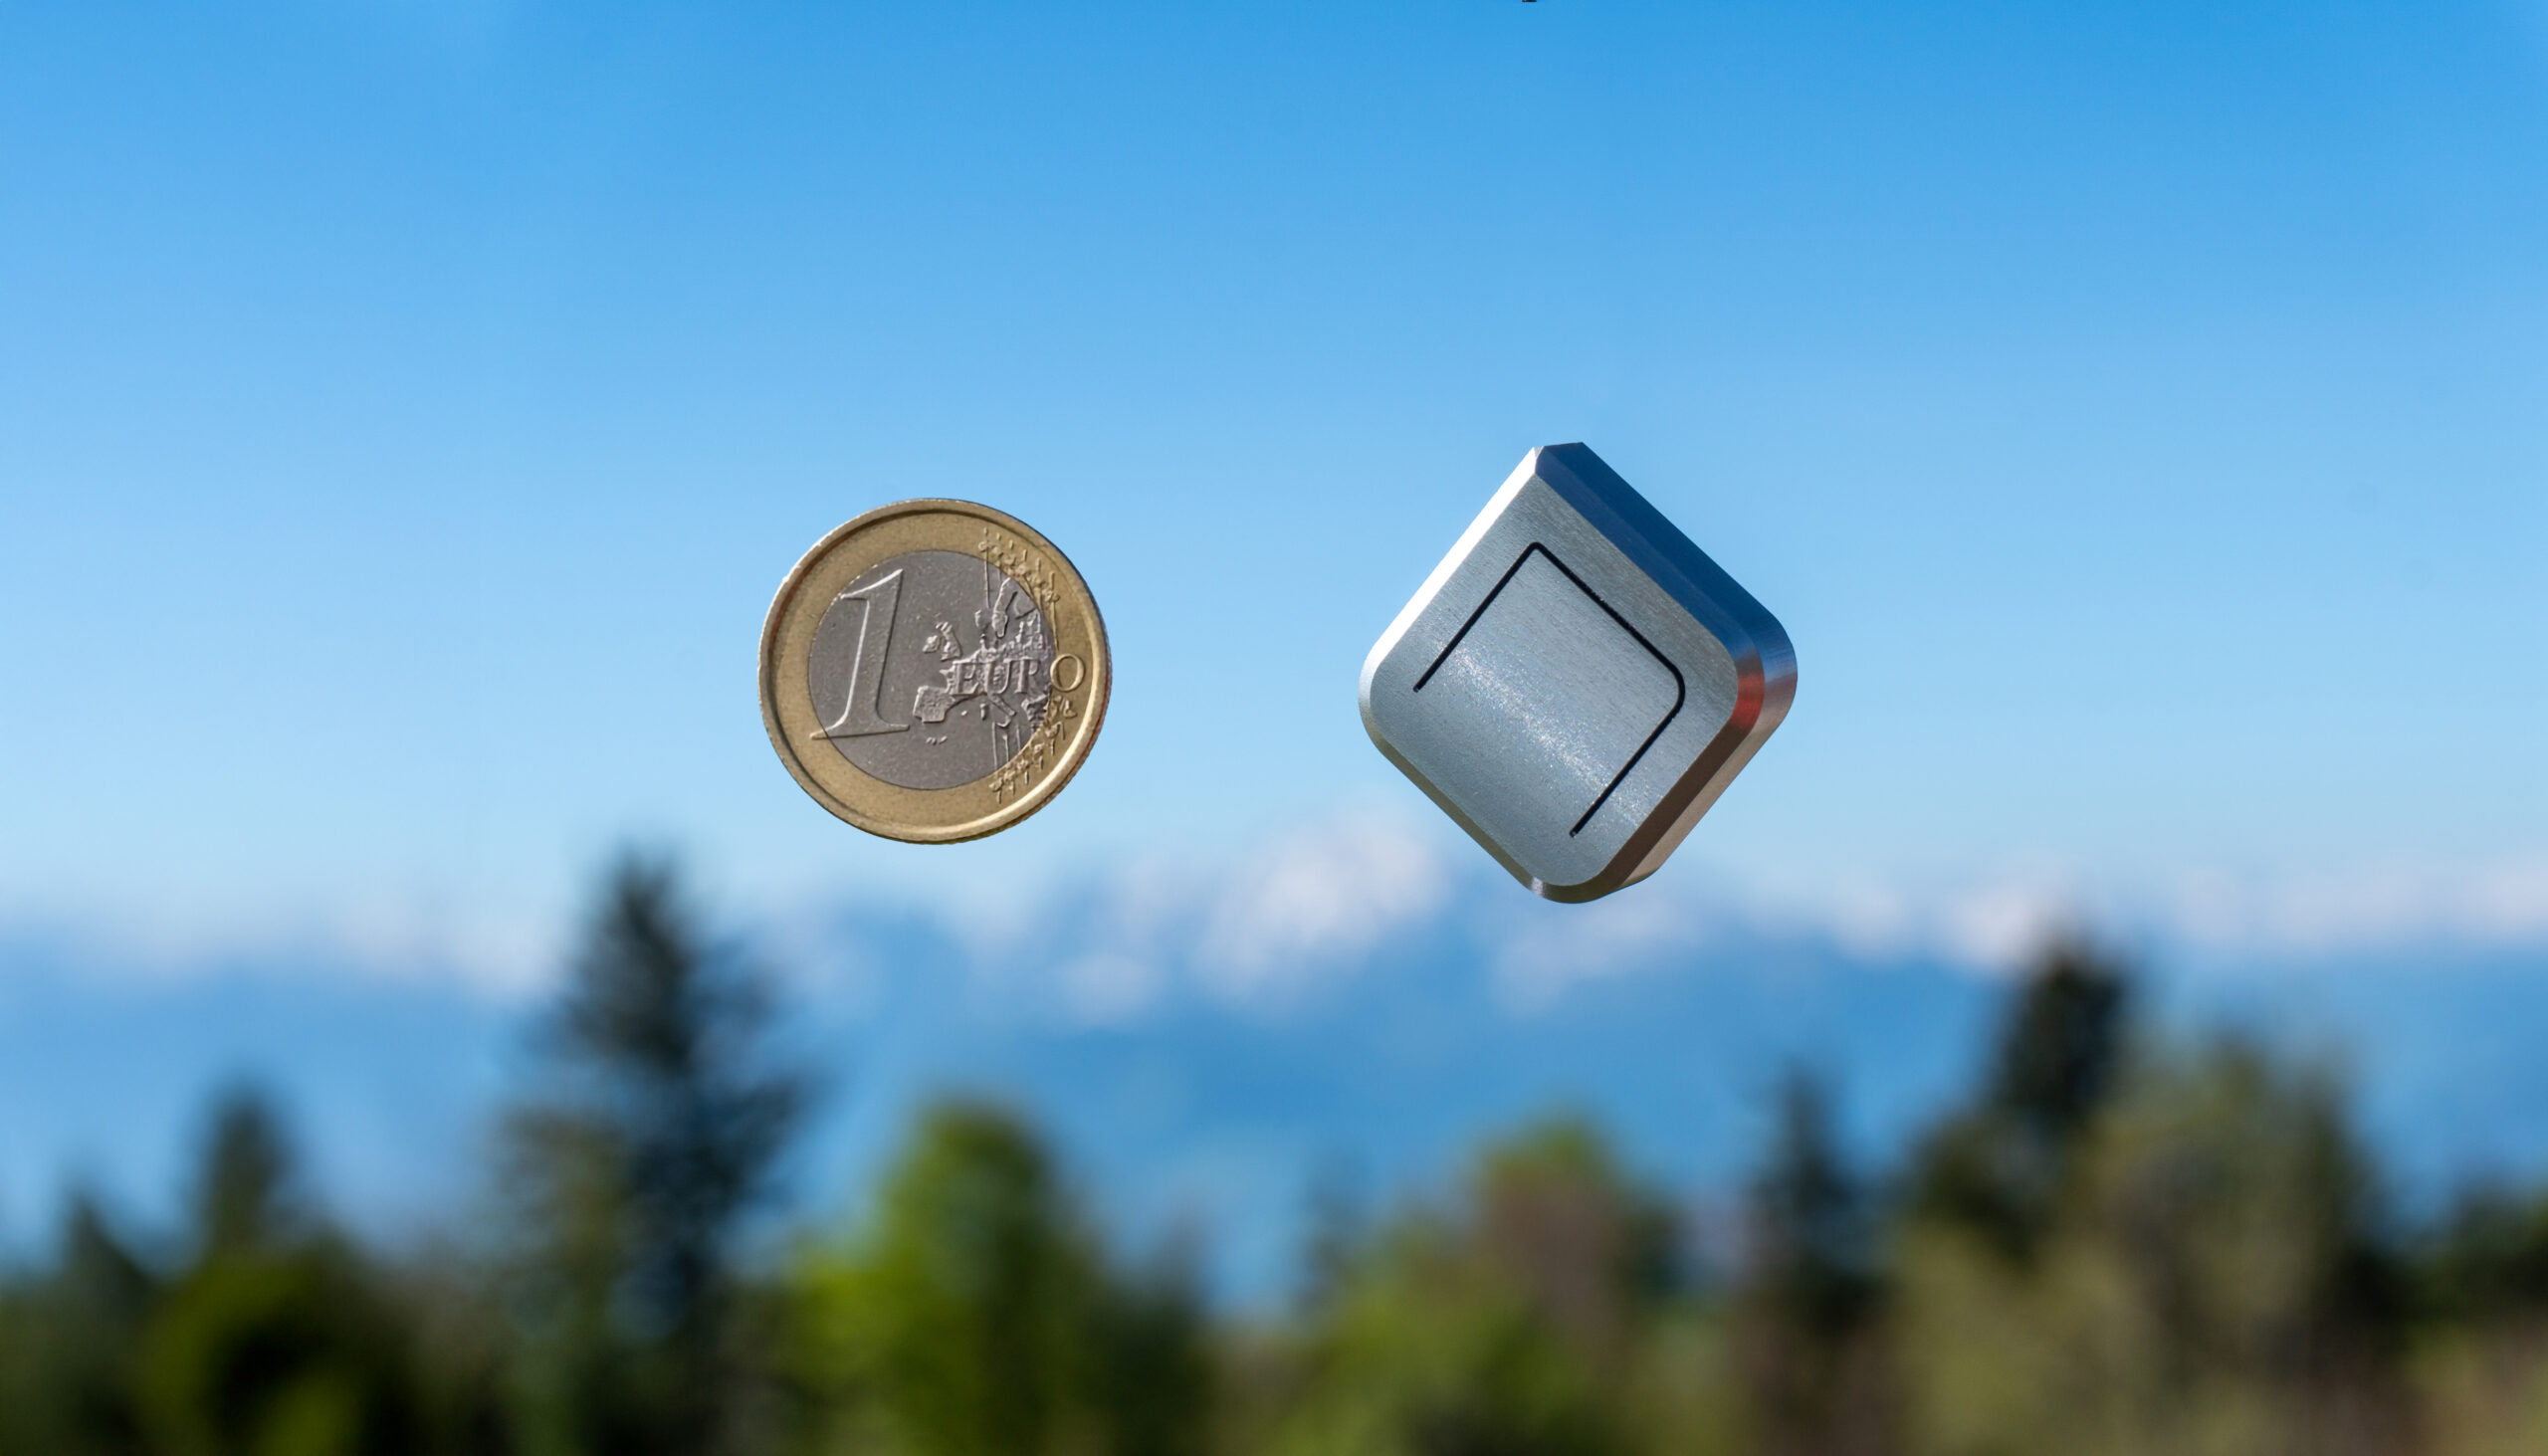
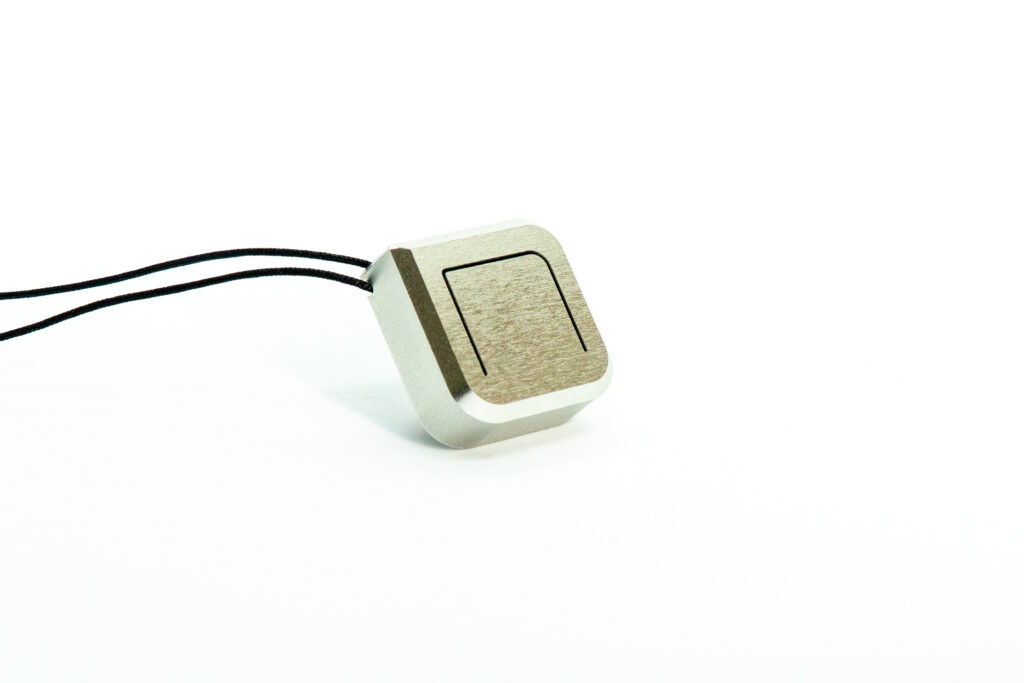
It measures 23 × 23 × 11 mm³ and weighs just 9 g including the battery. It is housed in an anodised aluminium casing. The built-in CR2032 battery is supposed to last up to 600 hours at medium volume. Some of the questions I had about the Vario were answered by Daniel, the Vario’s hardware developer, by e-mail:
Ad Nubes: Which sensors are installed in the Vario?
Daniel: Extensive tests have shown that a high-precision pressure sensor from Infineon in combination with our specially developed filter algorithm is completely sufficient to ensure a very precise and reliable thermal display – provided that the vario is positioned sensibly. Windward/leeward changes should be avoided as far as possible and positions that are subject to a lot of movement when flying/weight shifting. The great advantage of this approach is that we can dispense with an additional acceleration sensor. This reduces both the energy consumption and the complexity of the hardware, which ultimately enables the very long runtime with a button cell and small design – without any noticeable loss in the thermal display.
Ad Nubes: What other technology is installed (microprocessor etc.)?
Daniel: We deliberately made no compromises when selecting the components. We use an ultra-low-power microcontroller from STMicroelectronics, supplemented by high-quality components such as a long-life switch from Würth as well as a specially designed piezo driver (amplifier) and high-quality piezo.
Ad Nubes: Can you tell me something about the algorithm for determining the rise or fall?
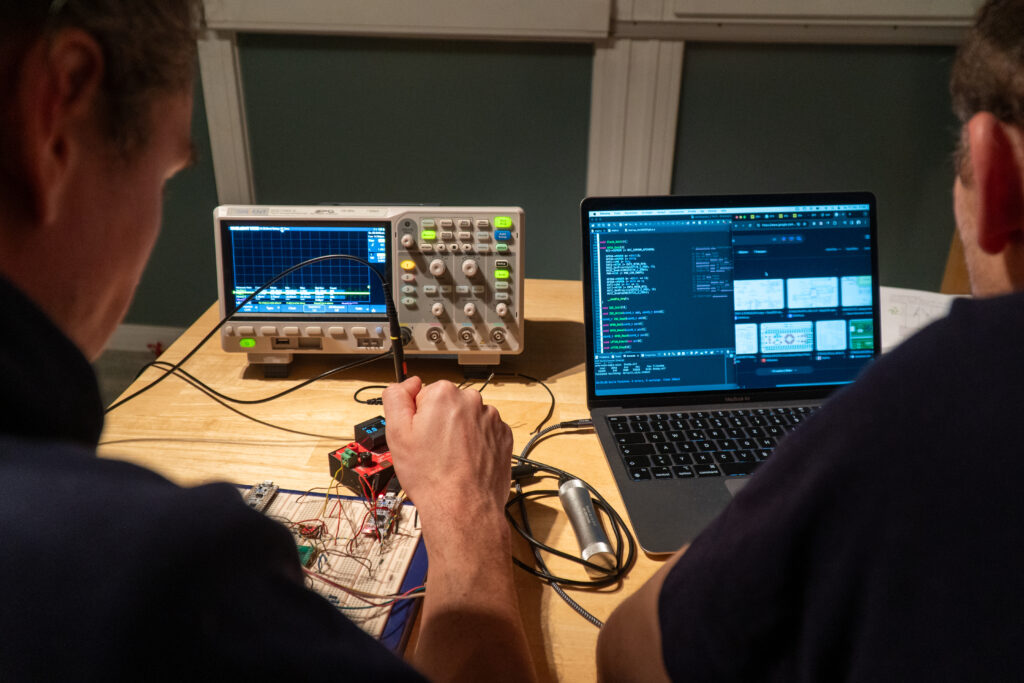
Daniel: Yes, very much so. We are actually particularly proud of our algorithm. We worked on it for over four years and spent more than a year fine-tuning around twenty parameters using numerous test flights, a wide variety of test pilots and computer-aided analyses. Technically, we work in cockpit mode with an altitude resolution of around 10 cm at 128 measurements per second. The filter is based on a Kalman filter, but we have modified it considerably and adapted it precisely to our sensor and the specific application. The vario also independently recognises disturbances, such as unfavourable inflow or movements, and adaptively adjusts the filter parameters to compensate for these effects. This adaptive behaviour is least pronounced in cockpit mode and increases significantly in helmet mode. A particular challenge was to implement this comparatively complex filter in such a way that it runs extremely energy-efficiently on the microcontroller. In order to achieve the long battery life, we programmed all the interfaces ourselves and developed a very efficient software architecture.
Ad Nubes: What protection class (IP xx) does the Vario have?
Daniel: The circuit board is coated with a protective lacquer at all suitable points. The built-in pressure sensor is classified as IPx8. However, leakage currents can occur in other components, particularly in the piezo and the push-button as well as the battery contacts, in wet and damp conditions. For this reason, direct rain and high humidity should always be avoided. We have repeatedly tested the behaviour of the device under damp conditions (cloud) and in one test even sprayed a vario completely with water. After drying and inserting a new battery, the device worked perfectly again. Nevertheless, these are tests under controlled conditions – unfortunately, we cannot guarantee permanent or reliable function after exposure to water.
Ad Nubes: Why does the vario on the helmet have the highest sensitivity?
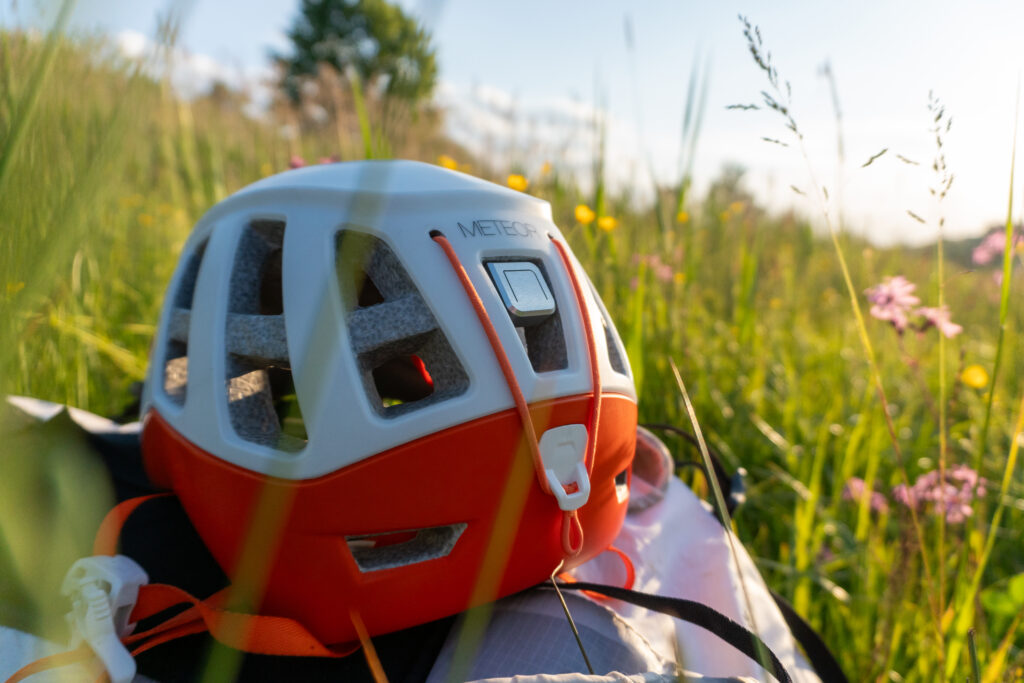
Daniel: Good advice – that was actually a mistake in an earlier description on our part, which we have already corrected in the current Quickguide. The vario should be operated on the helmet in helmet mode. This mode has the greatest latency, as there are naturally many head movements in the helmet that should not be immediately interpreted as a climb or sink. In addition, the airflow around the helmet is aerodynamically the least favourable.
We therefore recommend attaching the vario to the centre back of the helmet. This position has proven to be by far the best in numerous tests. Side mounting, on the other hand, is unfavourable, as windward/leeward changes often occur there, which can lead to misinterpretations.
Ad Nubes: How do the individual helmet, standard and cockpit modes differ from each other?
Daniel: The medium sensitivity setting in which we deliver the vario is deliberately between helmet and cockpit mode.
- Helmet mode: optimised for helmet mounting, with stronger filtering and stronger adaptive behaviour to compensate for head movements and unfavourable inflow.
- Standard mode: a good compromise for many areas of use, somewhat calmer and more relaxed in response behaviour.
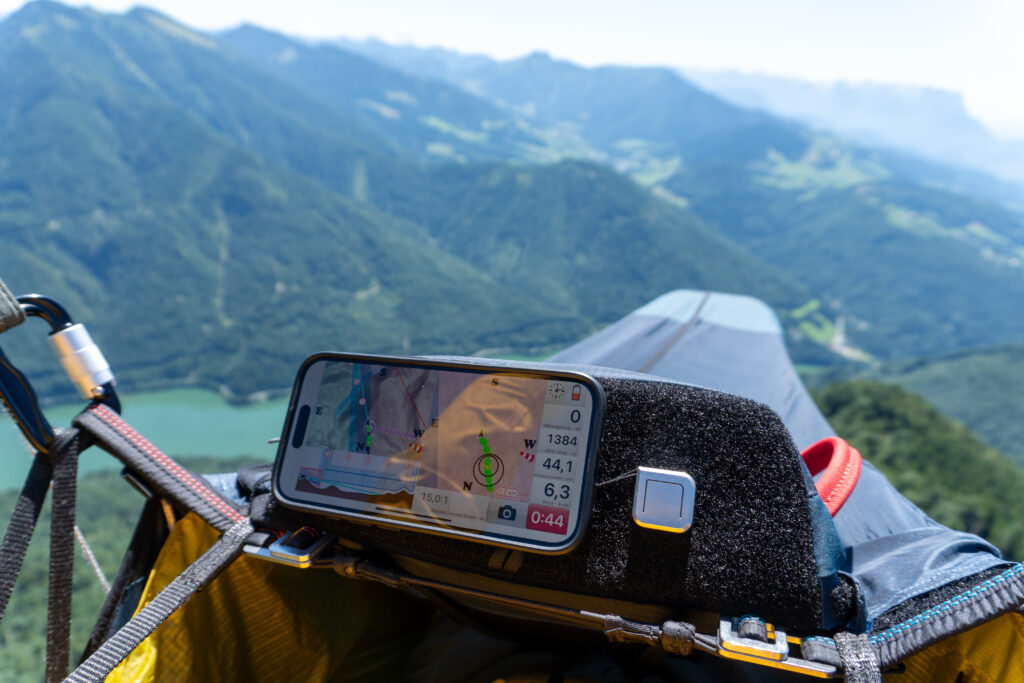
- Cockpit mode: highest sensitivity and lowest latency. Even the smallest changes in altitude of around 10 cm are displayed here. This mode is particularly suitable for central mounting on the cockpit or front parachute, as pilot movements and aerodynamic interference are minimised there.
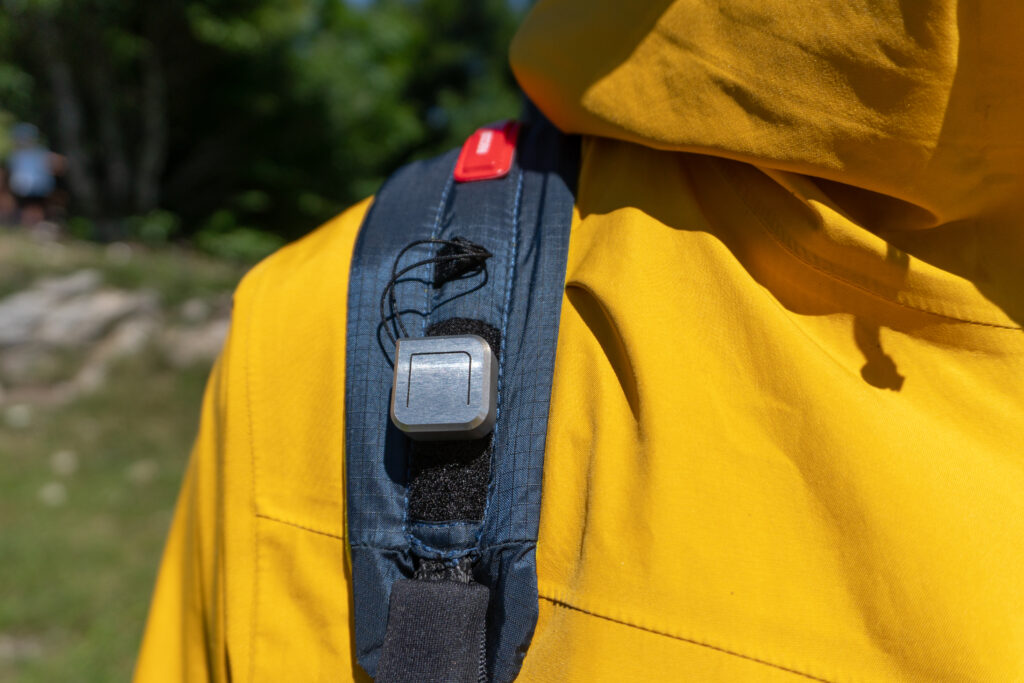
In general, we recommend positioning the vario as close to the centre of the pilot or cockpit as possible and not directly behind or next to other devices with a similar height.
An unfavourable position is the shoulder strap, for example, as any shift in weight can lead to misinterpretations – this applies to all Varios, including those with an acceleration sensor.
Ad Nubes: Is it possible to carry out a firmware update?
Daniel: No, this option is not available with the current device. Due to the extensive test flights and the sophisticated software, we don’t see any need for this.
It is conceivable that we will develop a device with a Bluetooth interface in the future, in which firmware updates will then play a role. With the current Nano Vario, however, our aim was to maximise simplicity and reliability. The focus was clearly on perfecting what we believe a vario should be: a precise, honest and easy-to-interpret thermal display.


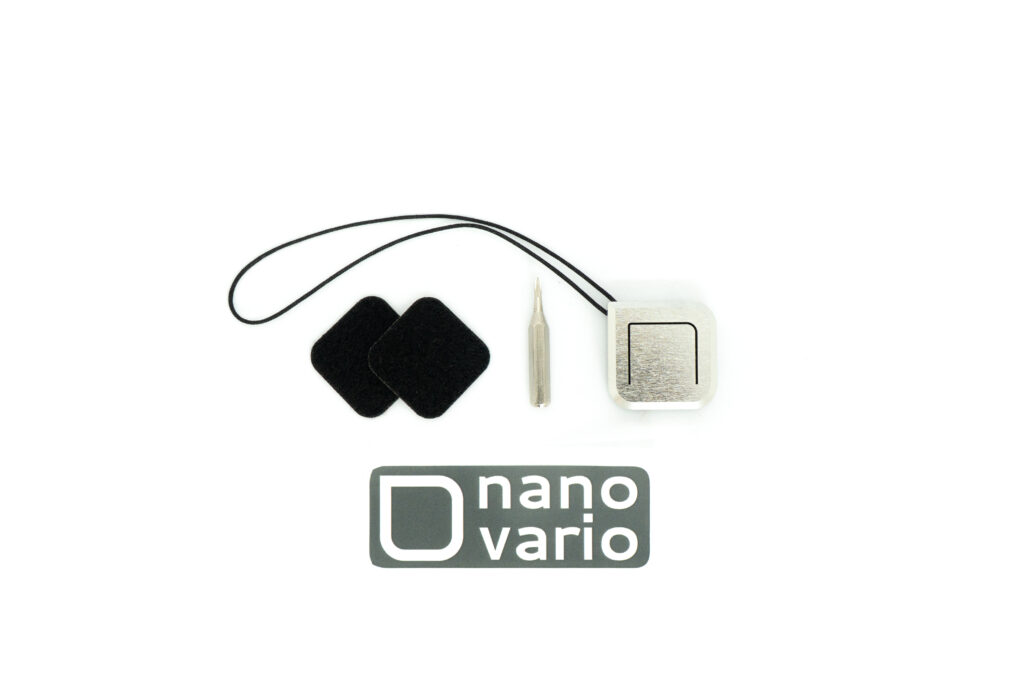
The scope of delivery includes Nano Vario UL, CR2032 battery, screwdriver (for opening the housing and replacing the battery), 2 × self-adhesive Velcro straps, quick guide and sticker.
Setup and assembly
The Vario is ready to use right out of the box. The vario has a large button that covers almost the entire top of the vario. The button is easy to operate, even when wearing gloves, and the pressure point is easy to feel. All settings can be made using this button. The following video explains the setting options:
The settings via a button take a little getting used to, but are feasible. For my taste, the vario leaves setup mode a little too quickly. There is really no need to rush here, the vario could remain in setup mode for 5 to 10 seconds after the last setting change. The volume, sine tone, sensitivity, tone modulation and start recognition can be set one after the other.
In contrast to the XC Tracer, which has an acceleration sensor in addition to other sensors, the Nano Vario only has an integrated pressure sensor. This means that the sensor can also be attached to the helmet. Other possible mounting locations are the cockpit or the shoulder strap. As Daniel explained above, the place with the highest sensitivity is on the cockpit, provided you have set the correct mode.
Flying
During my flight, I had installed the Vario on the cockpit and ran it in parallel with my XC Tracer II. Although the Nano Vario only has one pressure sensor, unlike the XC Tracer, both displayed the rising air mass equally quickly. The beep of the Nano Vario was very pleasant and almost reassuring, so after a short time I switched off the sound of the XC Tracer. I was able to centre the thermals just as well thanks to the equivalent display. The sink tone of the Nano Vario was switched off, so I can’t say whether the sink was also recognised well. However, this had the positive side effect for me that I didn’t have this additional annoyance factor and was able to glide through the air a little more relaxed.
The sounds can be listened to on the homepage. The Nano Vario’s algorithm appears to be so sophisticated that additional sensors are superfluous and the climb is displayed immediately using only the pressure sensor.
Quality
I have not unscrewed the Vario, but thanks to the simple inner workings and the robust aluminium housing, it will certainly serve its owner well for many years, even with intensive use. The only drawback is that it doesn’t offer complete protection against water. After all, you can’t entirely rule out the possibility of getting caught in a rain shower or making a splash landing. But as far as I can tell, no other vario offers adequate protection in such situations either.
Conclusion
Due to its simple, robust and lightweight design, the target group are tandem pilots, local mountain pilots, hike-and-fly pilots and bivouac pilots. The lack of a Bluetooth interface and GPS means that it is not possible to transfer flight data to a smartphone or save the flight in igc format. If you can do without this, you get a great vario that is on a par with modern multi-sensor varios in terms of displaying low climb rates. The price is higher than other vario gliders without GPS and display, but is justified by the aforementioned advantages.